No funny blog title today: this part is (more) serious.
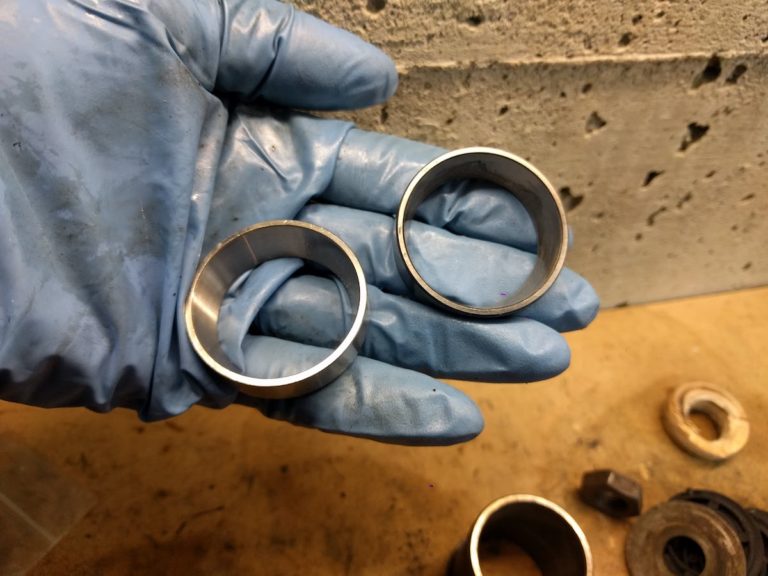

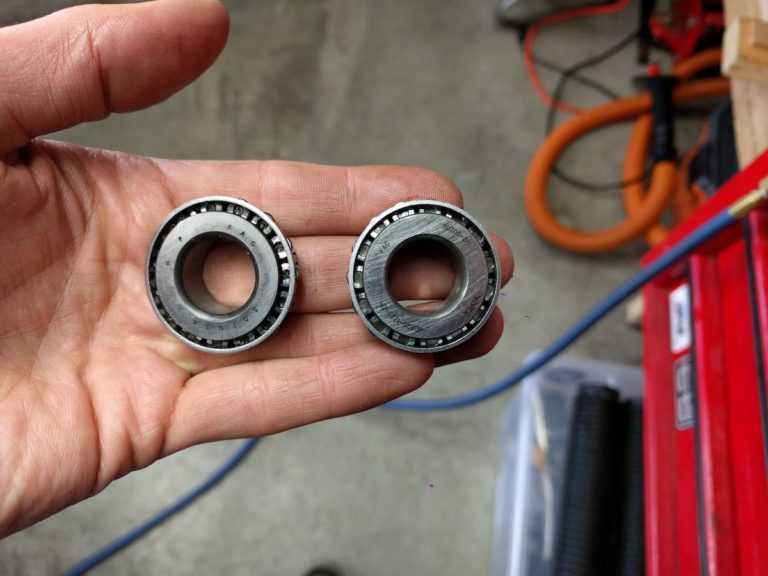
The rear wheel bearings had me worried. It’s press fit, requires heat and accurate sequence of parts and preload. If the engine was something I wanted to tackle on my next build (hence we farmed out the engine rebuild to Shail’s here in Vancouver, Canada for this, my first build), then the rear wheel is just challenging enough to have me worried. Doesn’t help I fucked up the left bearing removing it the wrong way at the start of this rebuild.

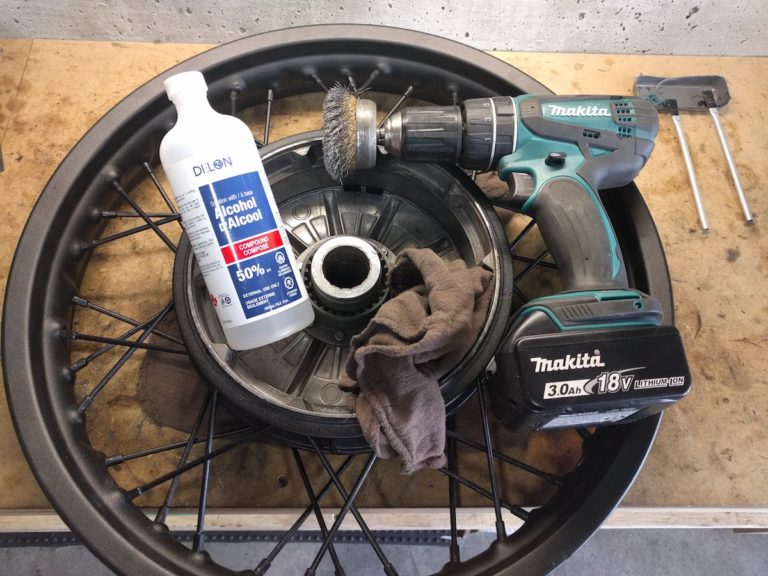
But I think it went well. Cleaned everything, in particular some sneaky powder coat spray that entered through the rear drum vents. New seal for the side I mangled, then carefully following a number of manuals and forums and another Boxer2Valve tutorial I did the bearing preload in the vice. It’s all about 0.1mm increments of one “wedding ring” spacer in the stack. It was a tad loose according to some things I read; after I shaved it down it was a tad tight. One way to measure this tightness is by the play of the outer sleeve. But if my experience with bicycle bearings helps, my reasoning is new bearing + new grease will pack down a bit, and the tightness in the sleeve will go to just the right amount of play. Also seemed to be differing opinions on how much play is OK. Again, another item to check after the first 1000km (or 100km).

Looking back I think this was a good amount of play in the outer spacer, but some reports (like Boxer2Valve’s authoritative series) asked for a tighter preload.
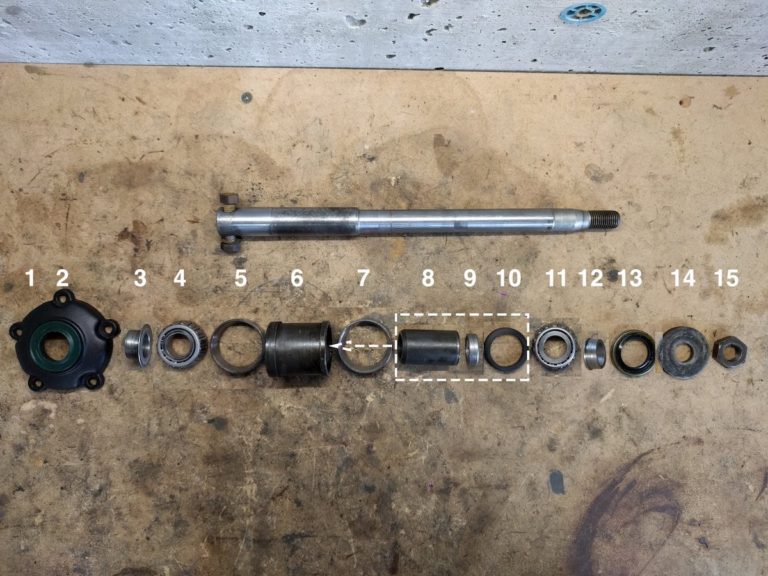
Getting the order of the axle parts was a bit tricky—different nomenclature, German-to-English translations, etc. Finding the BMW Airheads forum on Facebook more helpful than “old fashioned” forums these days: better interface, more photos, faster responses, no membership fees. A few iterations of the layout and I confirmed first online I had it right, but really, on assembly most of the parts find a logical order based on their design.



Leave a Reply