Getting into the high(er) priority work now: cleaning and inspecting critical parts. Tonight’s showdown with:
- Under tank front brake master cylinders
- Final drive
- Front brake caliper
My process tonight is basically:
- Heavy degreaser and steel wool, nylon brushes;
- Simple green ultrasonic bath 10–20 min.;
- Light sand with 150 emery or 400 wetdry paper, more scrubbing and degreasing;
- Brass brush on bench grinder or hand drill.
Front Master Cylinders

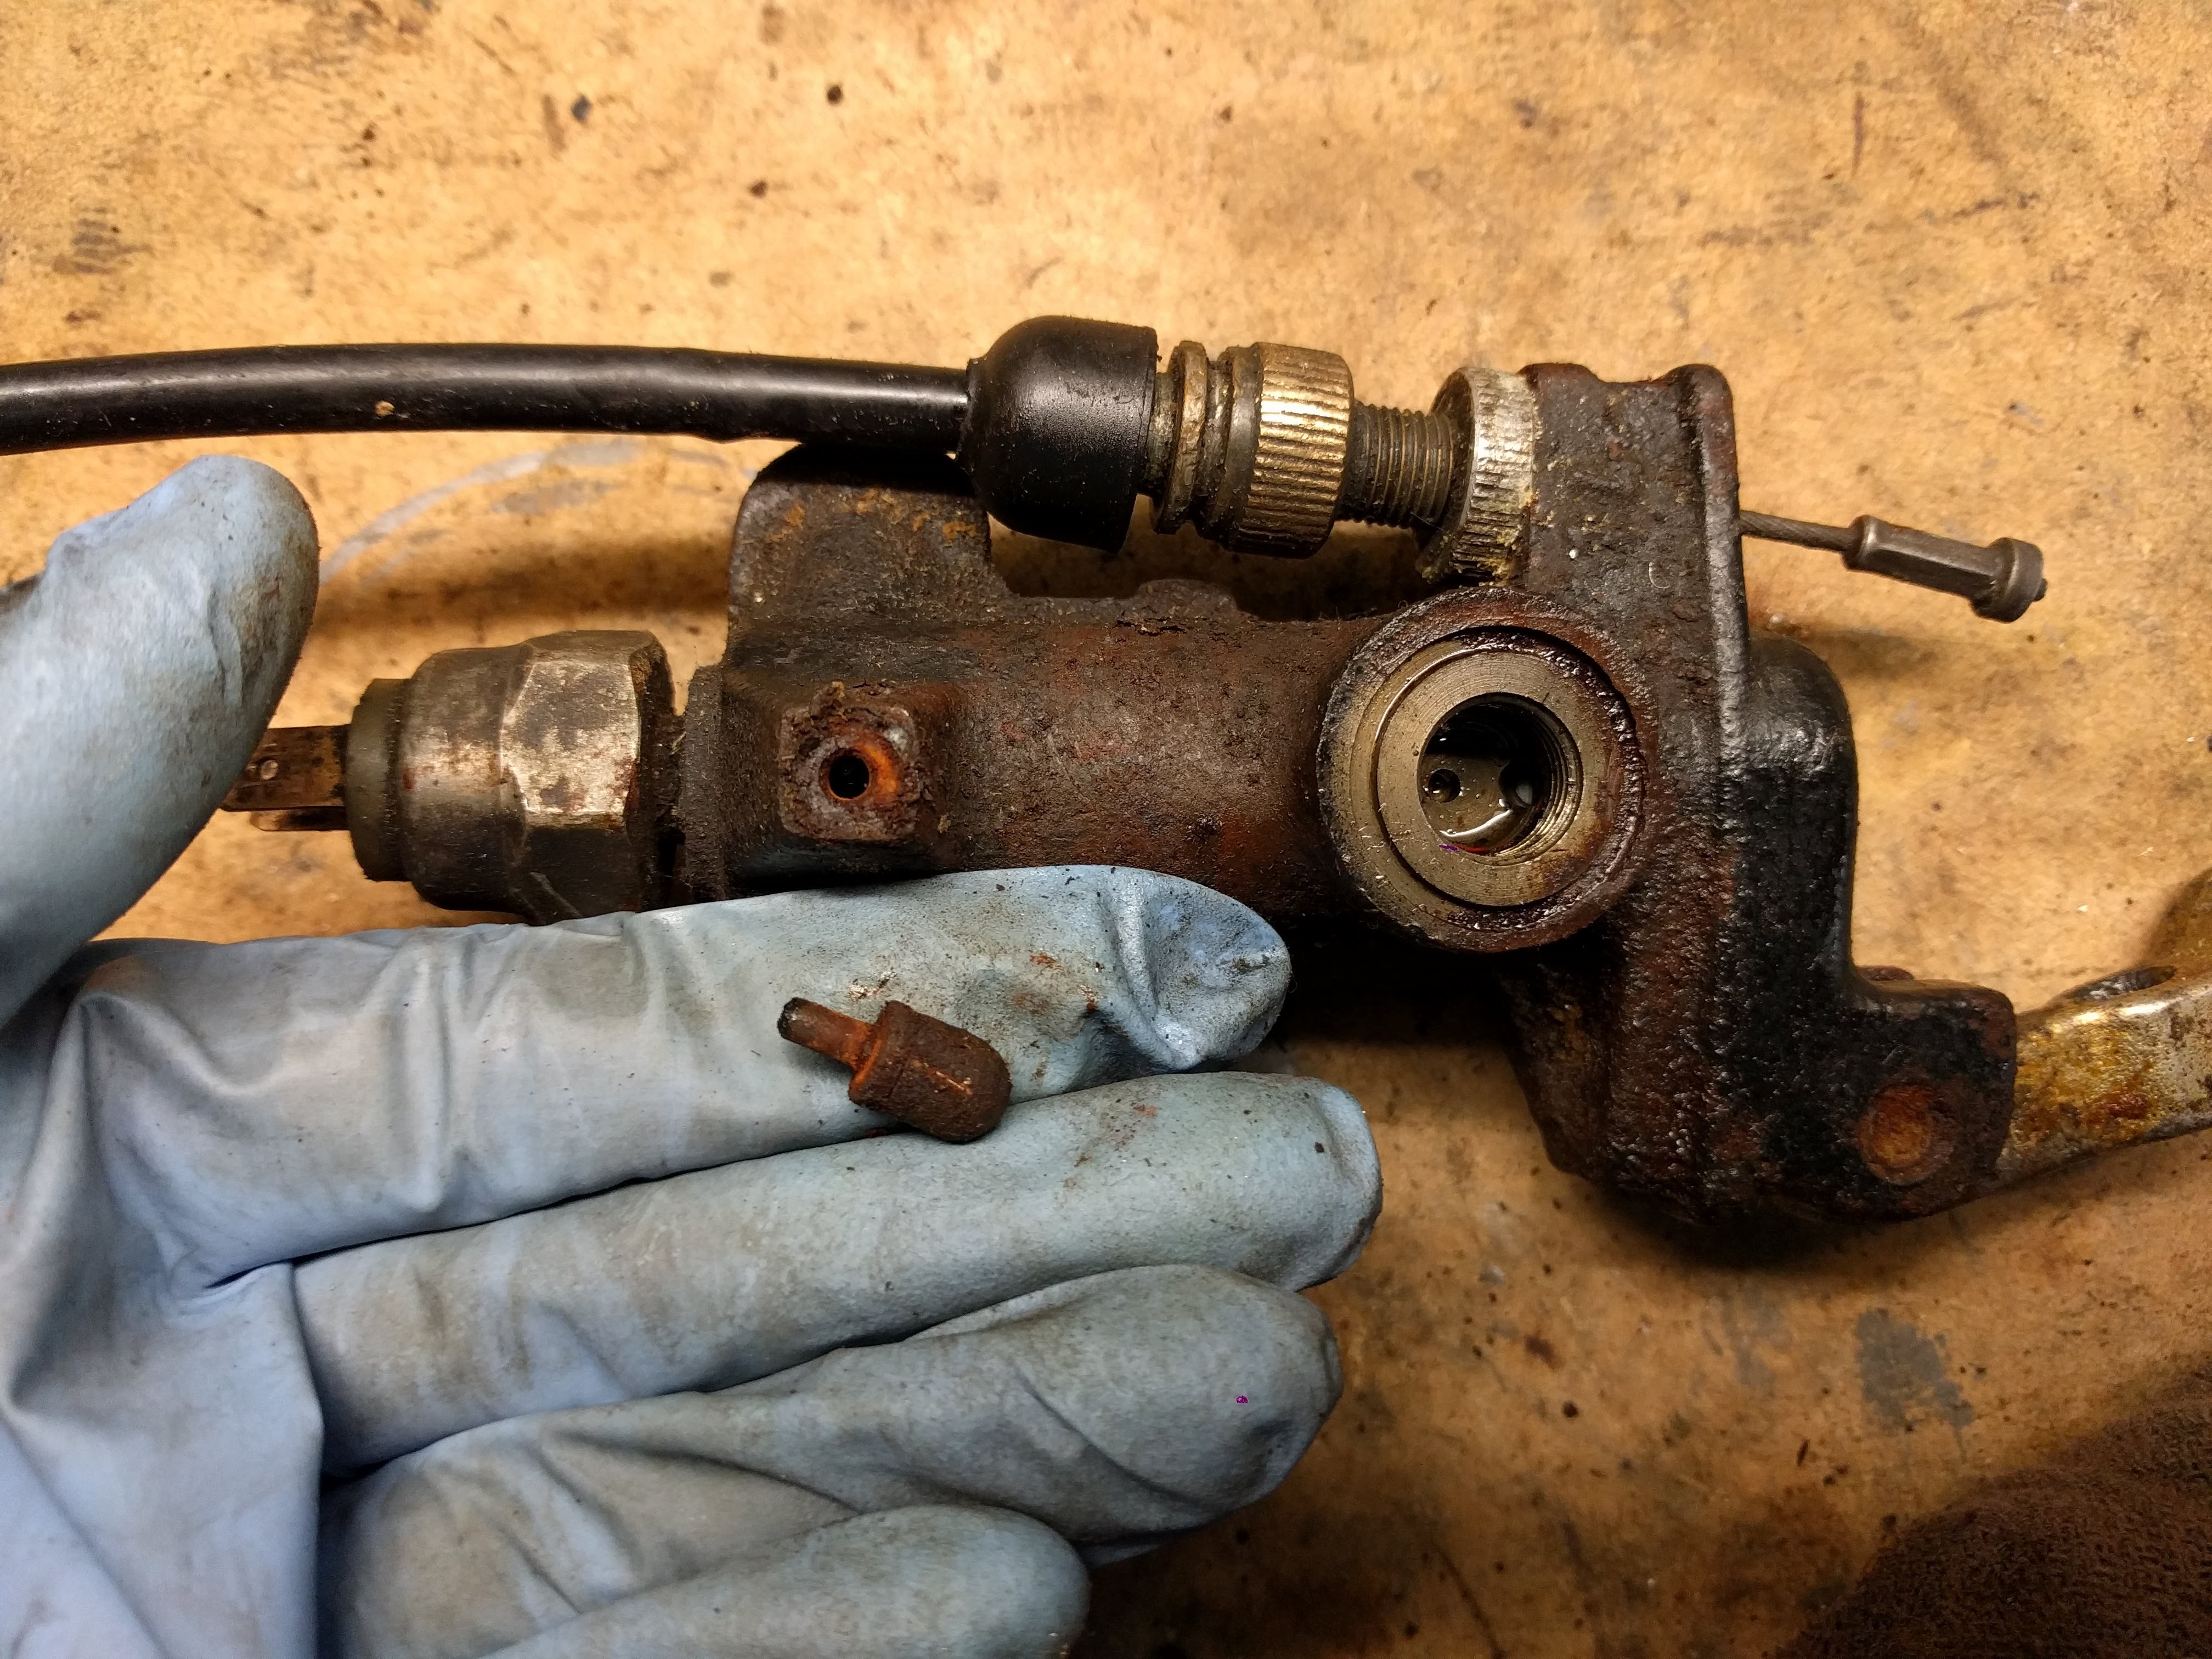
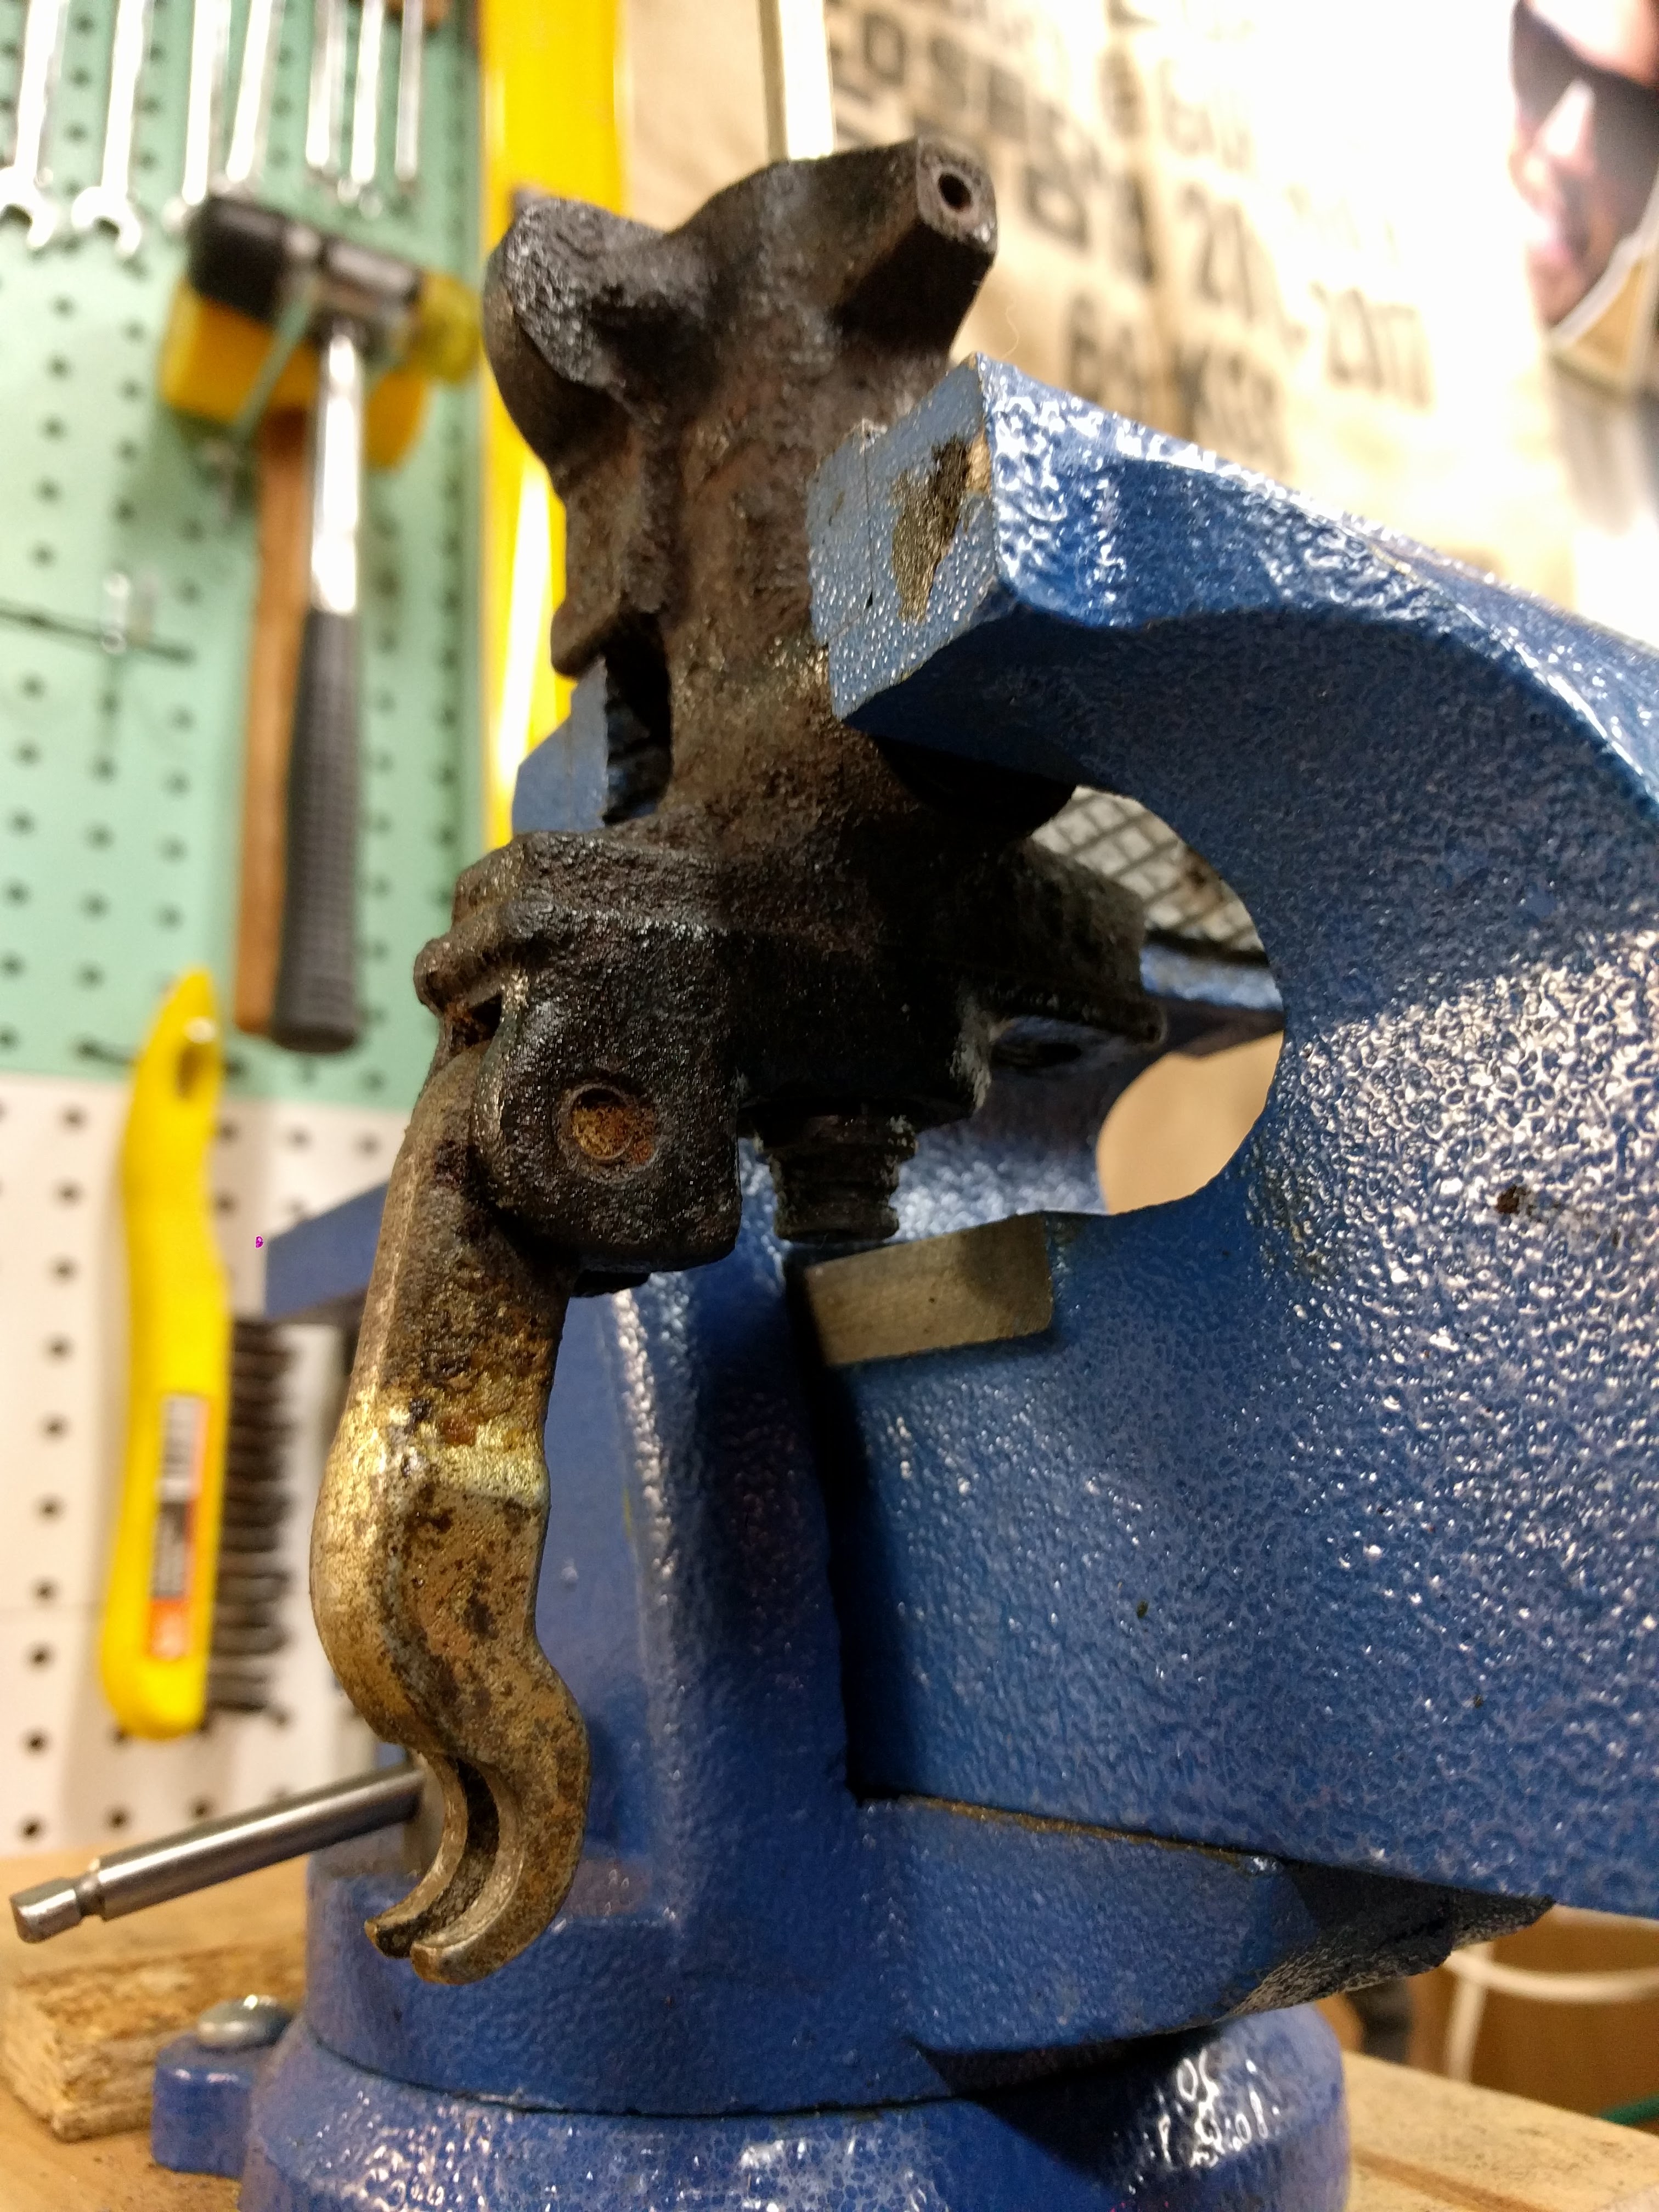
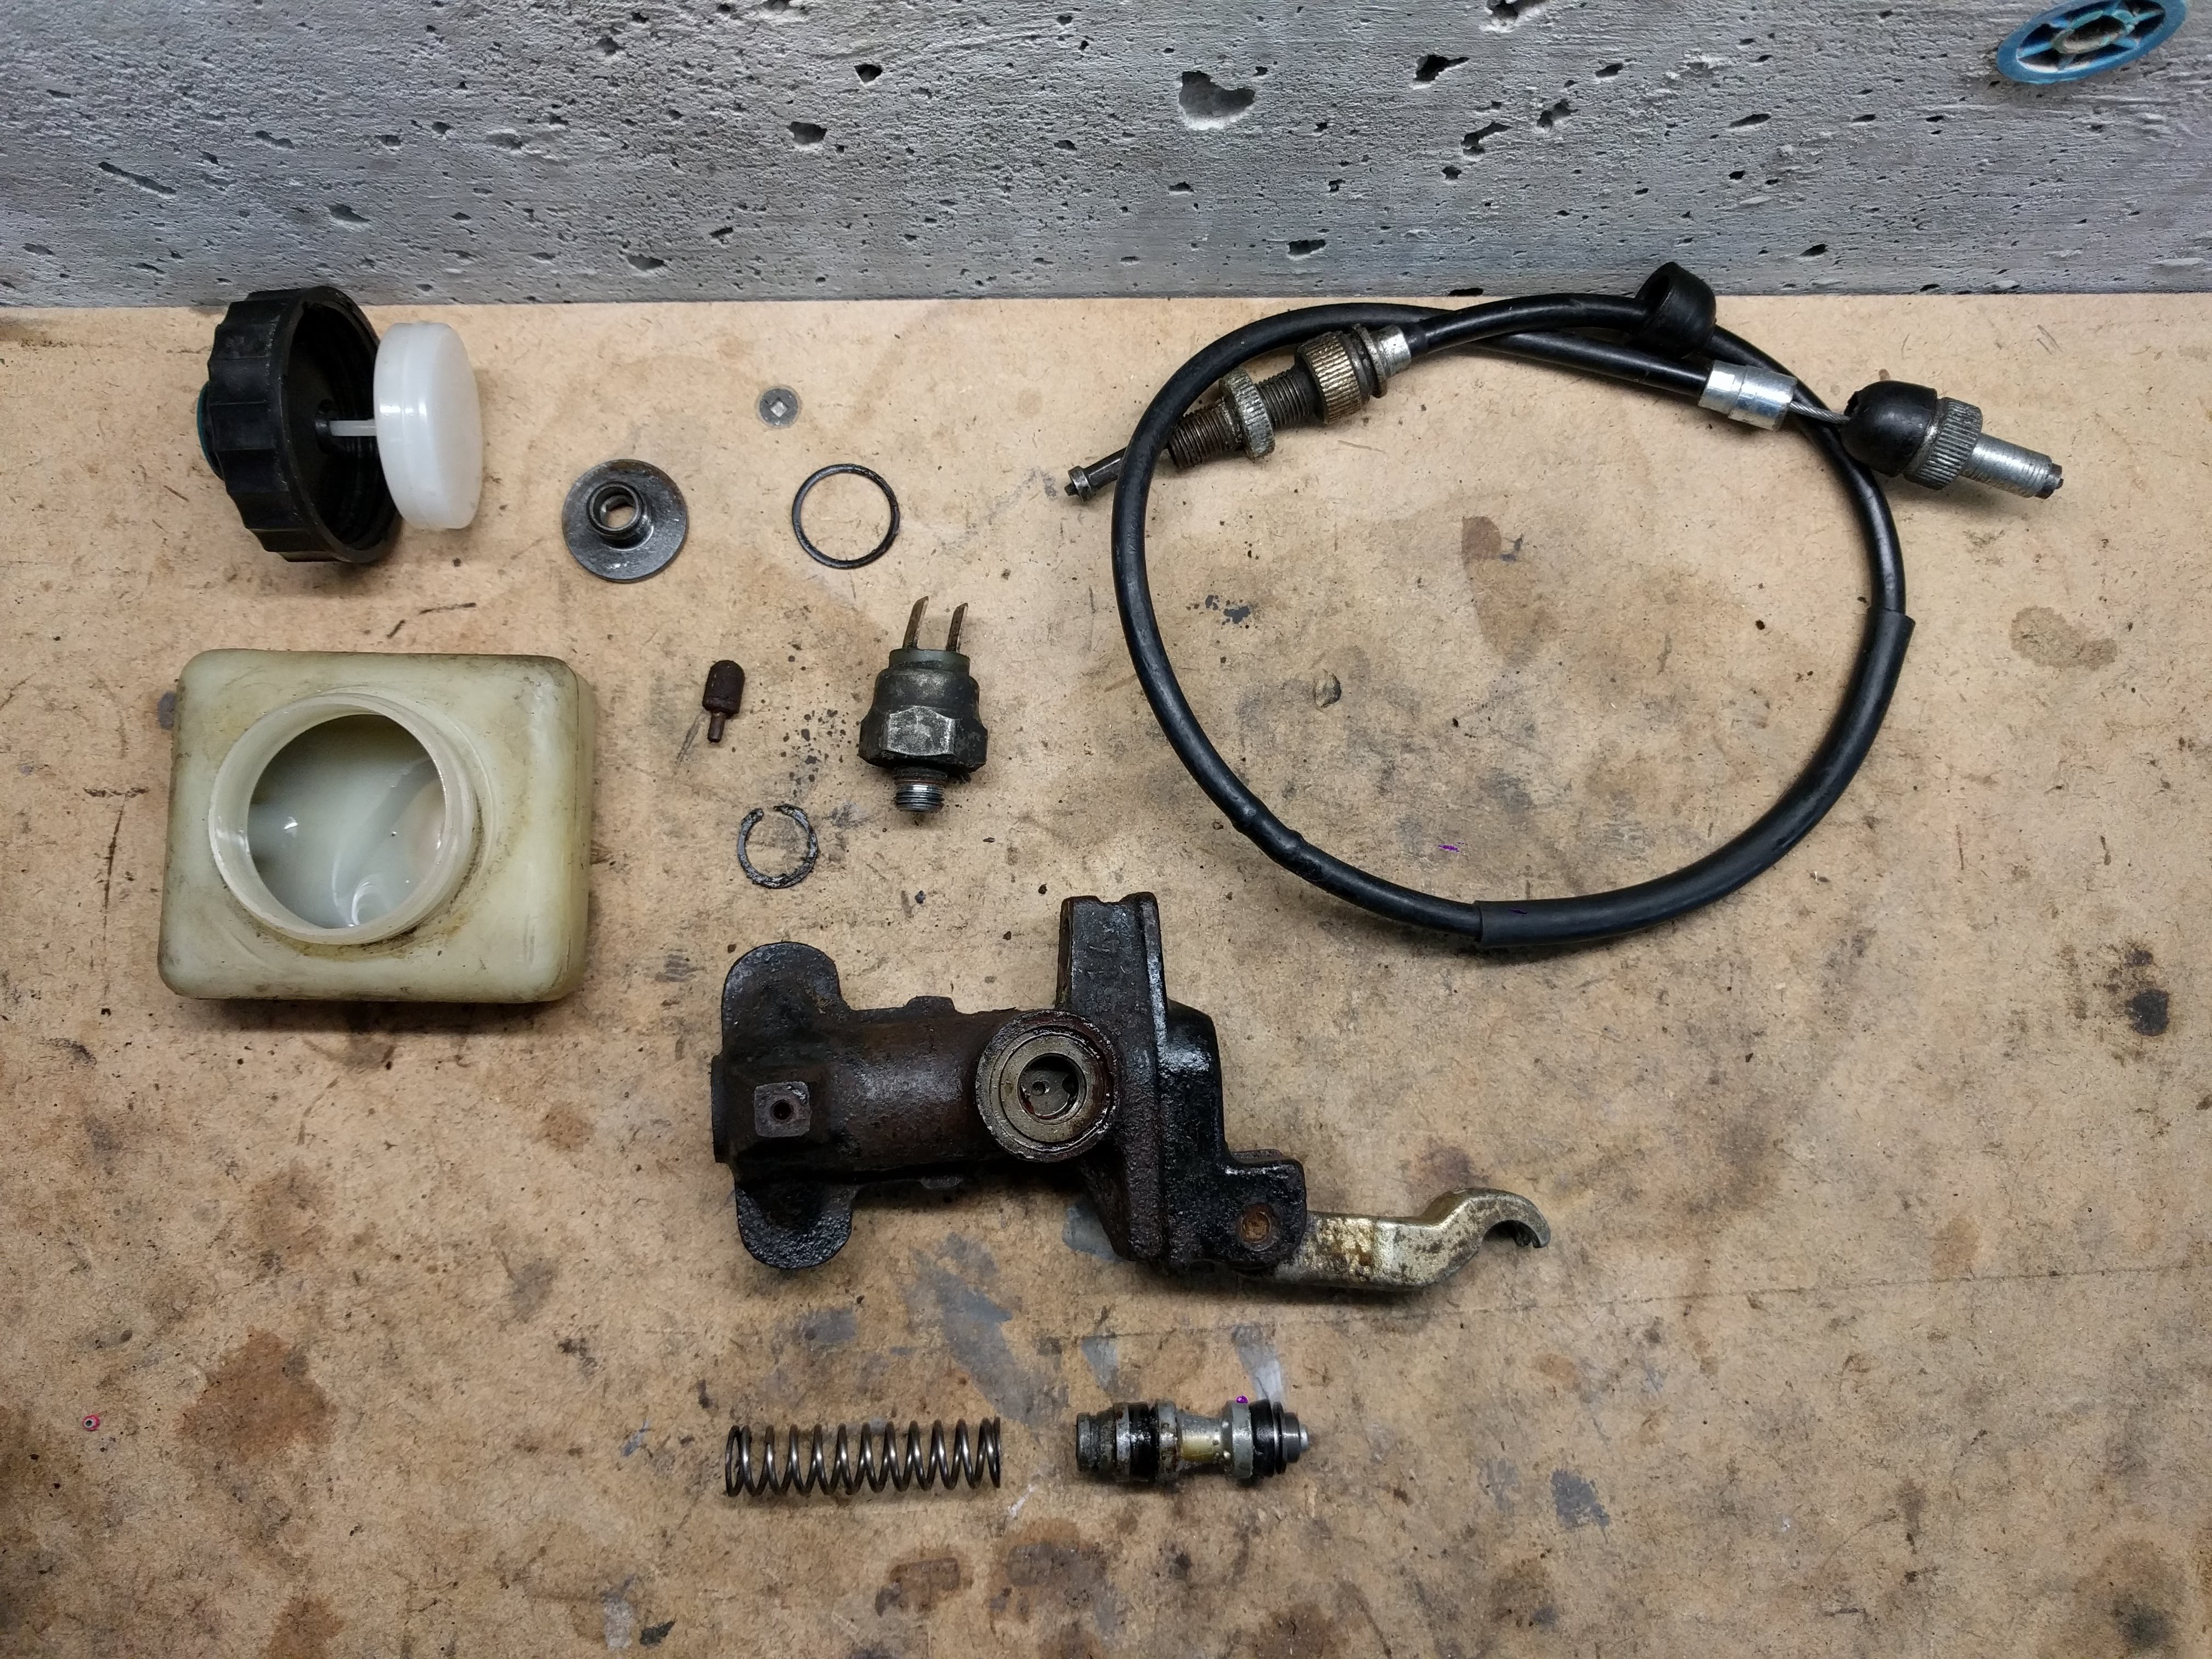
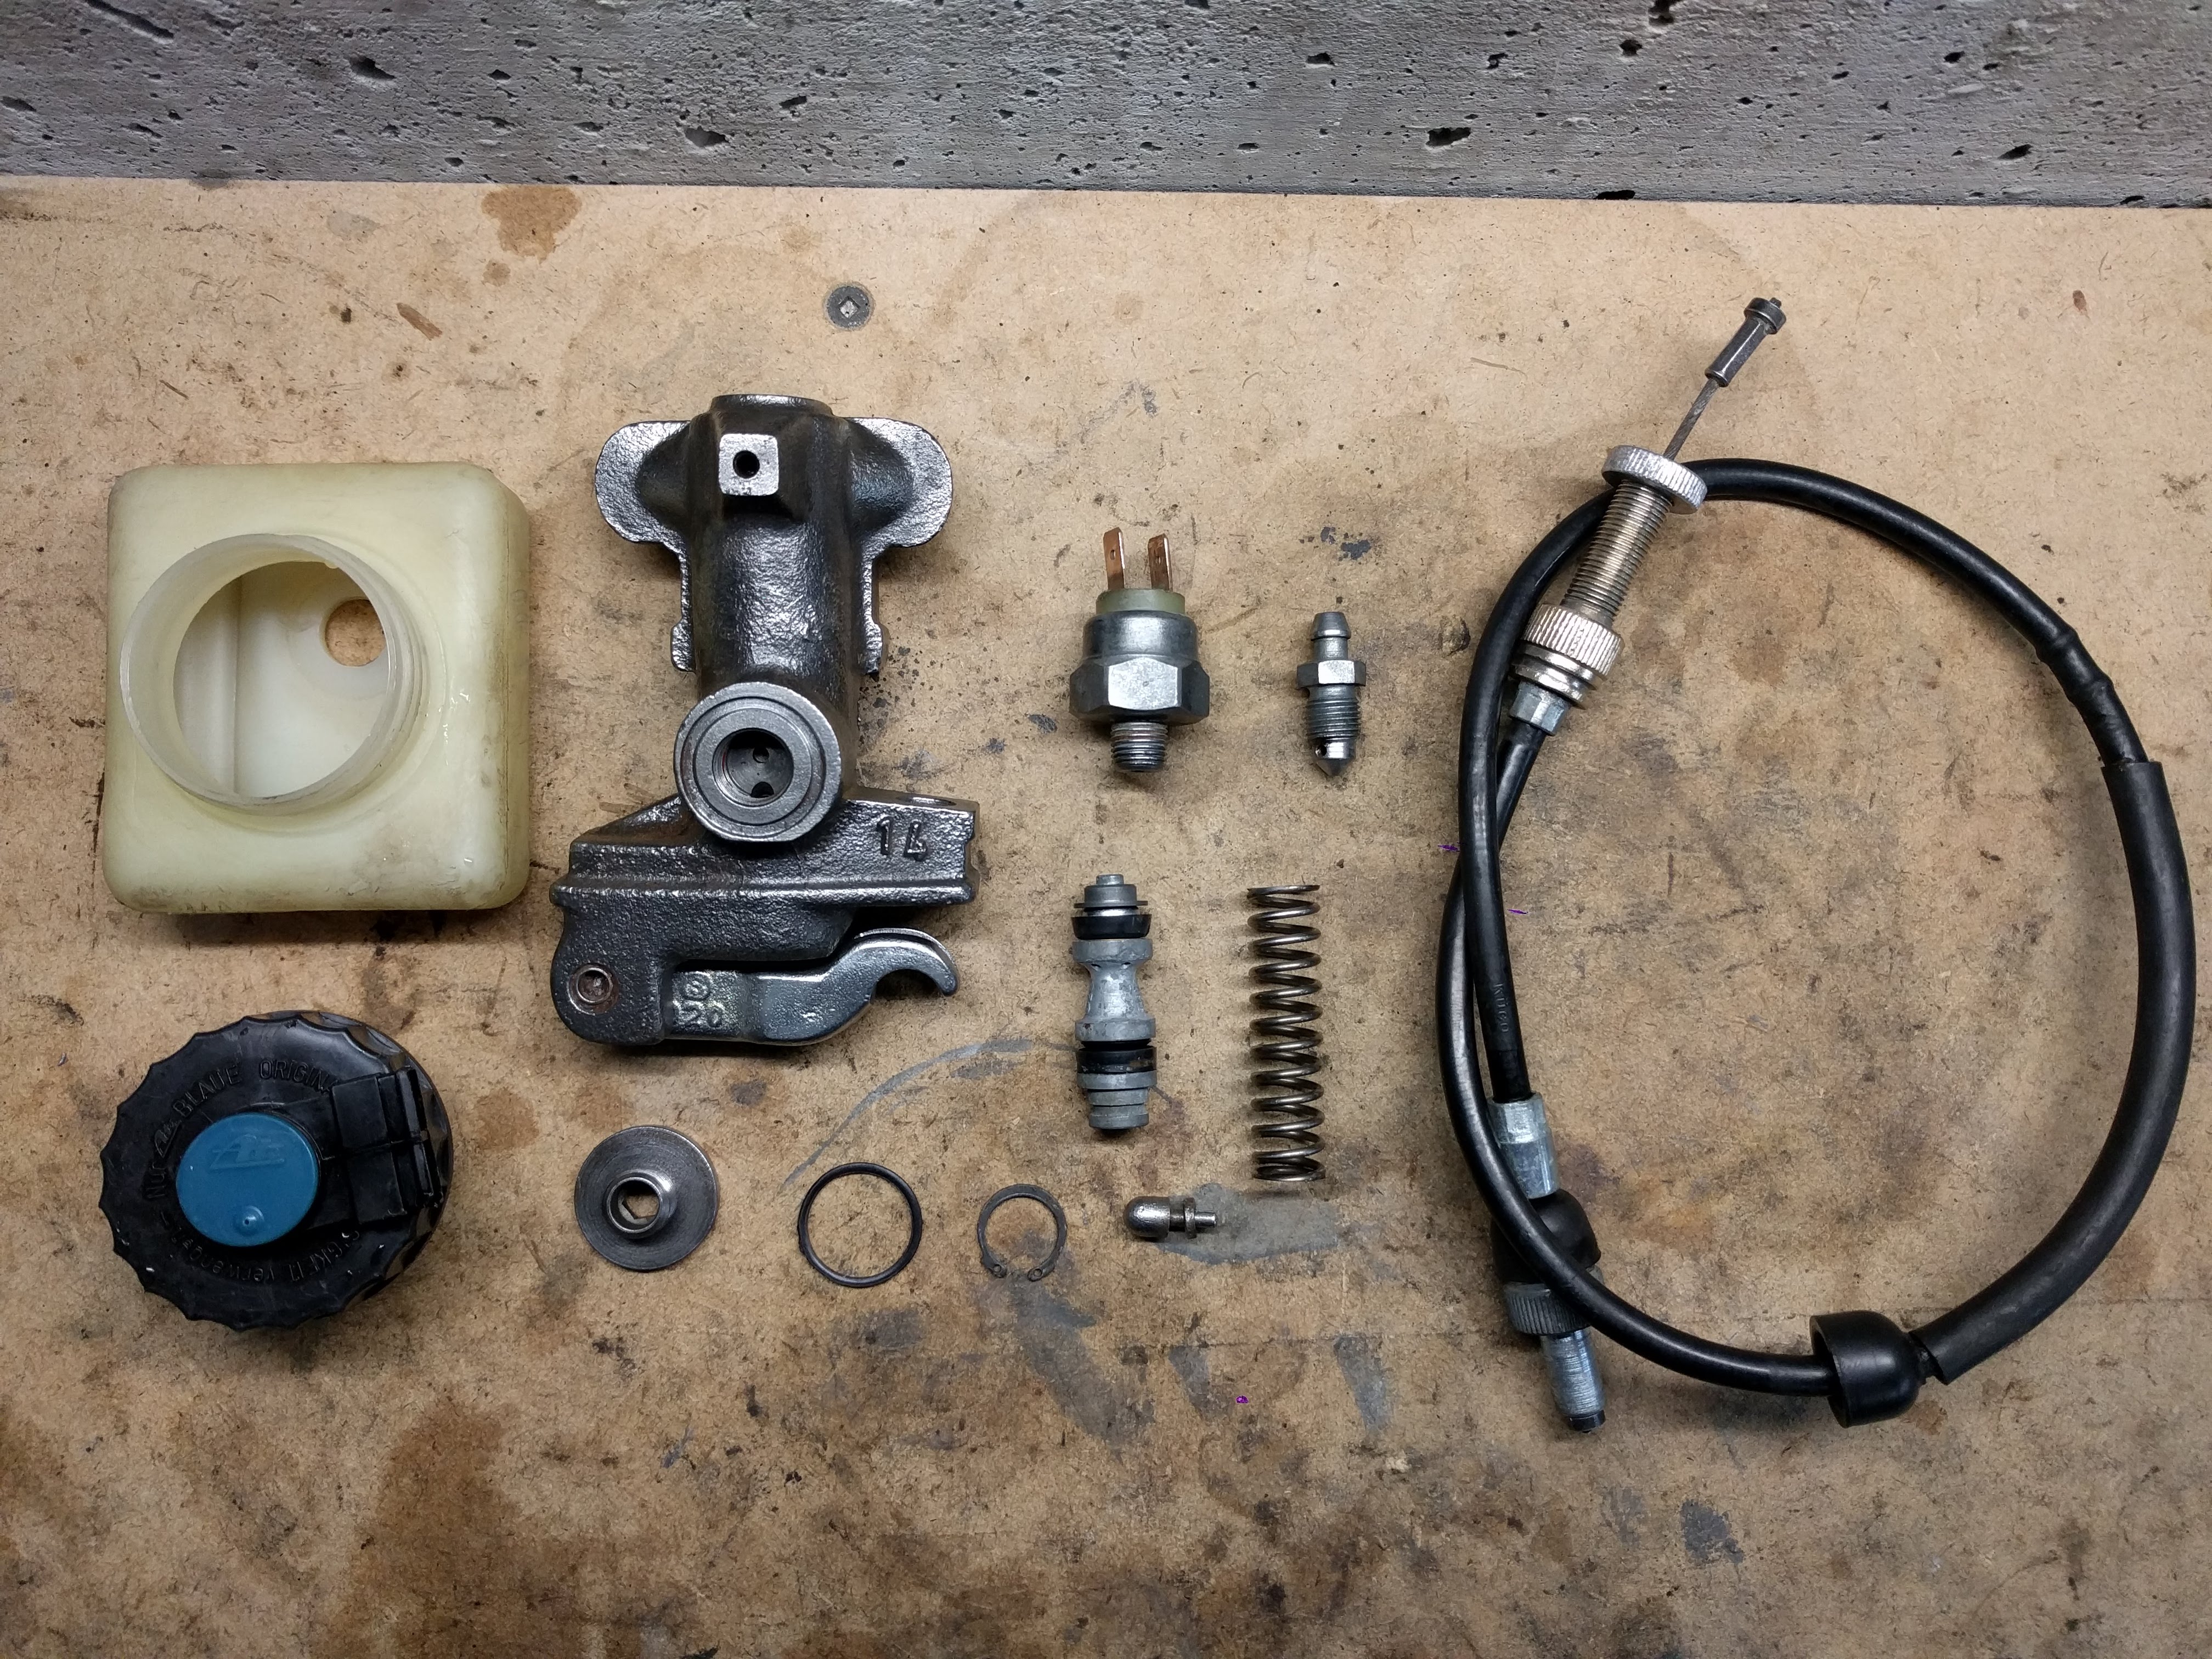

The PO had installed a front lever-mounted master cylinder years ago, leaving BMW’s original ATE under tank versions to rust away in a box. We’re hoping to use them again to keep the ultra minimal handlebar look going (these under tank masters are actuated by a cable pull lever, which pushes the piston and drives fluid to the front caliper). I had to hammer out the pistons in both M/Cs, lots of corrosion. Need to figure out a test to see how well they’re working after reassembly (and read up on best practices for reassembly). The outsides cleaned up nicely, though.
Of note: the two master cylinders the PO gave us are slightly different (reservoir cap switch, a few ports here and there). Either different years or one was after market? And it’s only a single front disc, so I’m guessing the PO replaced his old under tank M/C with a new one at some point, and when that one failed he went to a lever-mount.
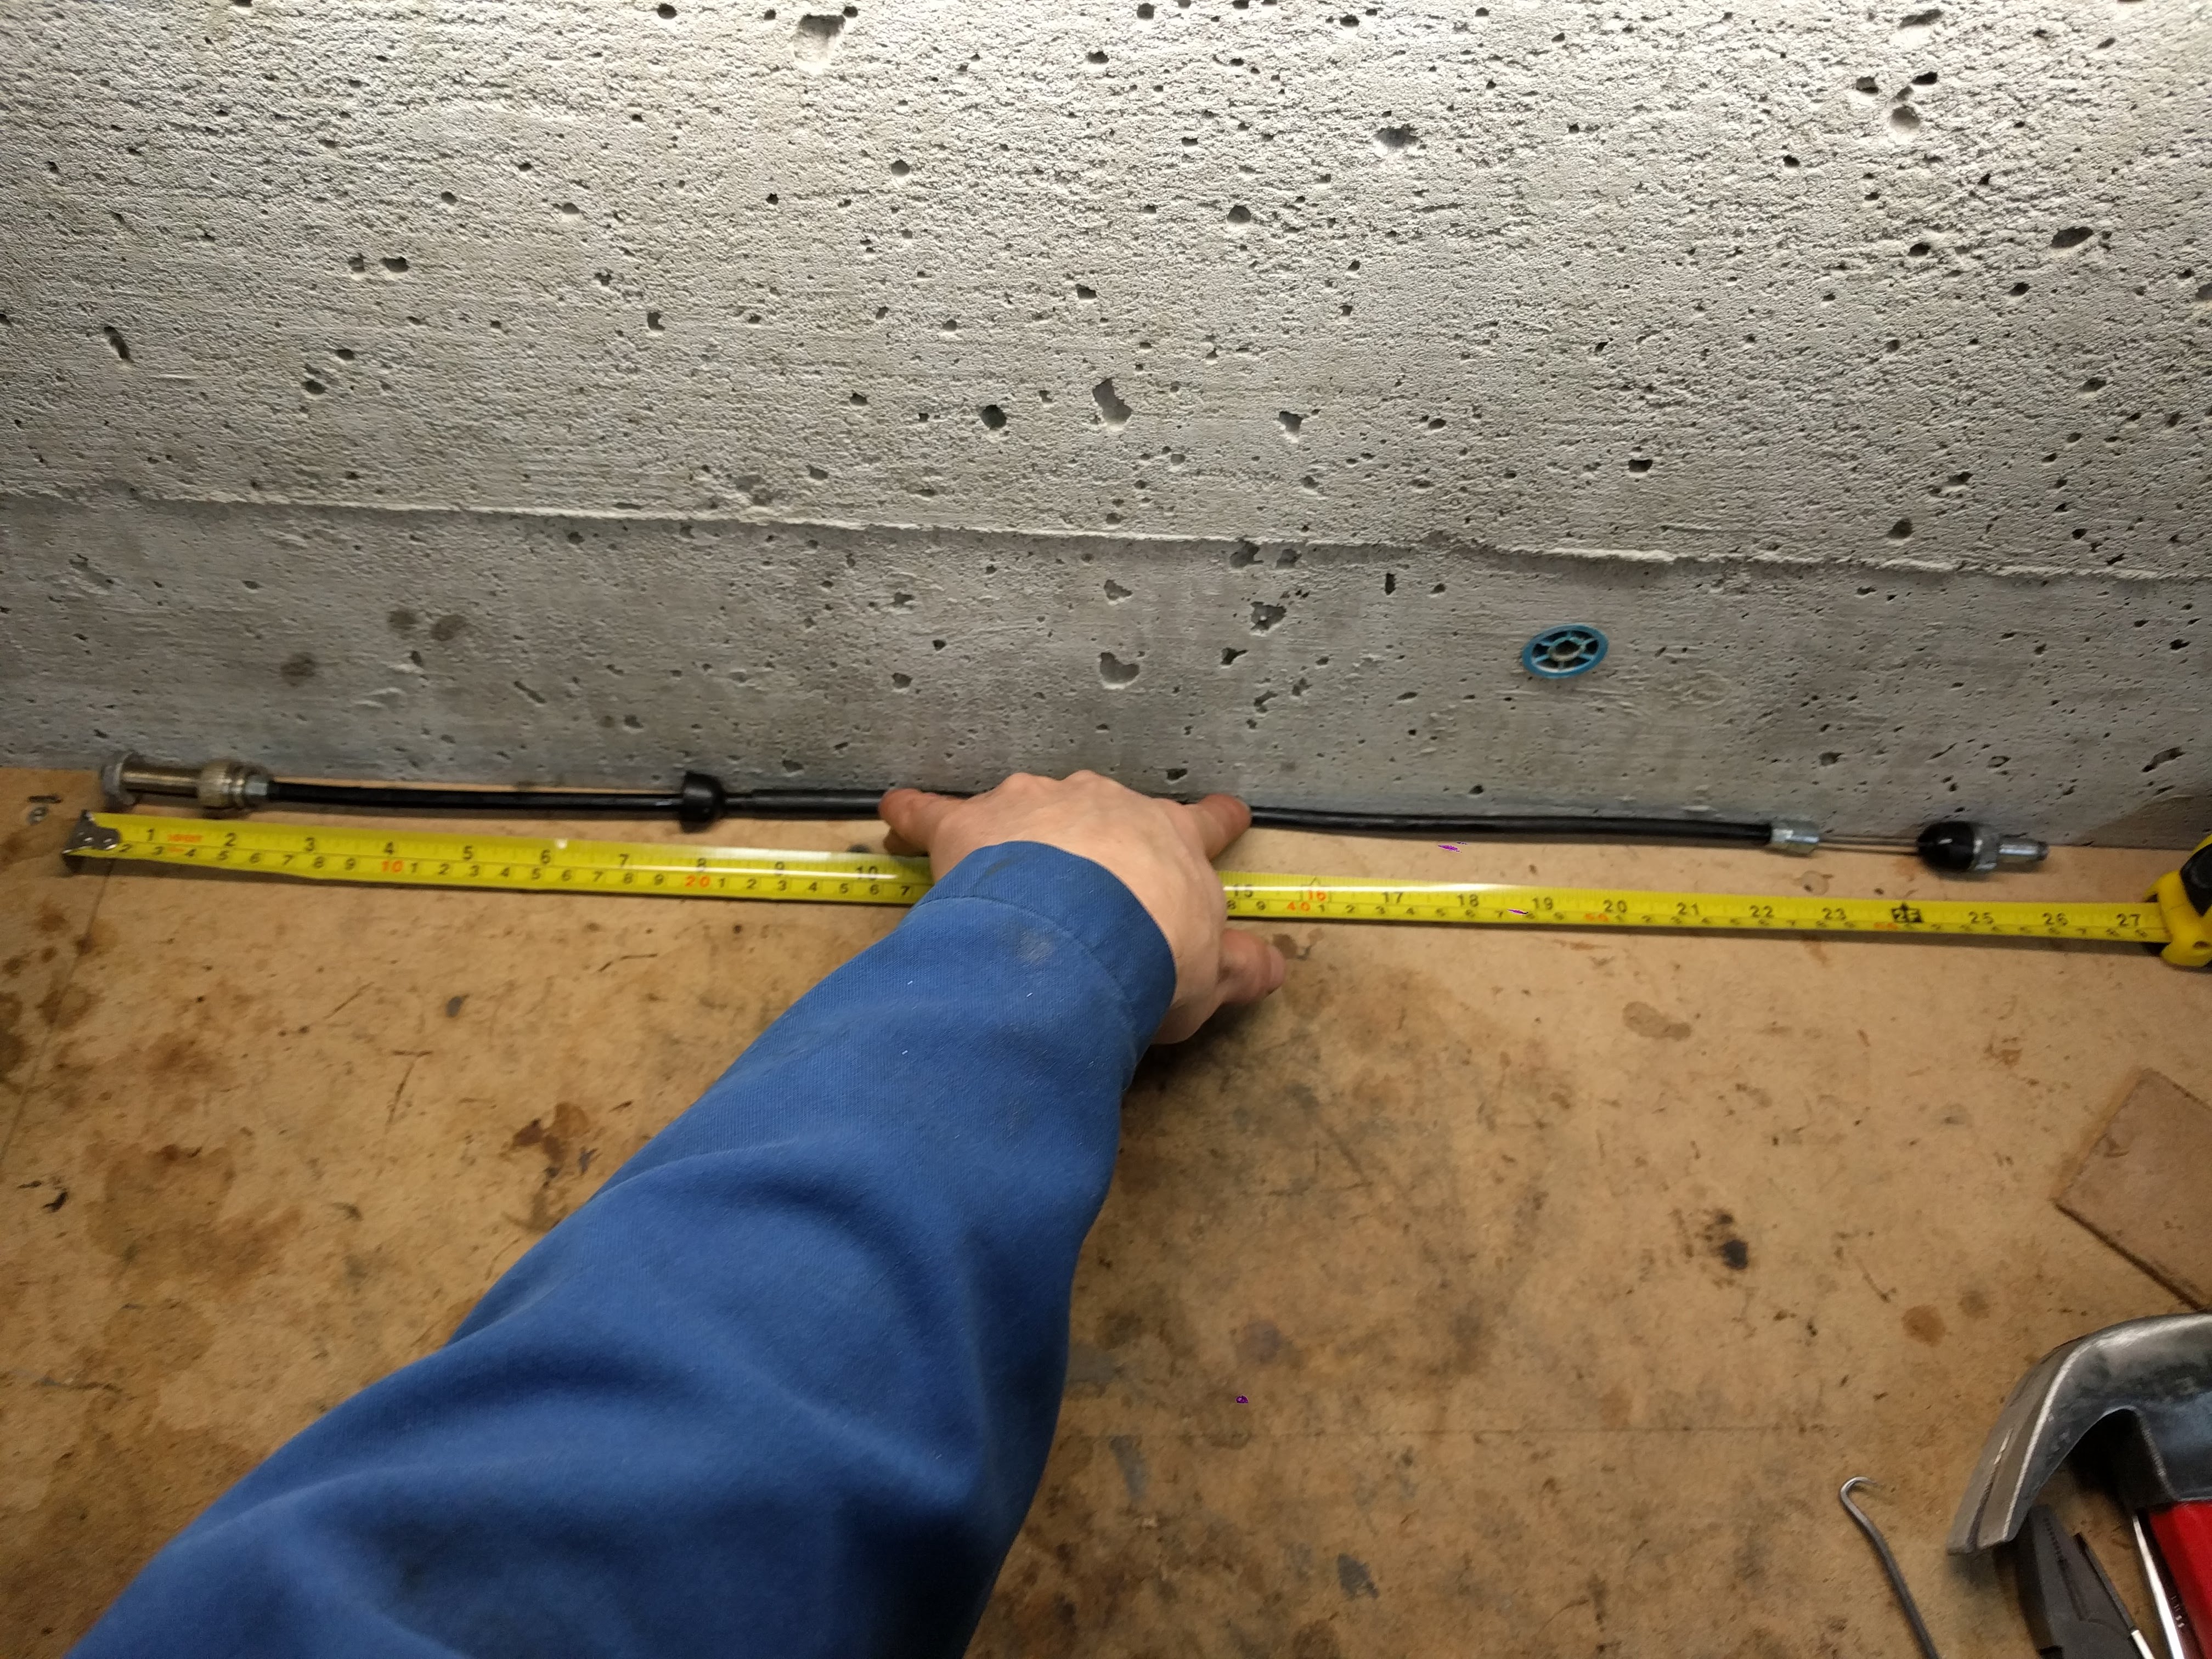
The cable from the front lever to the M/C is very corroded. Maybe salvageable, and/or I’ll order up a new OEM one, but a lot will depend on the levers we go with. Most likely we’re steering away from BMW proprietary cables and moving to something more universal. I’ll have to see how the cable end will interface with the lever arm on this M/C. To also learn: systems for making custom cables and housing. Why can’t it be simple like bicycles?

Fun trivia: in the early 1970s dealers noticed some airhead fuel tanks were coming with a larger open cavity on the underside. A year or two later they found out why: BMW was getting ready to start putting front discs on their bikes, with a “hidden” master cylinder under the tank (source).
Oh speaking of that source, I just read Duane Ausherman’s tip for refurb of these m/c’s: lightly sand out the bore, and hope the rear seal is OK.
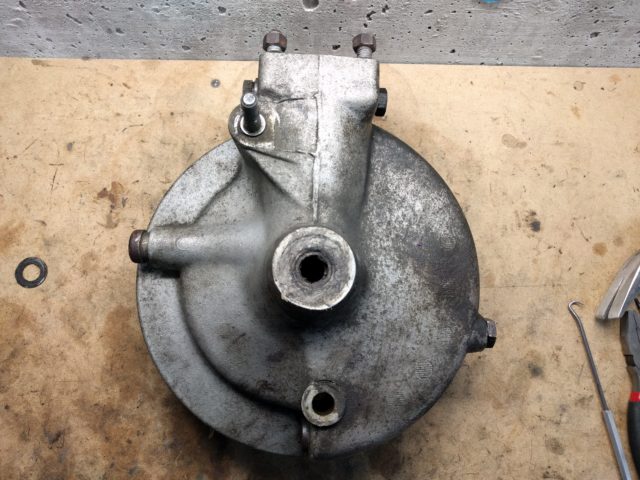
Front Brake Caliper


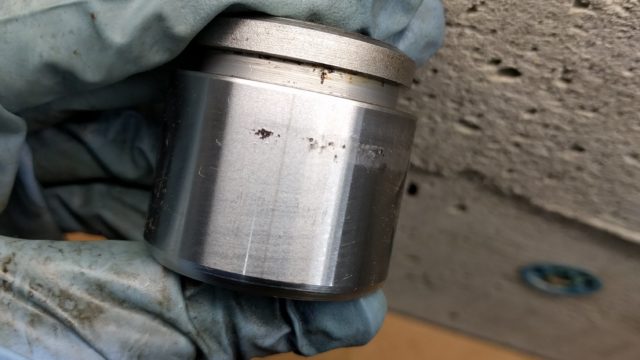

My favourite part about caliper overhaul is the tip my mechanic buddy Dave gave me: use an air compressor to blow the piston out. His warning that it’ll come shooting out with A LOT of force and to keep your fingers WELL AWAY is much appreciated.
Straightforward otherwise, with the expected rust and corrosion. Bad news: Dave says the pitting on the piston = replace the piston, no questions.
All this may be moot as we’re hoping the replacement front fork we’re looking for (from a DR650) will come with a replacement front caliper. I doing all this to these old ATE ones as a backup.
Side note: the simple green + ultrasonic removed some of the black finish from the front caliper, which is…well it’s half way and I’m not sure what looks better and what it looked like originally.
Final Rear Drive
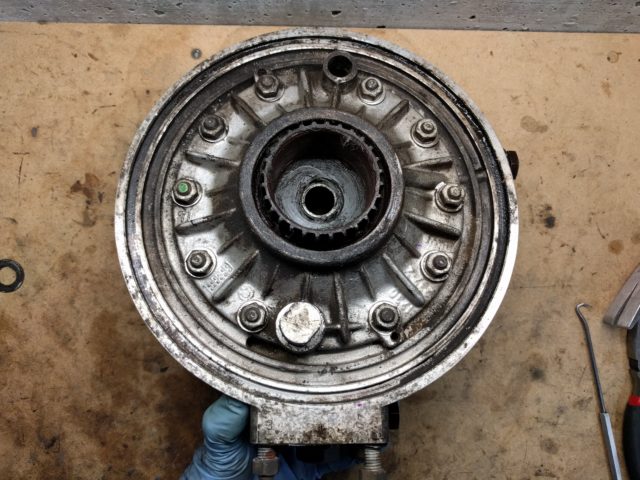

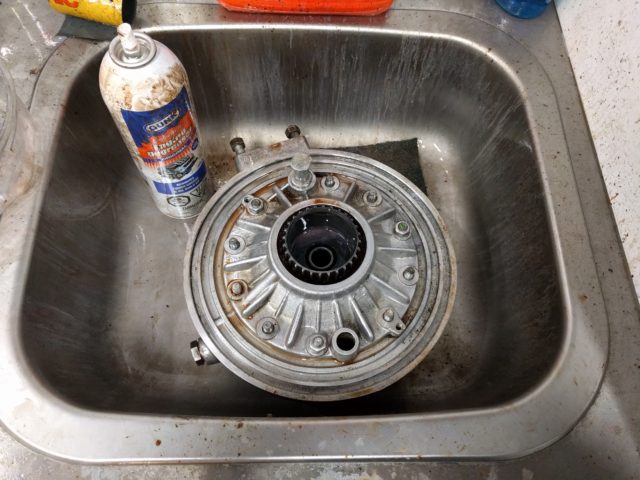
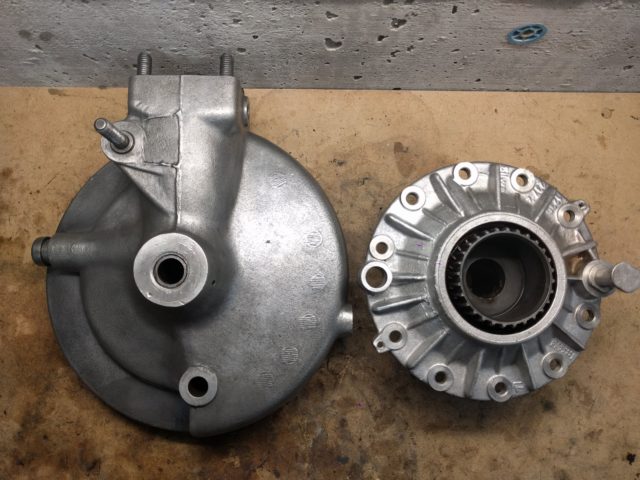

Debated opening up to inspect the pinion and ring gears, but if I didn’t we’d always be wondering. Glad I did: it’s a cool process, and the mint condition of the pinion and ring gears (I think it’s mint, anyway) gives me a lot of confidence in a 100,000+km bike moving forward (and a lot of admiration for drive shaft bikes, and BMW).
This took two hours to clean, and I’m not done. Man that thing is / was dirty. Dave’s bringing a bench polishing wheel tomorrow, which will come in very handy.
My main concern in all this was the gasket removal and the “brass” brushes I used for scrabbing. I know there’s specific gasket removal chemicals, but I didn’t have any on hand tonight and the few I’ve done (and read about) indicate it still comes down to elbow grease. After some struggling I resorted to the brass-brush-on-a-drill to get the gunk off. It is, however (I think?) a bit too aggressive on the machined surfaces. I’m not sure but it appears to take aluminum material off, or at least very small scratches. My questions are:
- Does it make a difference if a new gasket is going in?
- If the scratching is at least very minor, and consistently scratched all over, does that help?
- I tried using a razor blade for a bit but it scratched even deeper and was harder to control…
- I put “brass” in quotes because I think one of the cheap brushes I have is steel wire coated in brass, which (I think) is wearing off pretty quick, so maybe I’m actually steel brushing?
Tonight’s dinner: half a can of month-old beans half frozen in the over-cold fridge, and Mama’s-brand instant noodles:

Leave a Reply