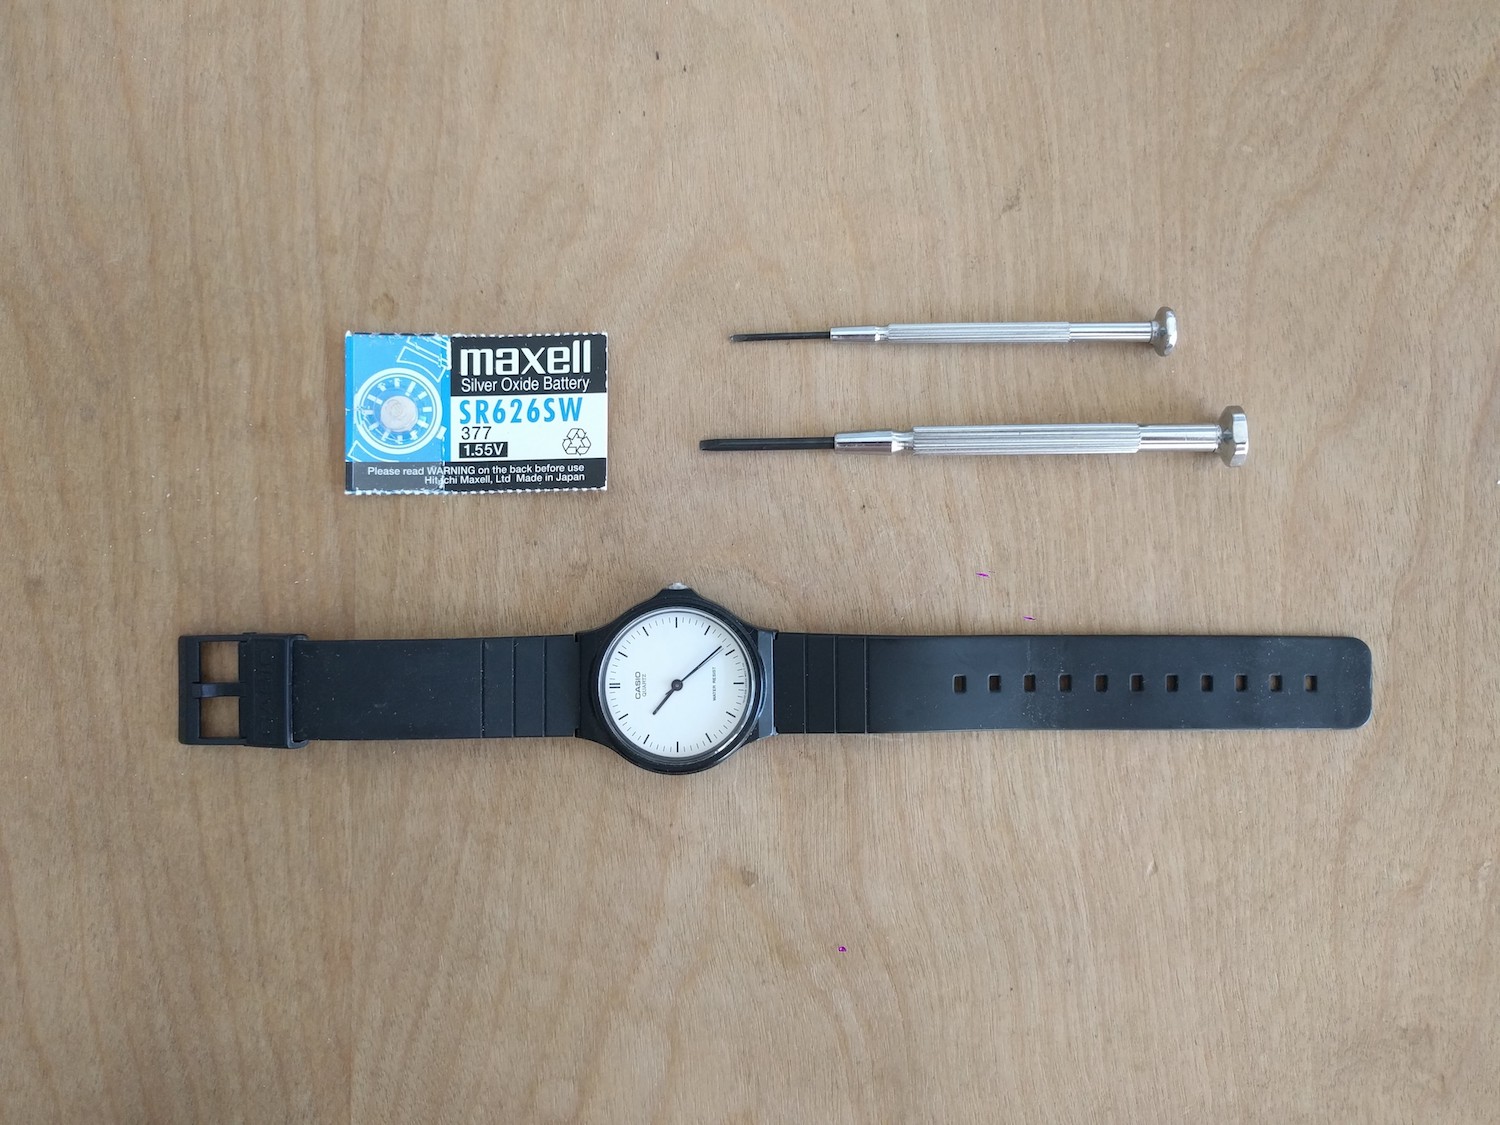
This may also apply to other Casio models with similar snap-on back covers. I believe the following batteries codes are all compatible: SR626SW / 377 Battery / SR66. I bought the Maxell SR626SW in bulk.
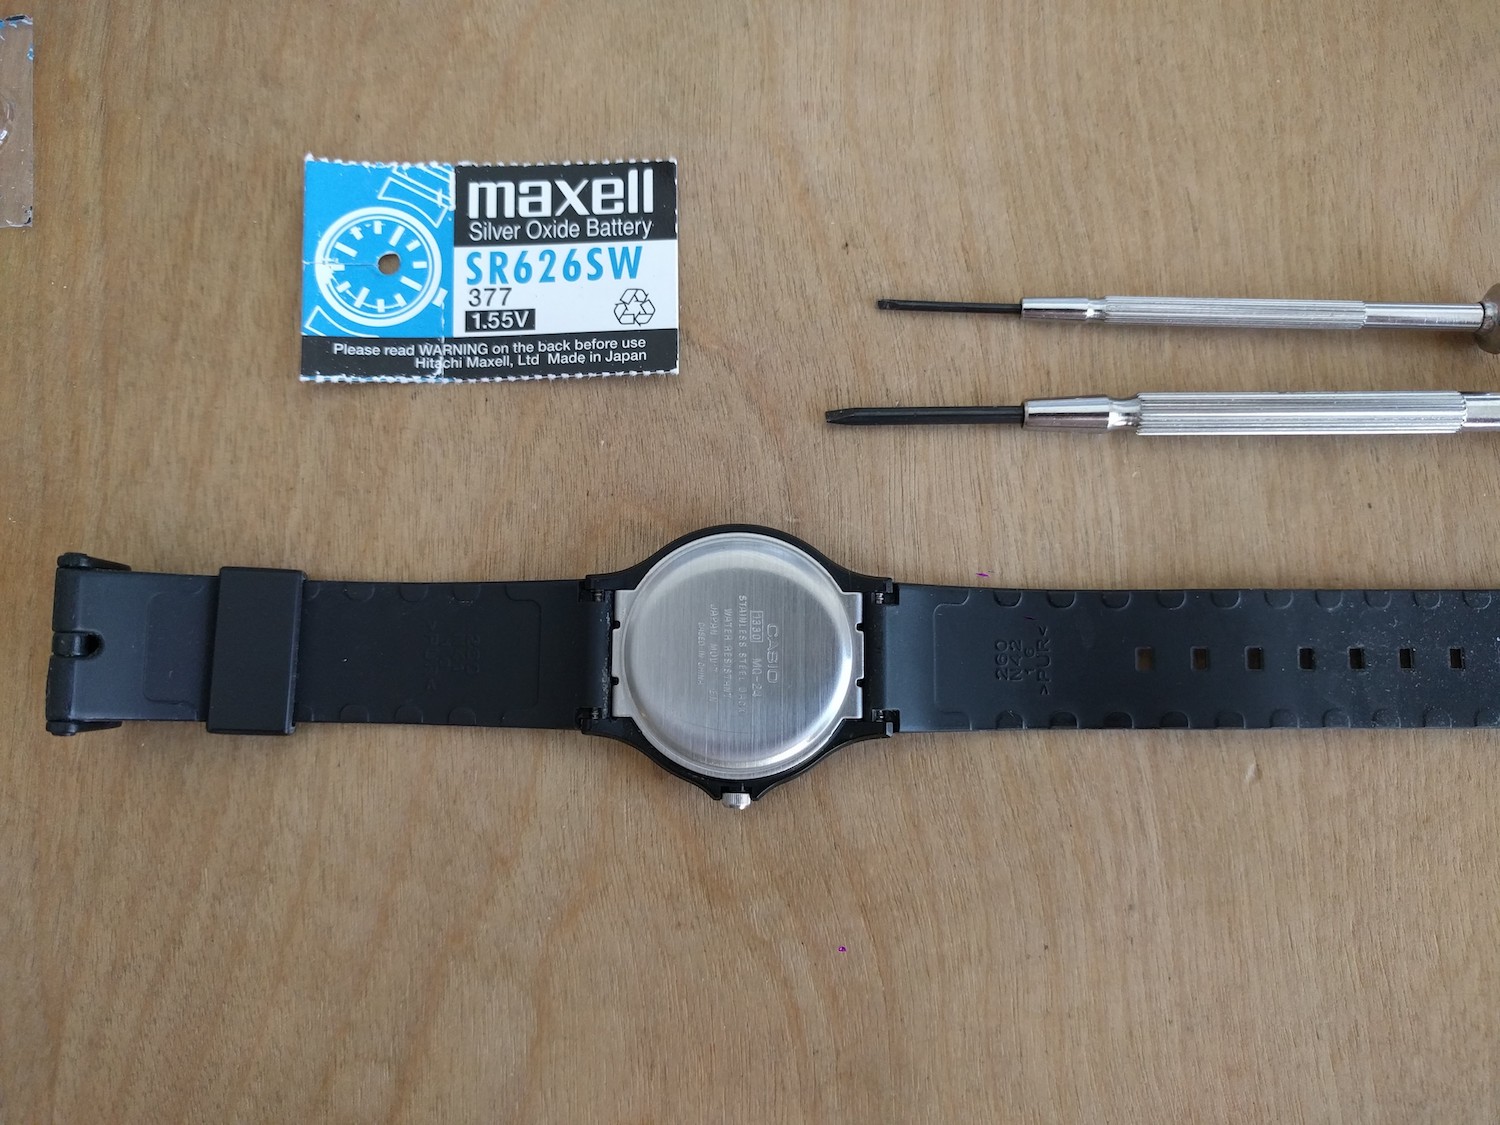
Parts & tools:
- replacement battery
- at least one small flathead jewelry screwdriver
- Optional second size: larger screwdriver for prying off the back cover more easily

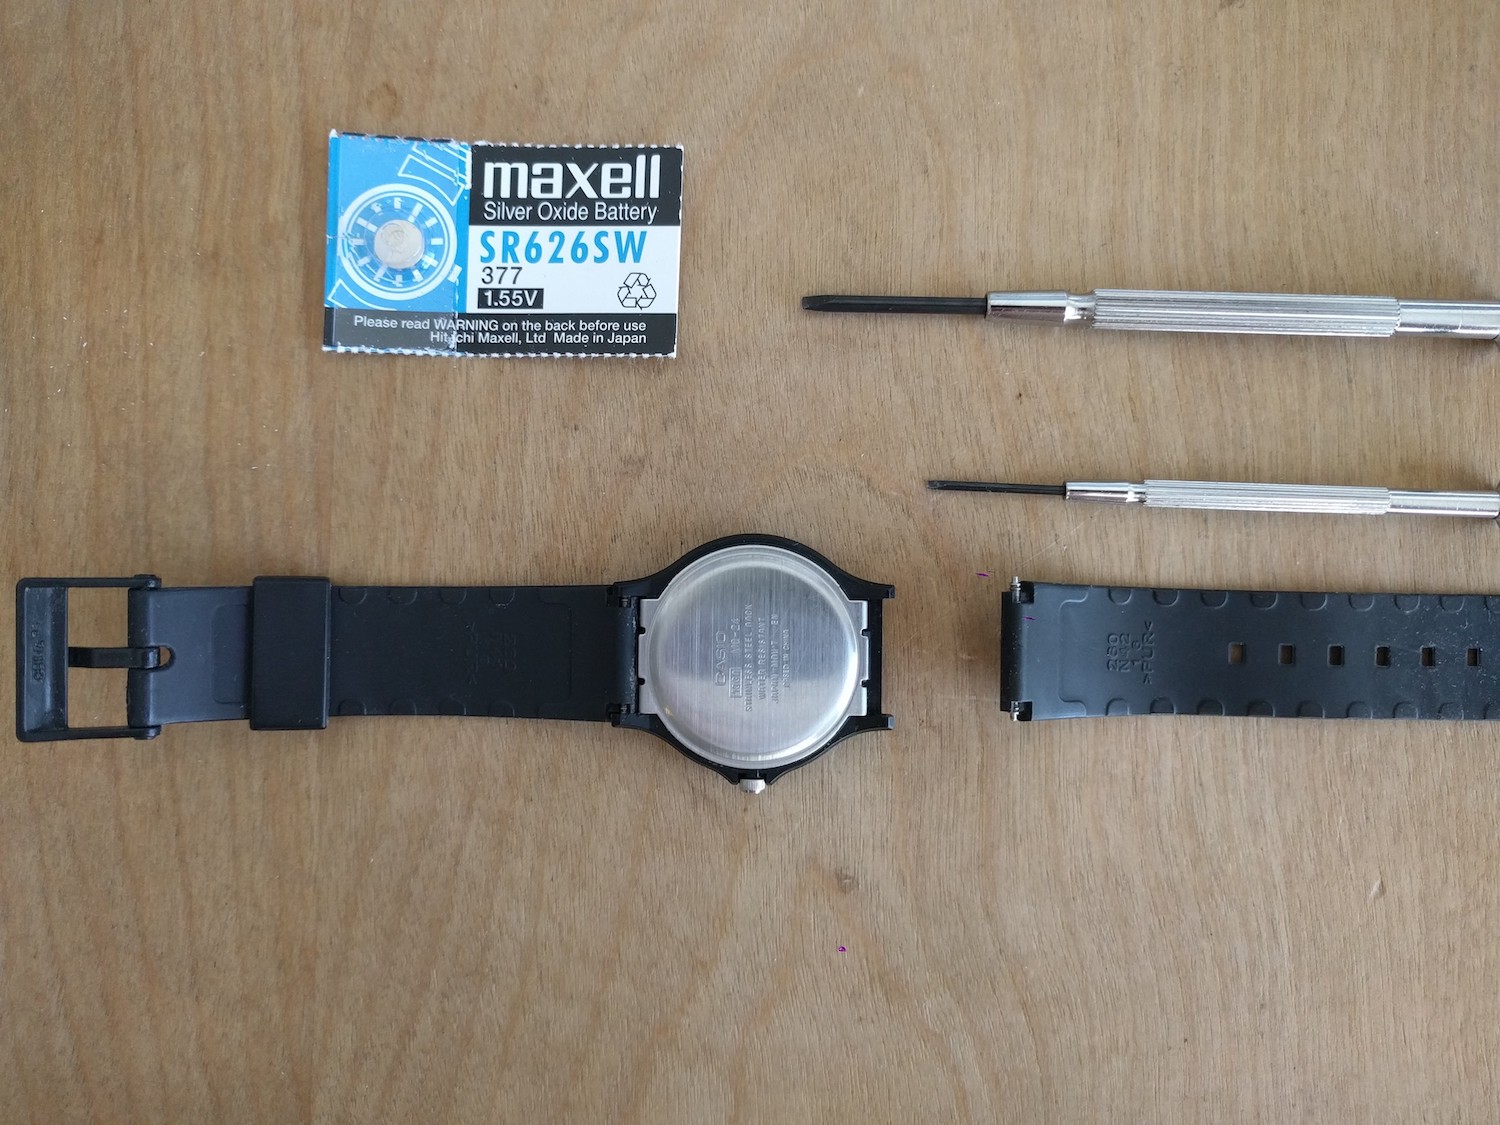
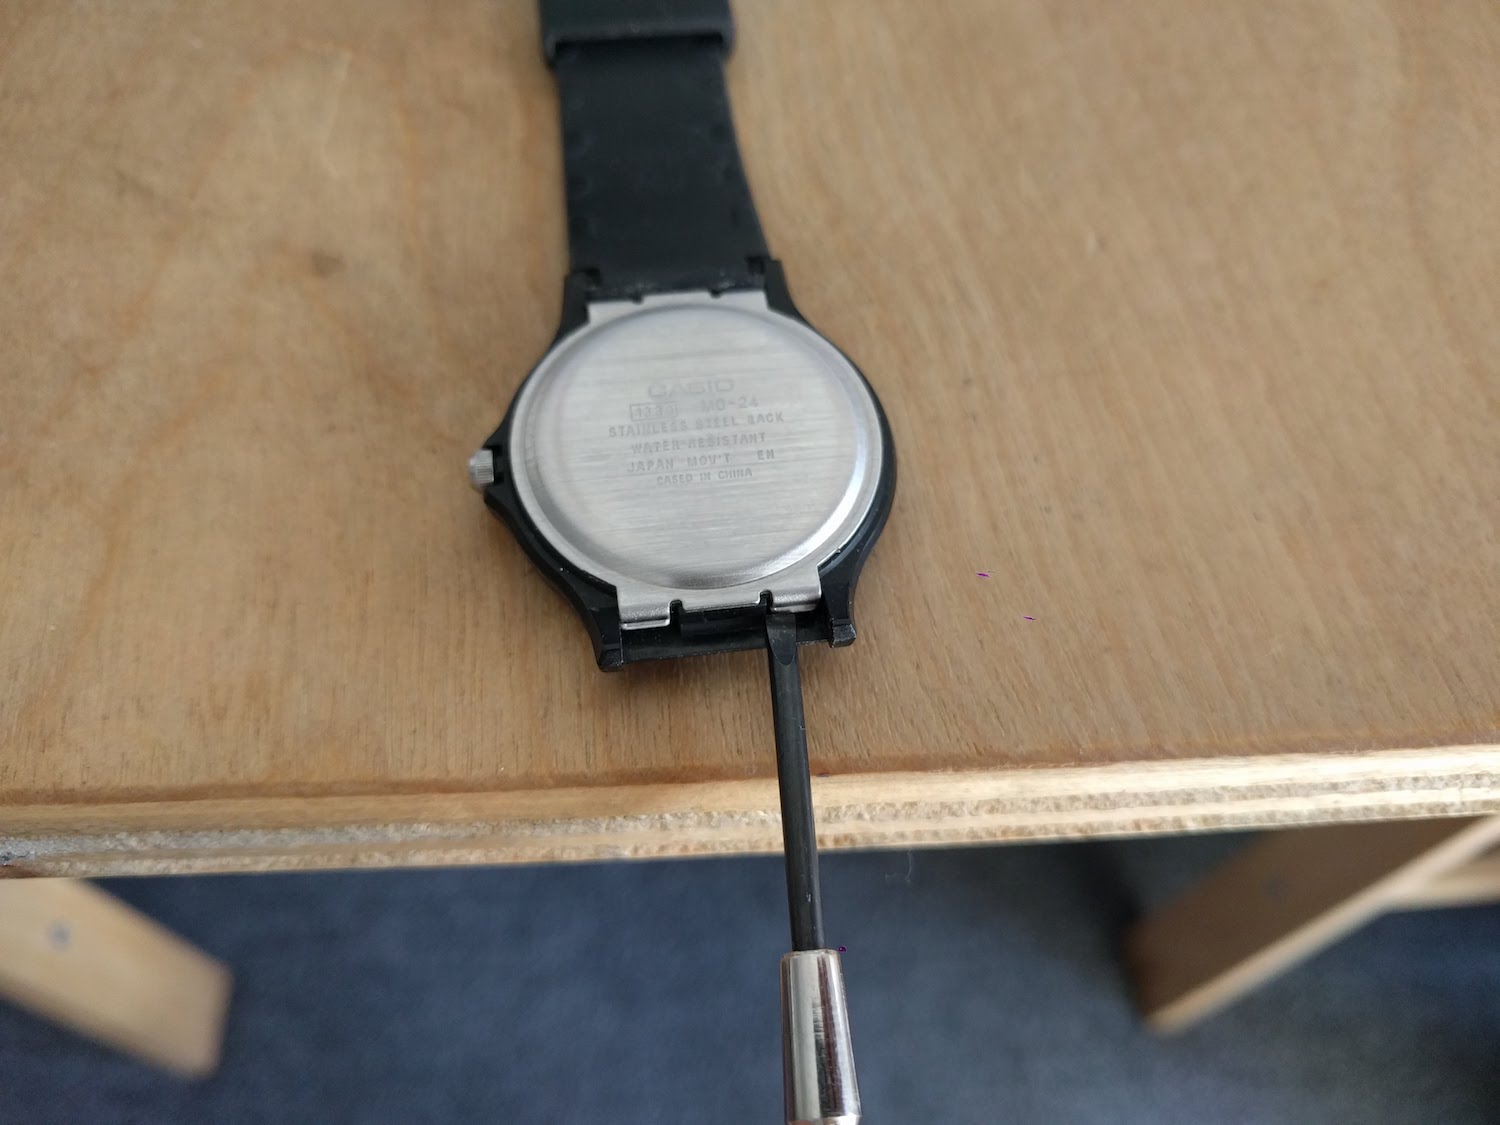
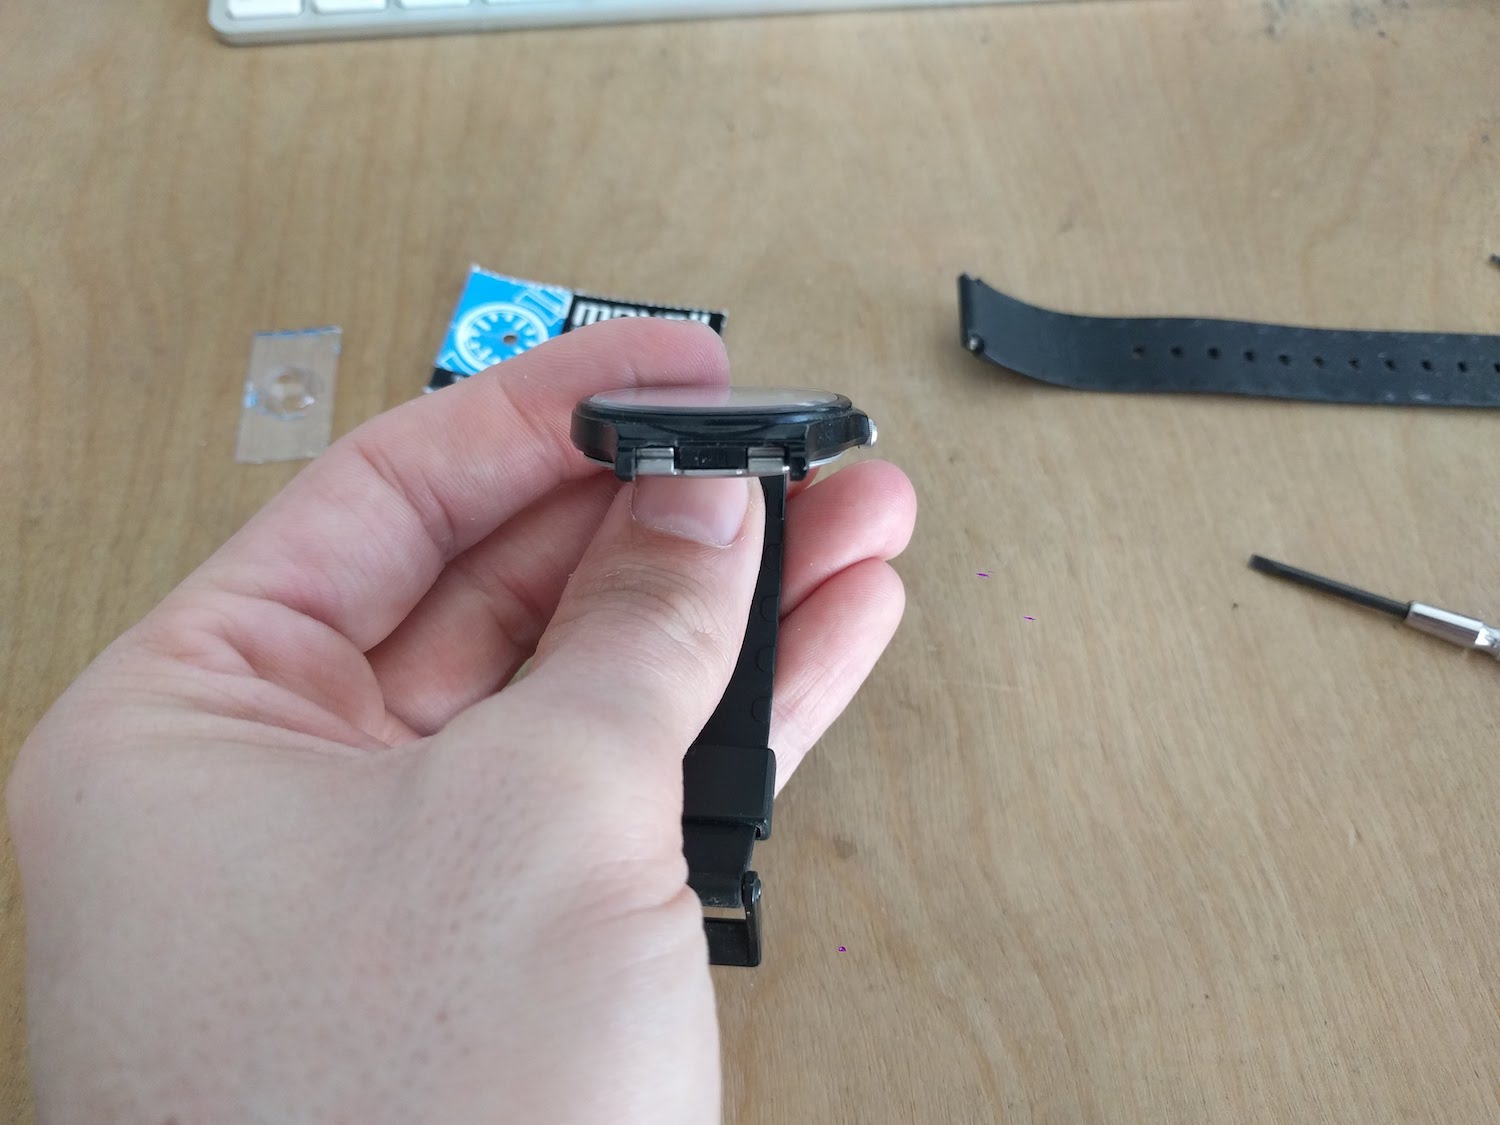
1. Remove one strap.
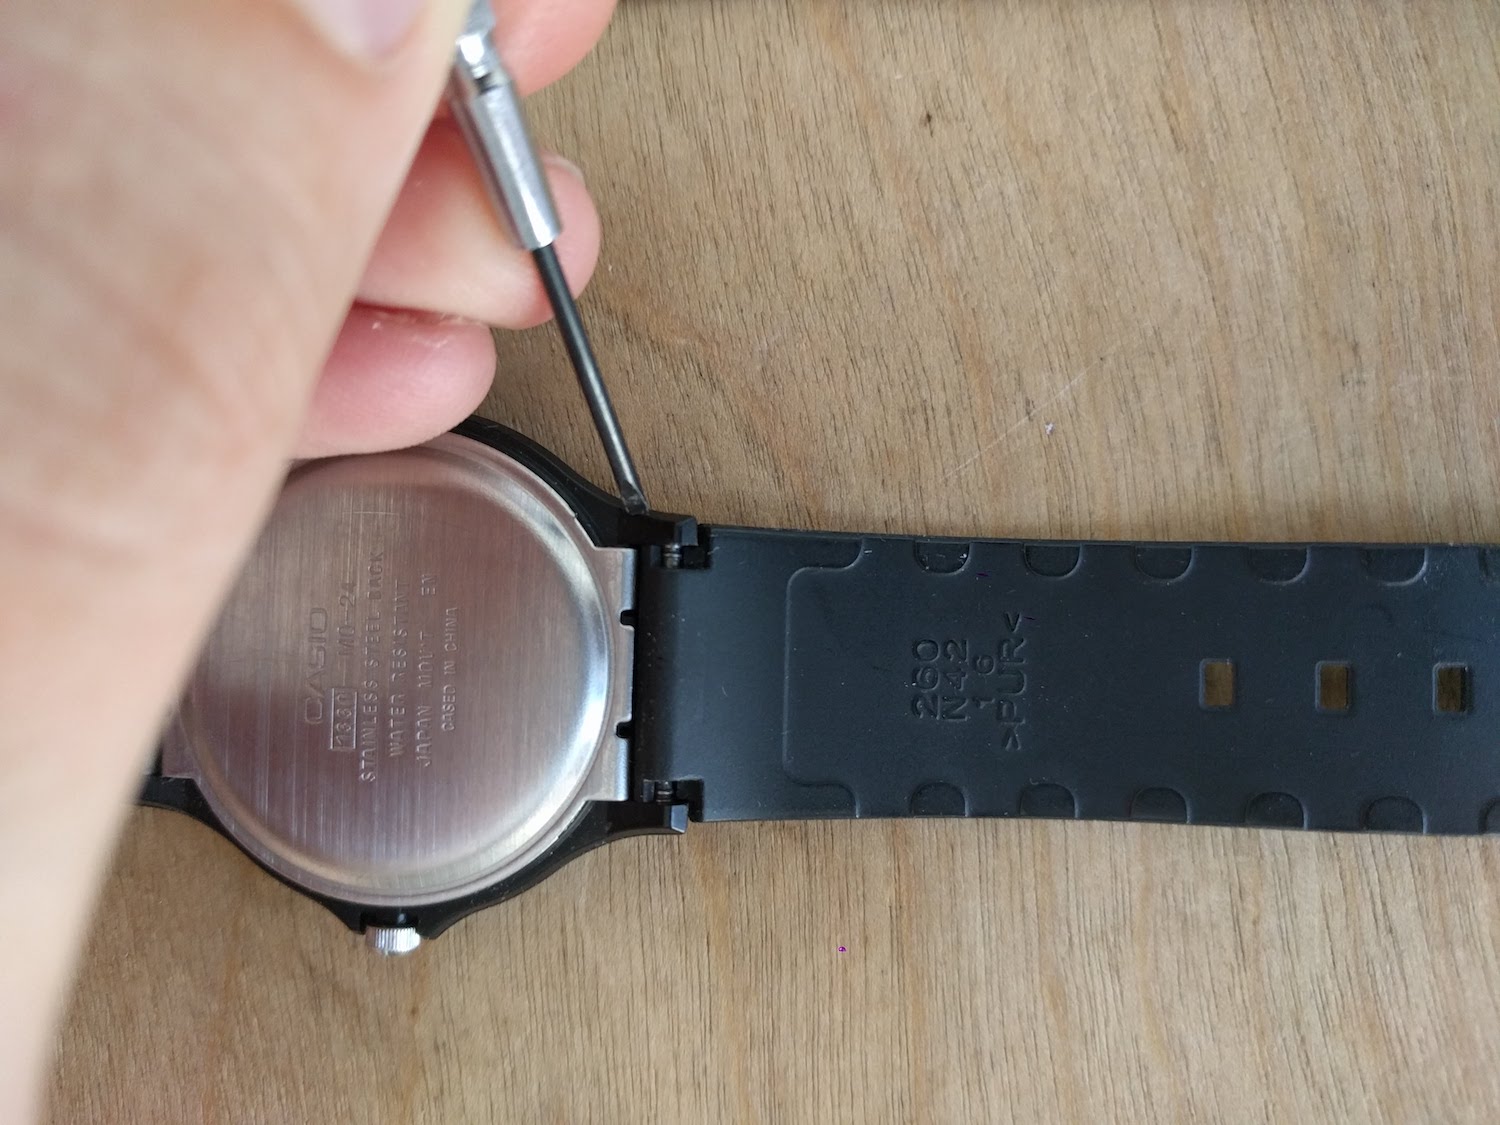
Flip the watch face down on your table. We need to remove one of the straps (either side is fine) to gain access to the back cover. The strap holding pins are spring loaded: fix the end of your small-blade screwdriver on one of the pin’s end grooves closest to the watch body and press away from the watch body and into the strap, while pushing to the right slightly to disengage the pin from the hole in the body.
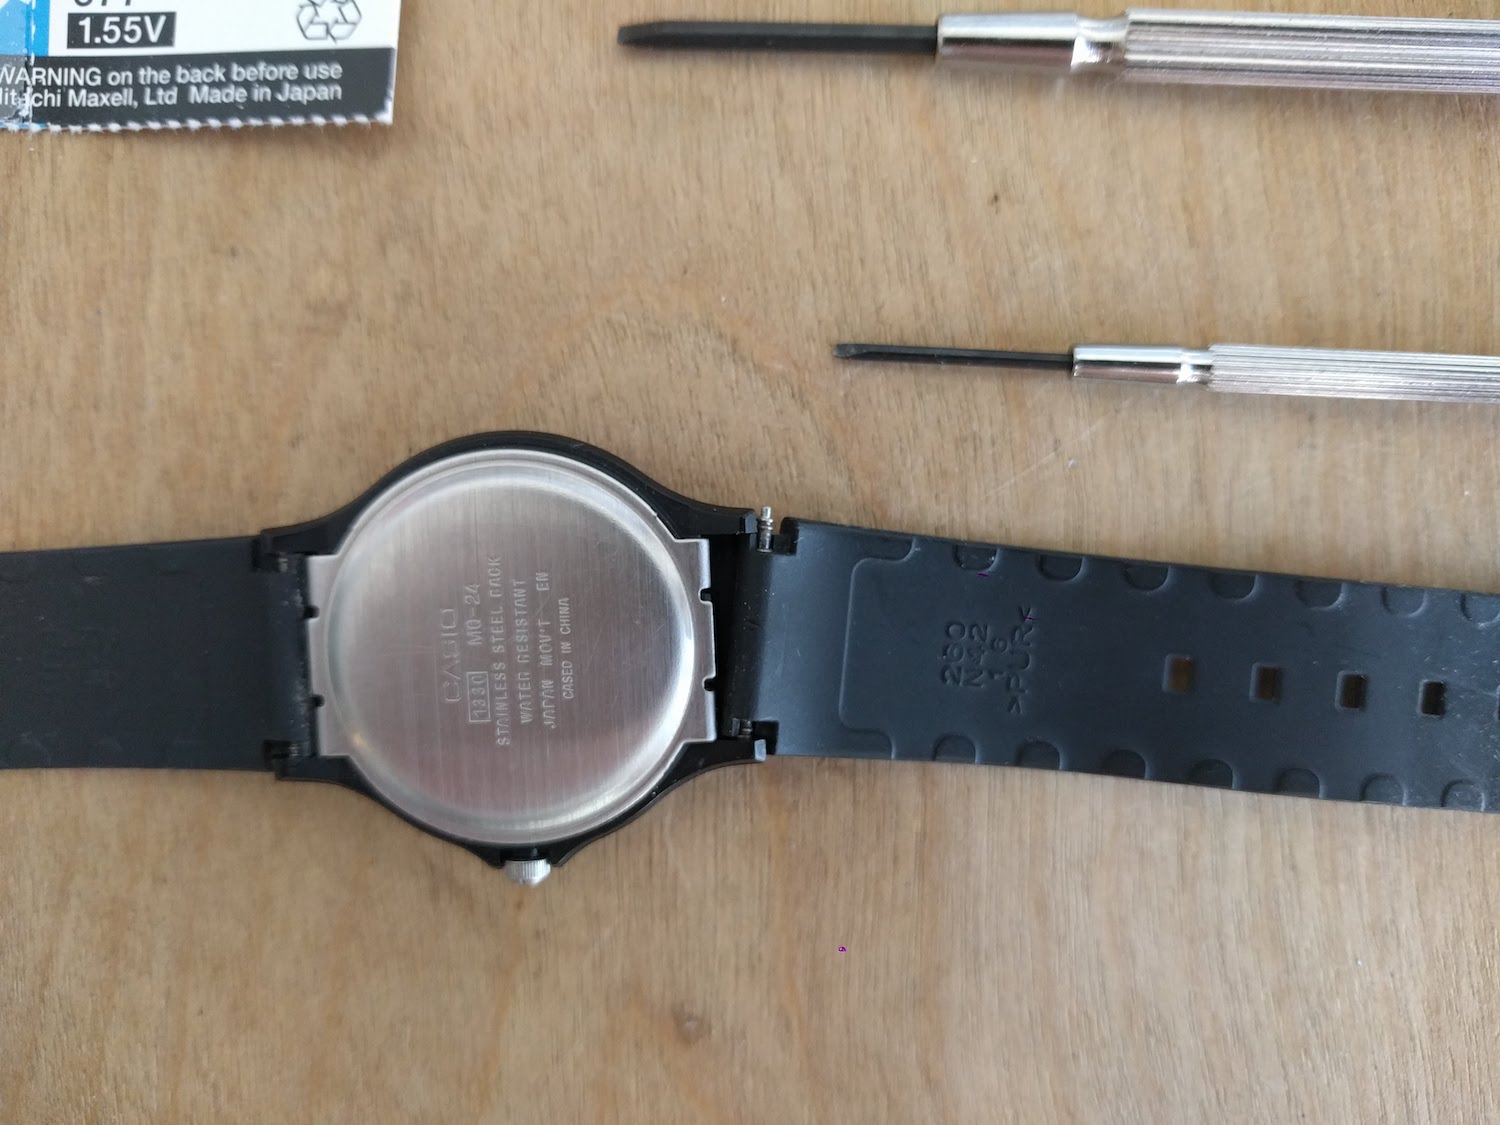
Careful the pin doesn’t go flying when you carefully remove your screwdriver.
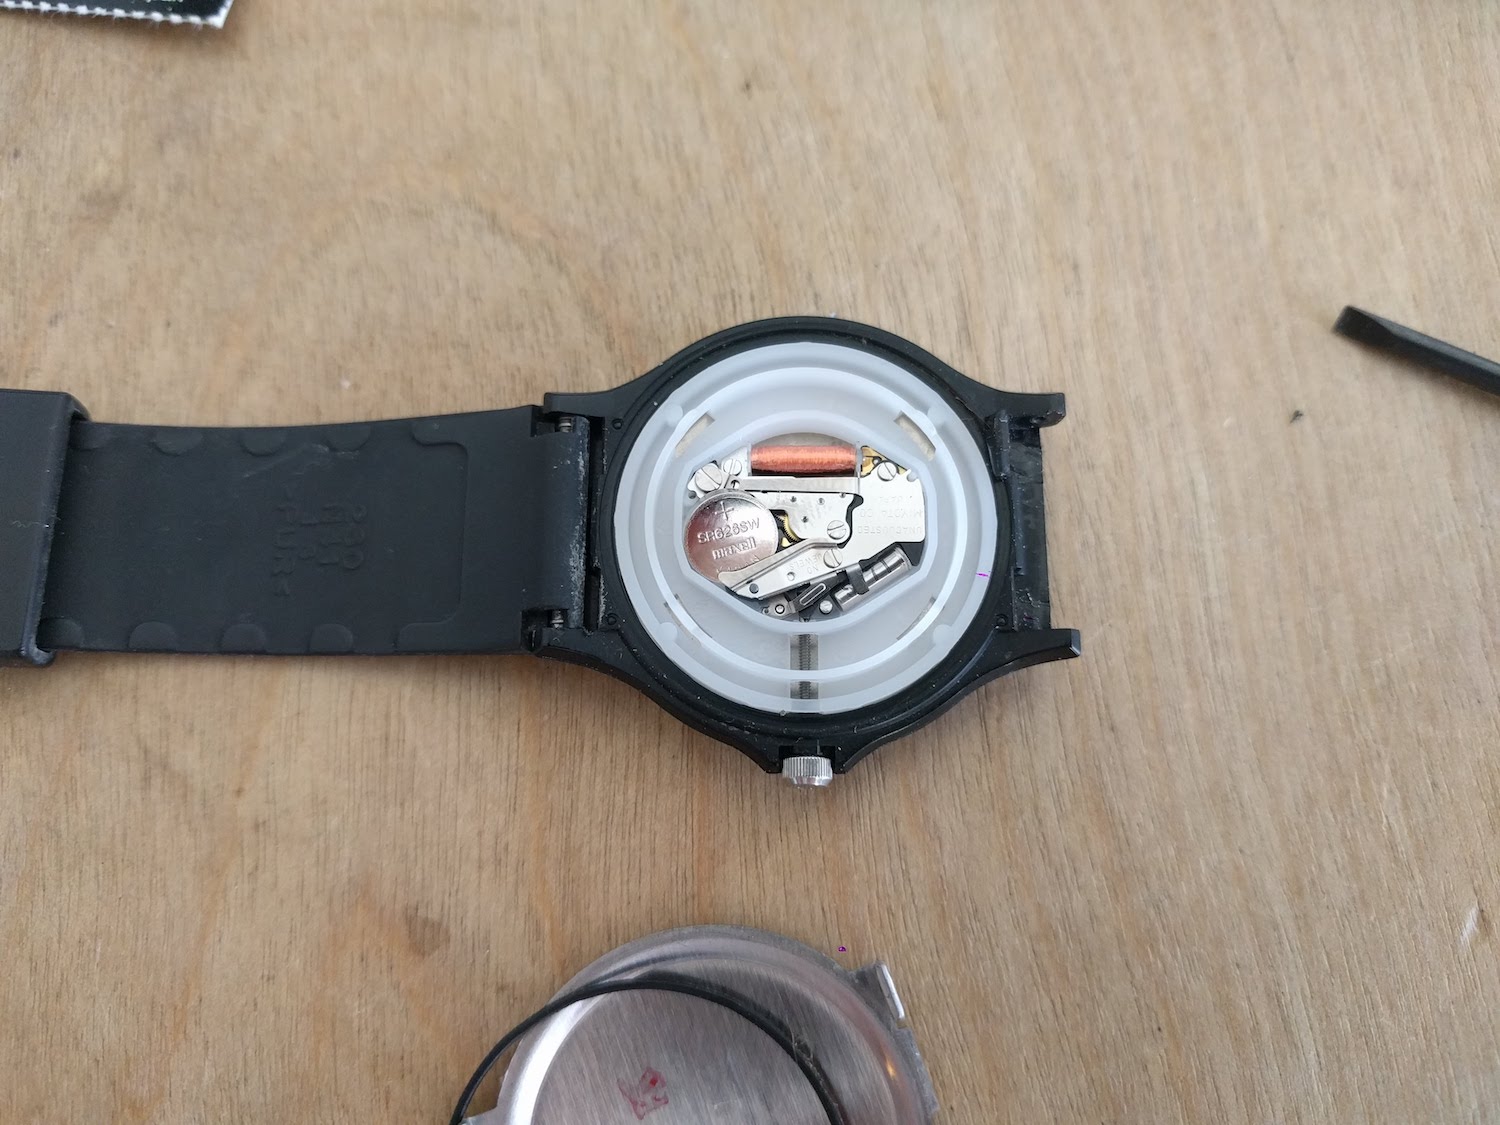
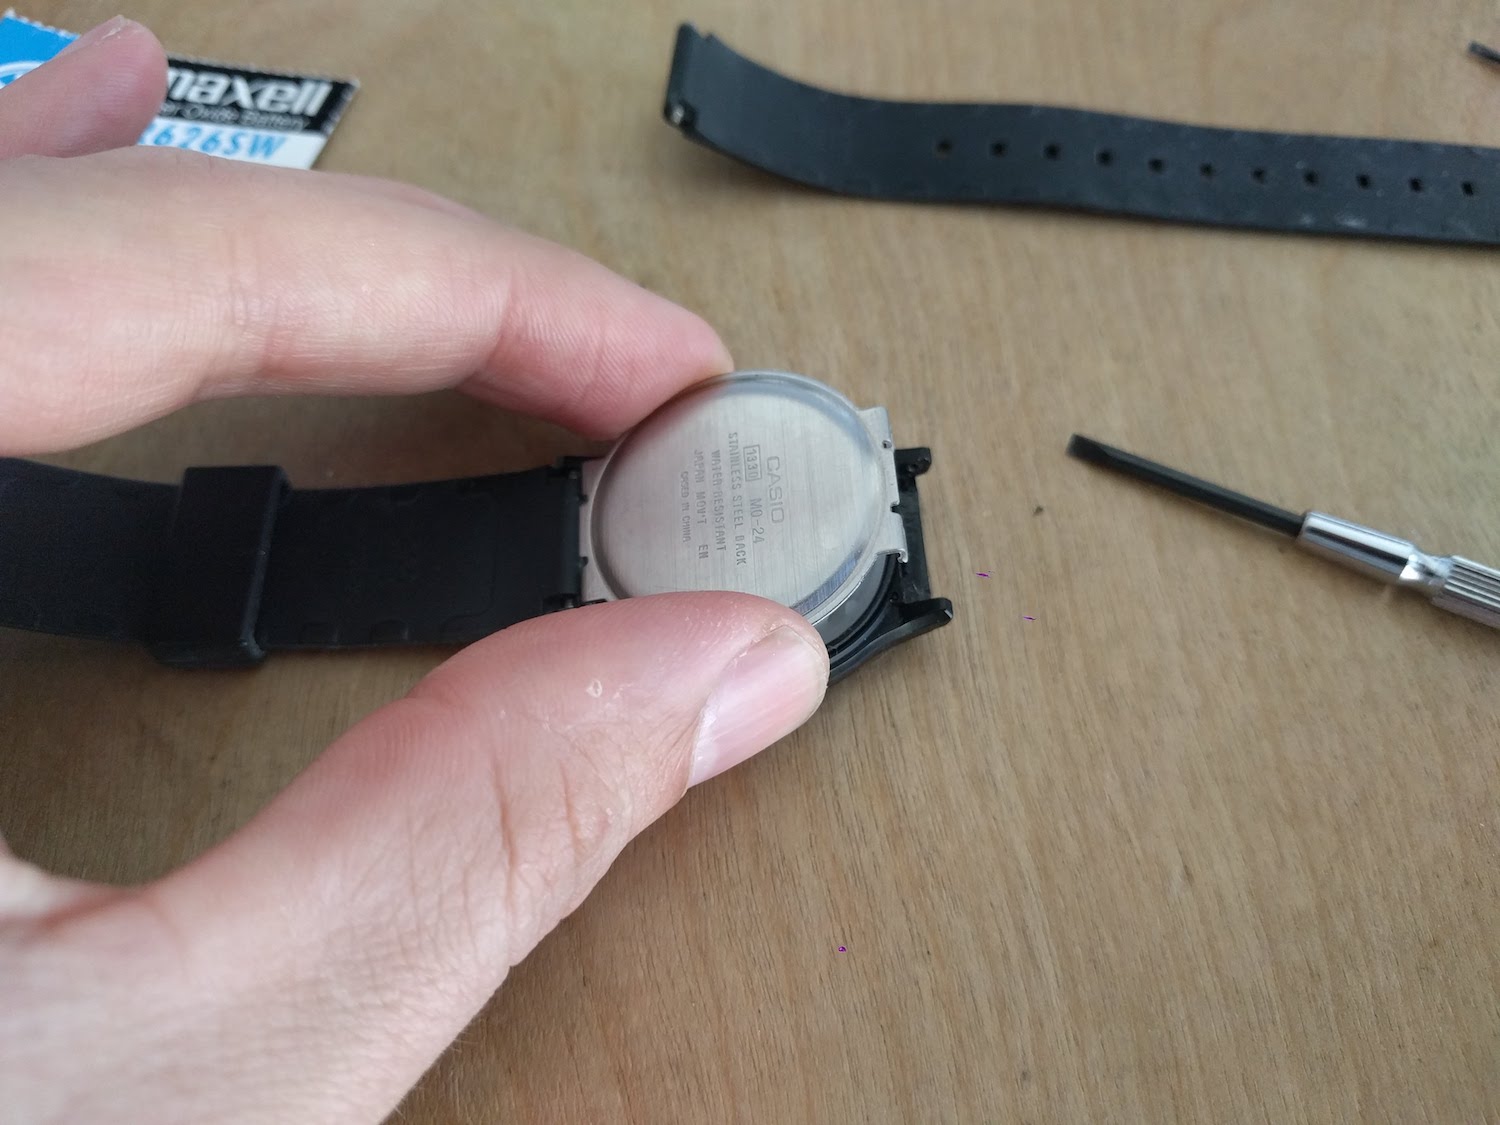
2. Remove back cover.
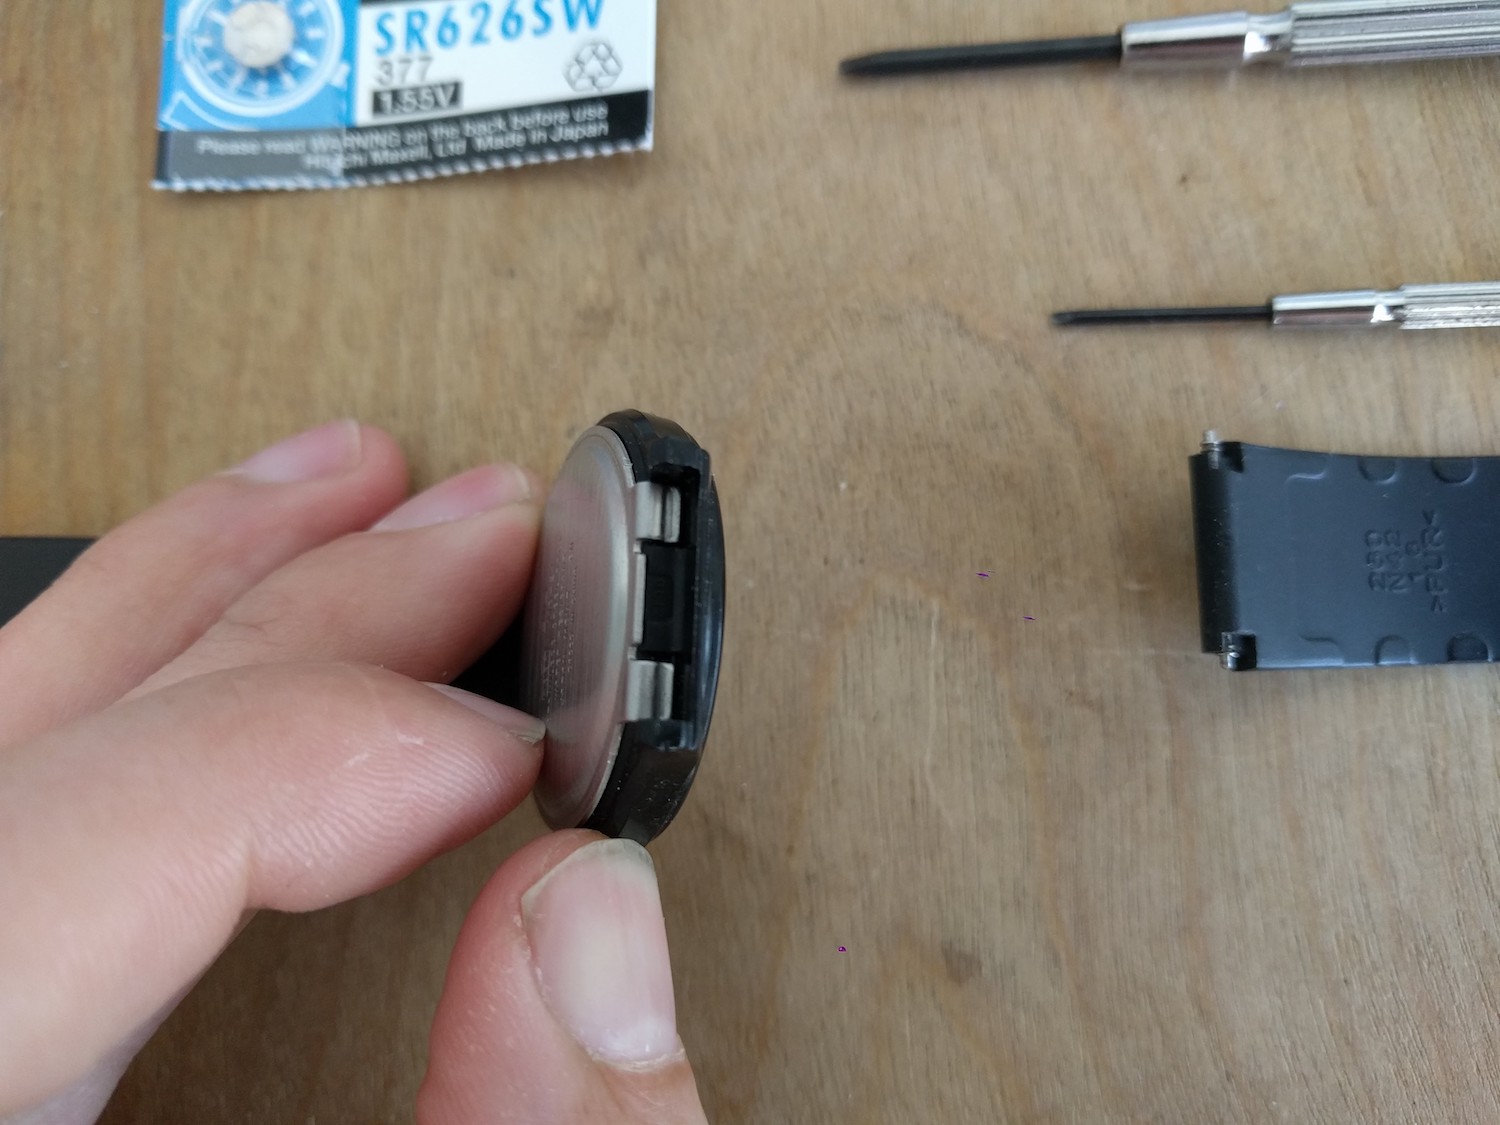

Note the back cover is a press-fit, with two tabs acting as a spring. We need to flex these tabs over the taper of the watch body—carefully pry up on one tab with your larger screwdriver blade until it pops loose. Careful not to damage the plastic of the watch body.
If you need more leverage, hang the screwdriver off the edge of your table. Sometimes I pry from the middle flat of the cover cover, rather than the tabs—not sure which method is better or more consistent.

Slowly pull the back cover off noting if the rubber gasket (o-ring) is stuck to it—don’t break this gasket. The two tabs on the other side should more easily come off the watch body now.
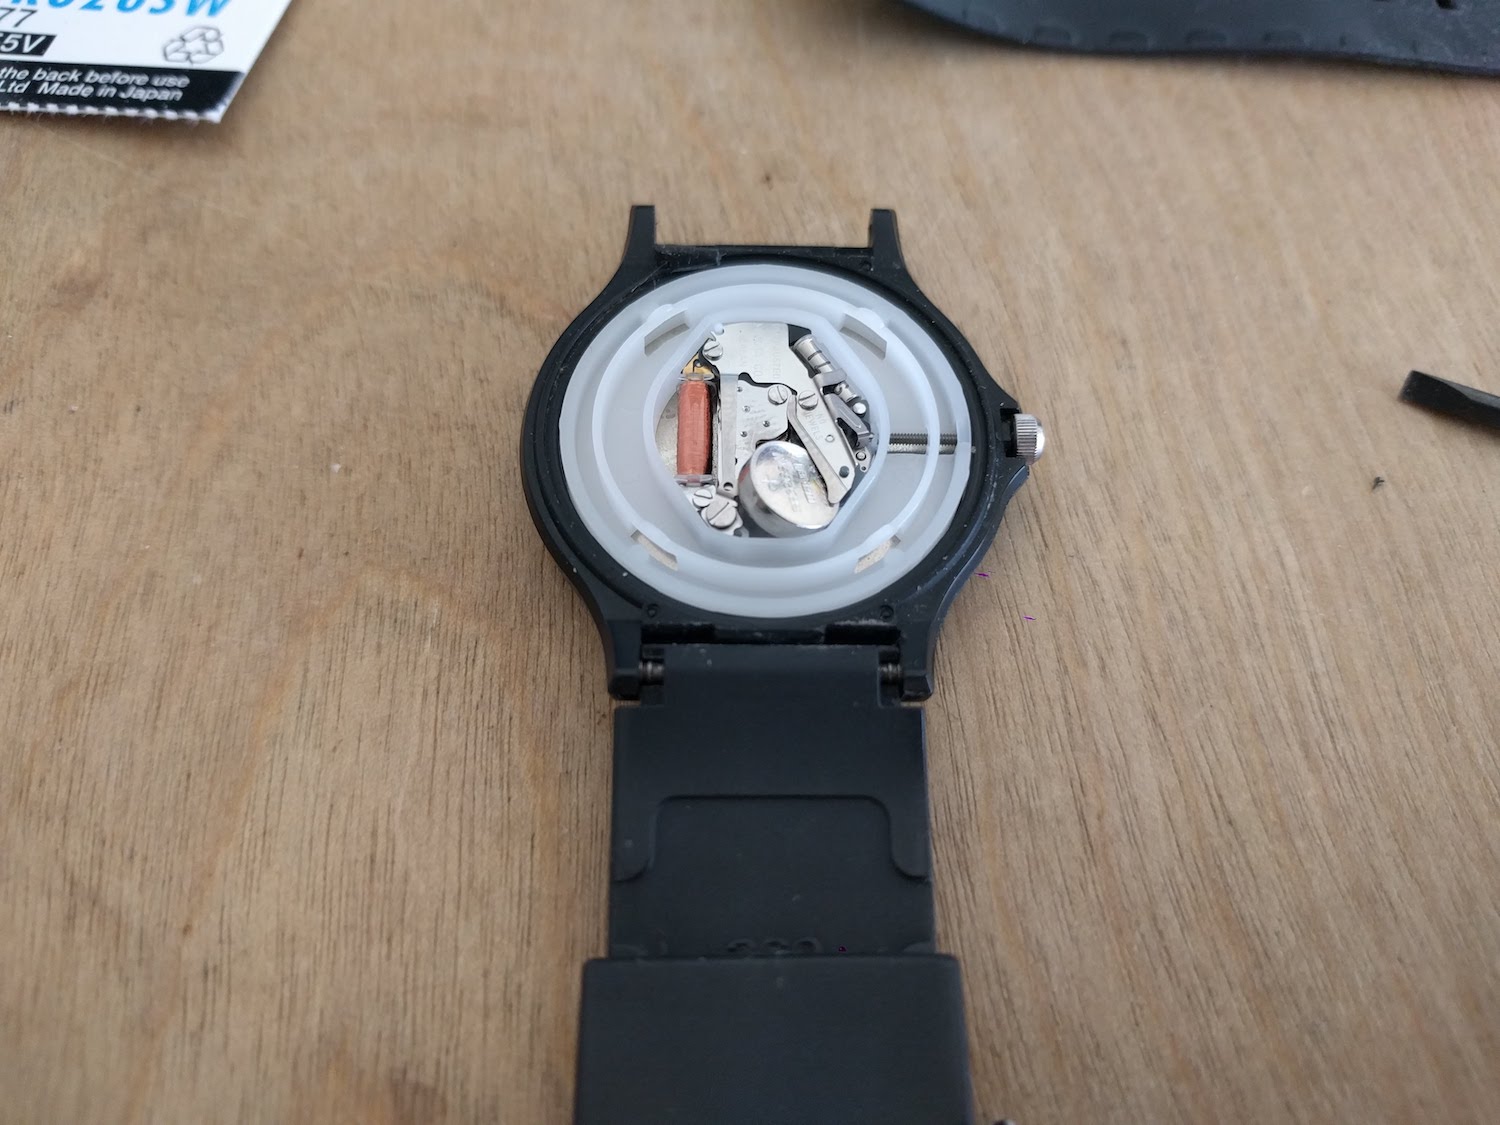
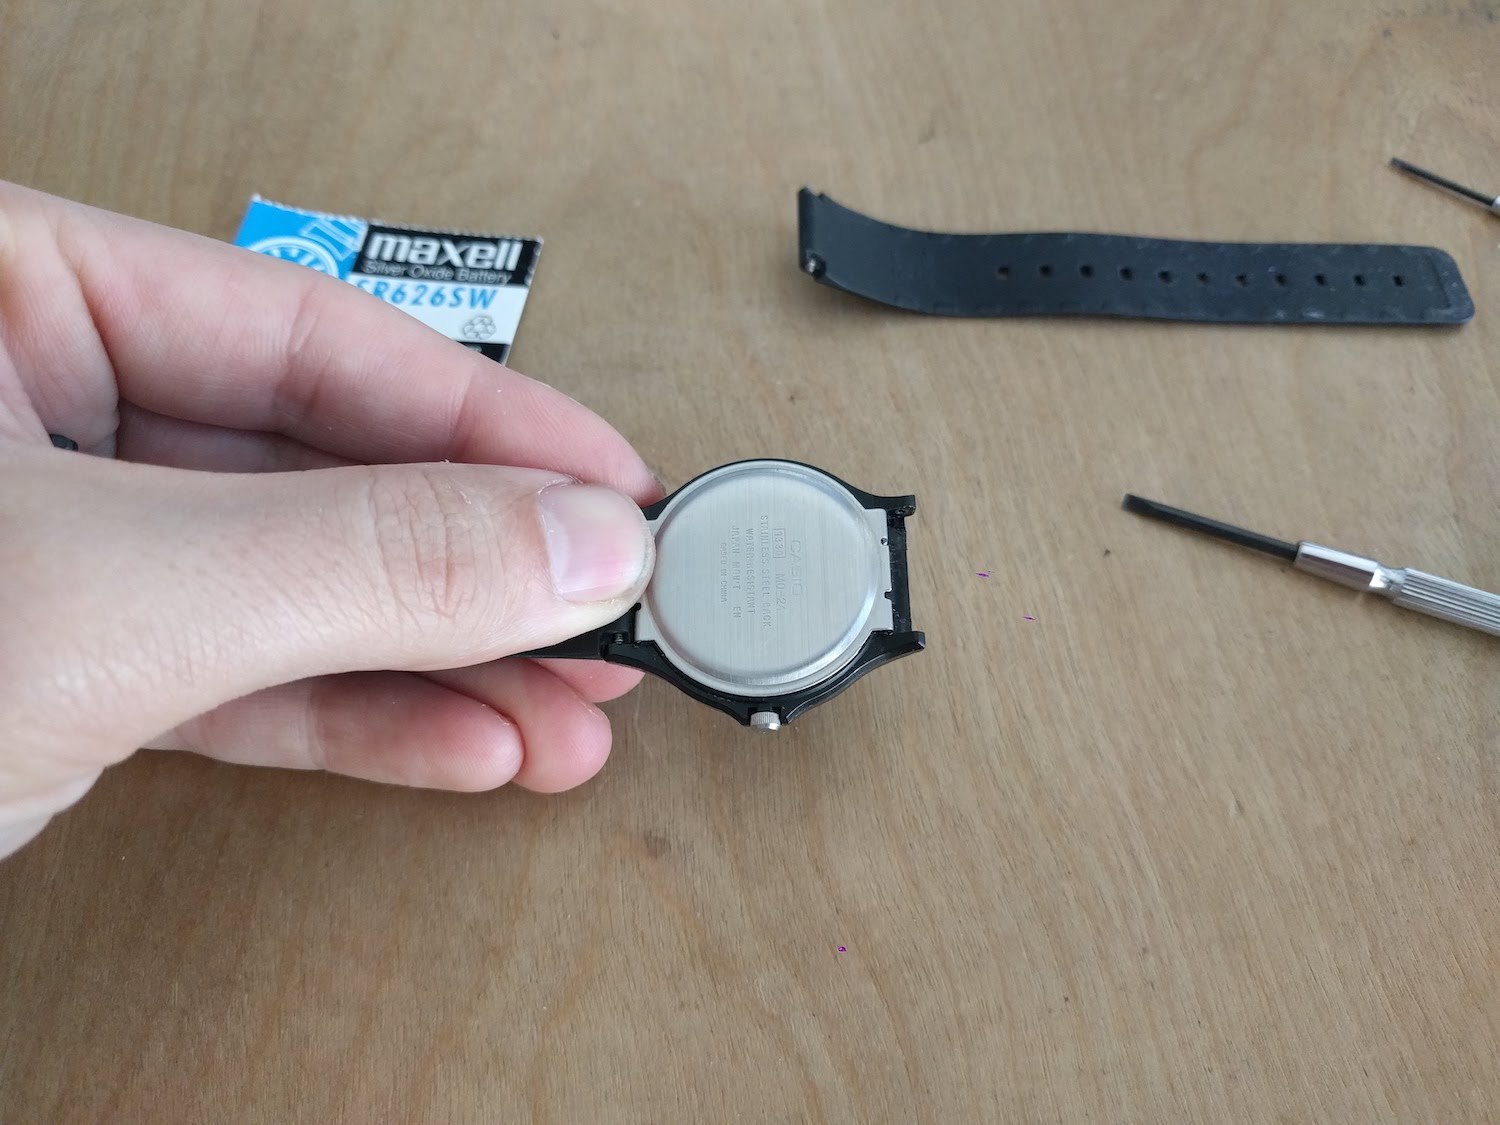
3. Remove gasket.
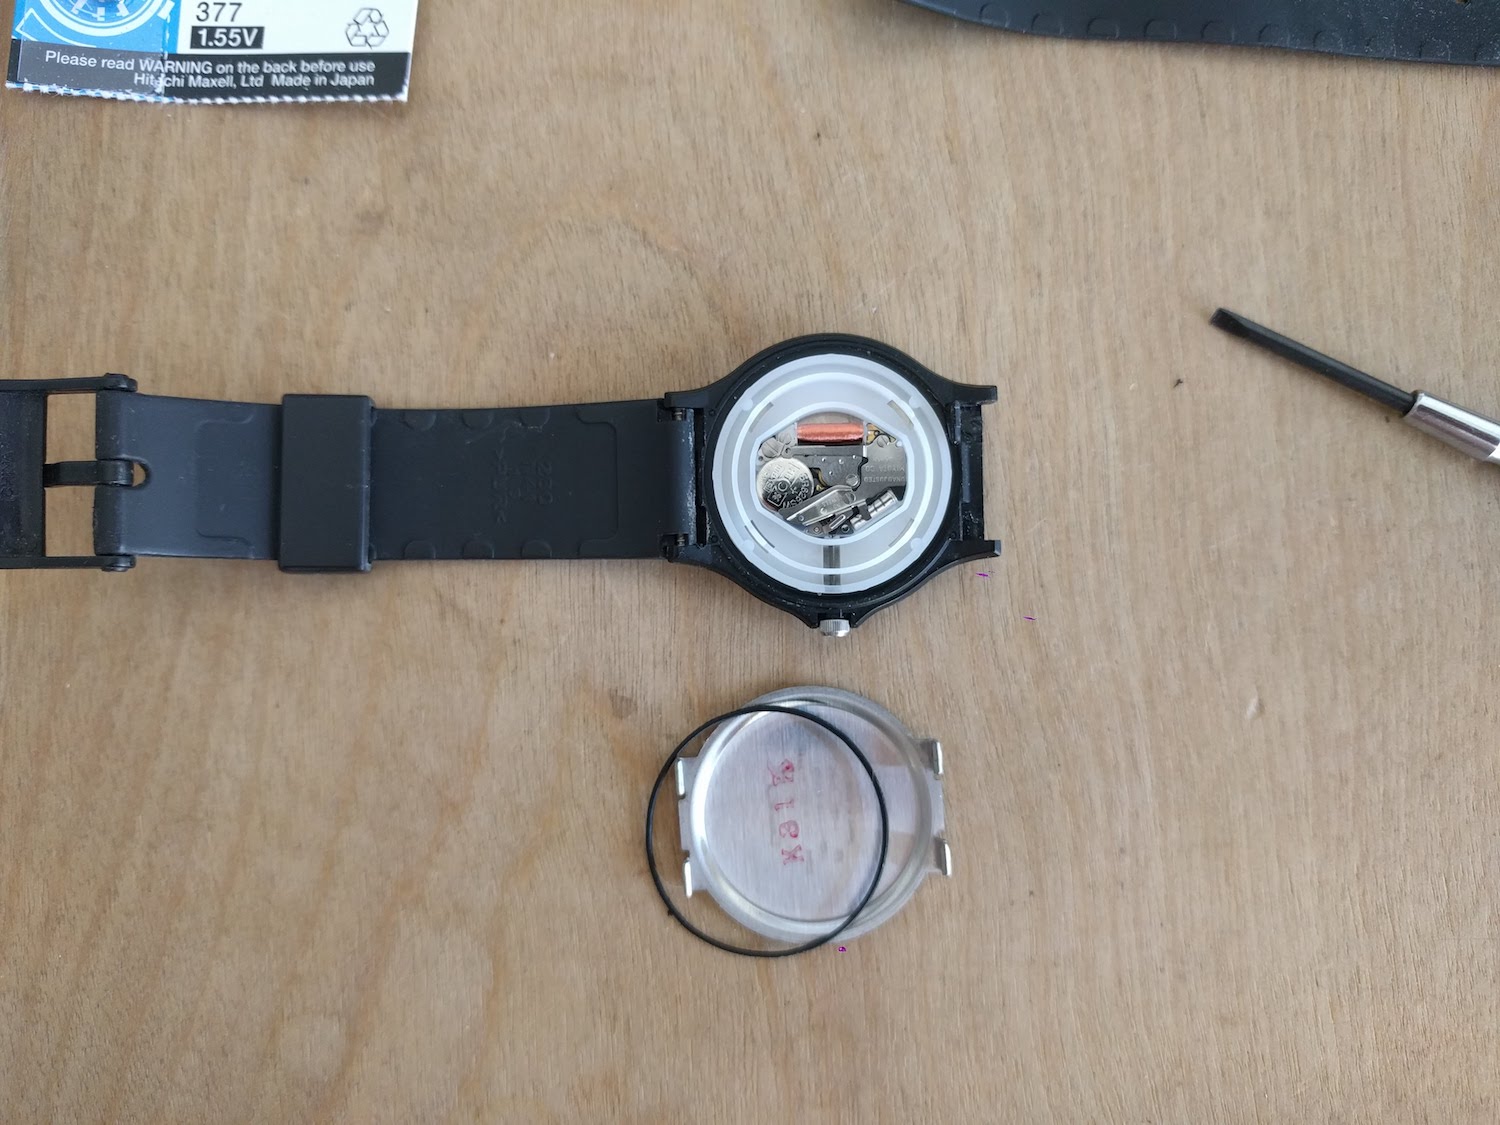
Lay the back cover down on its face. Lay the gasket on top of the cover, keeping the same side of the gasket oriented to the back cover. Reason: the gasket may have been pressed for years against the cover, we want to maintain the same orientation and “squish” to avoid introducing potential leaks.
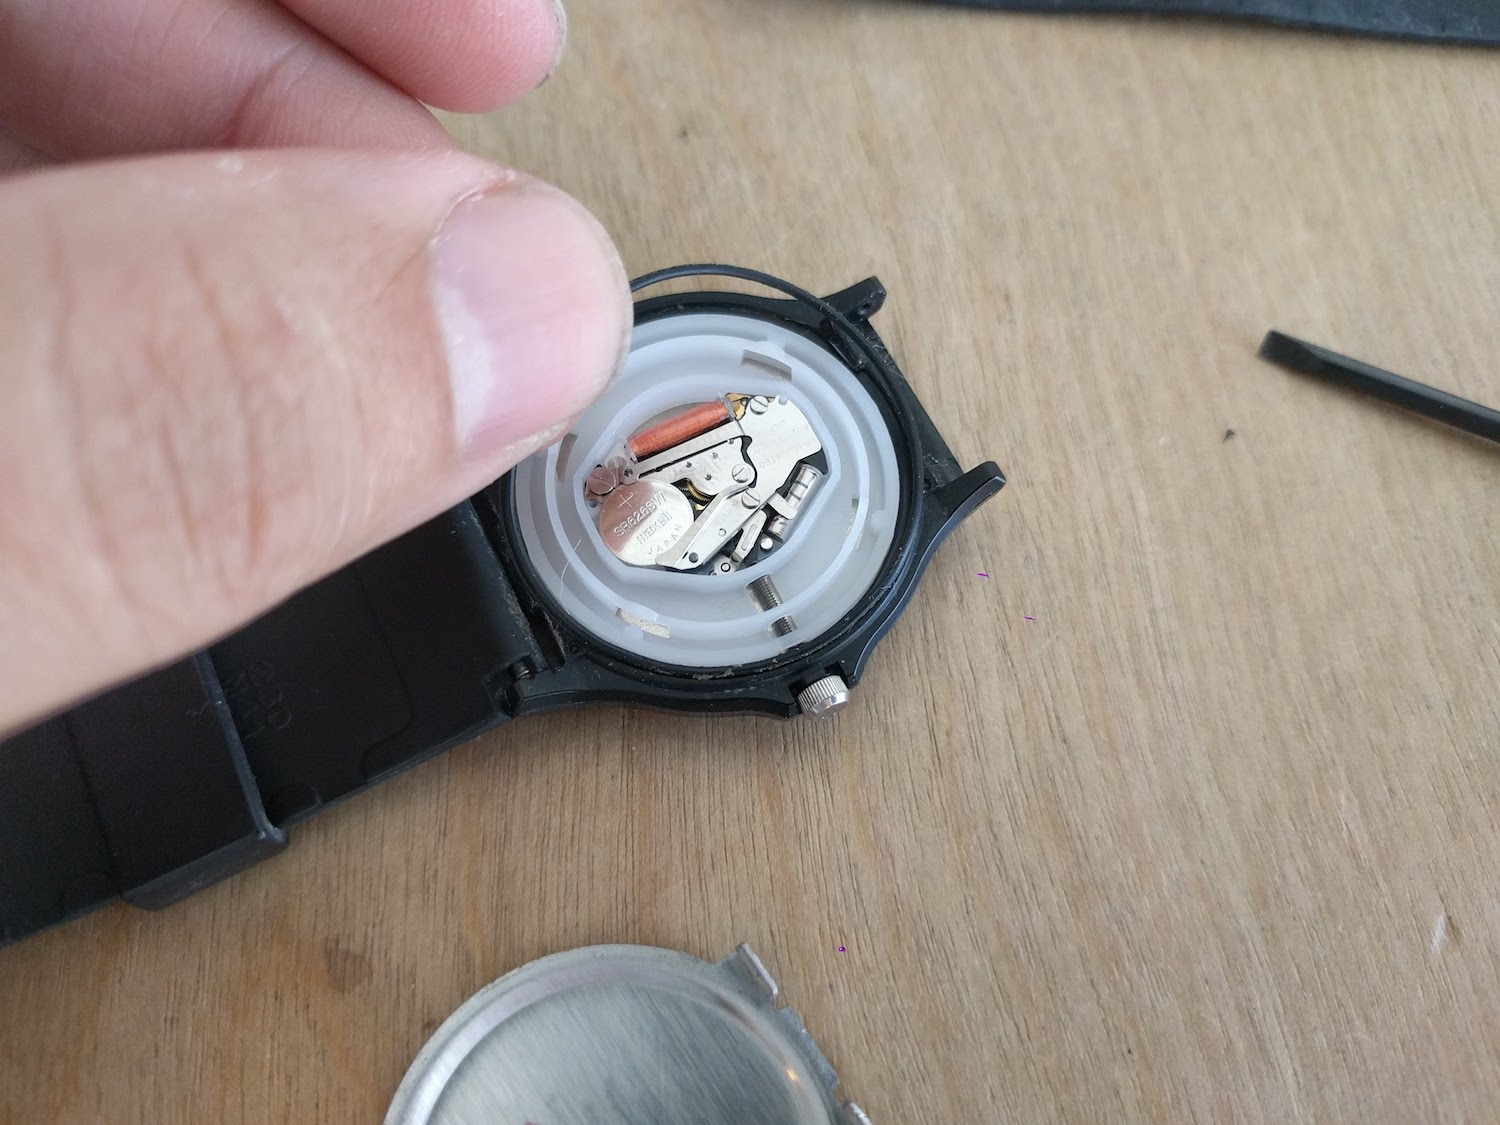
4. Remove the battery.

The battery is held by a small springy metal lever. Press up on this lever to release the battery. Careful as the battery can go flying (it usually pops out 4″ or so off the table). Note the bottom lipped metal arm is not flexible. Don’t pry this bottom arm.
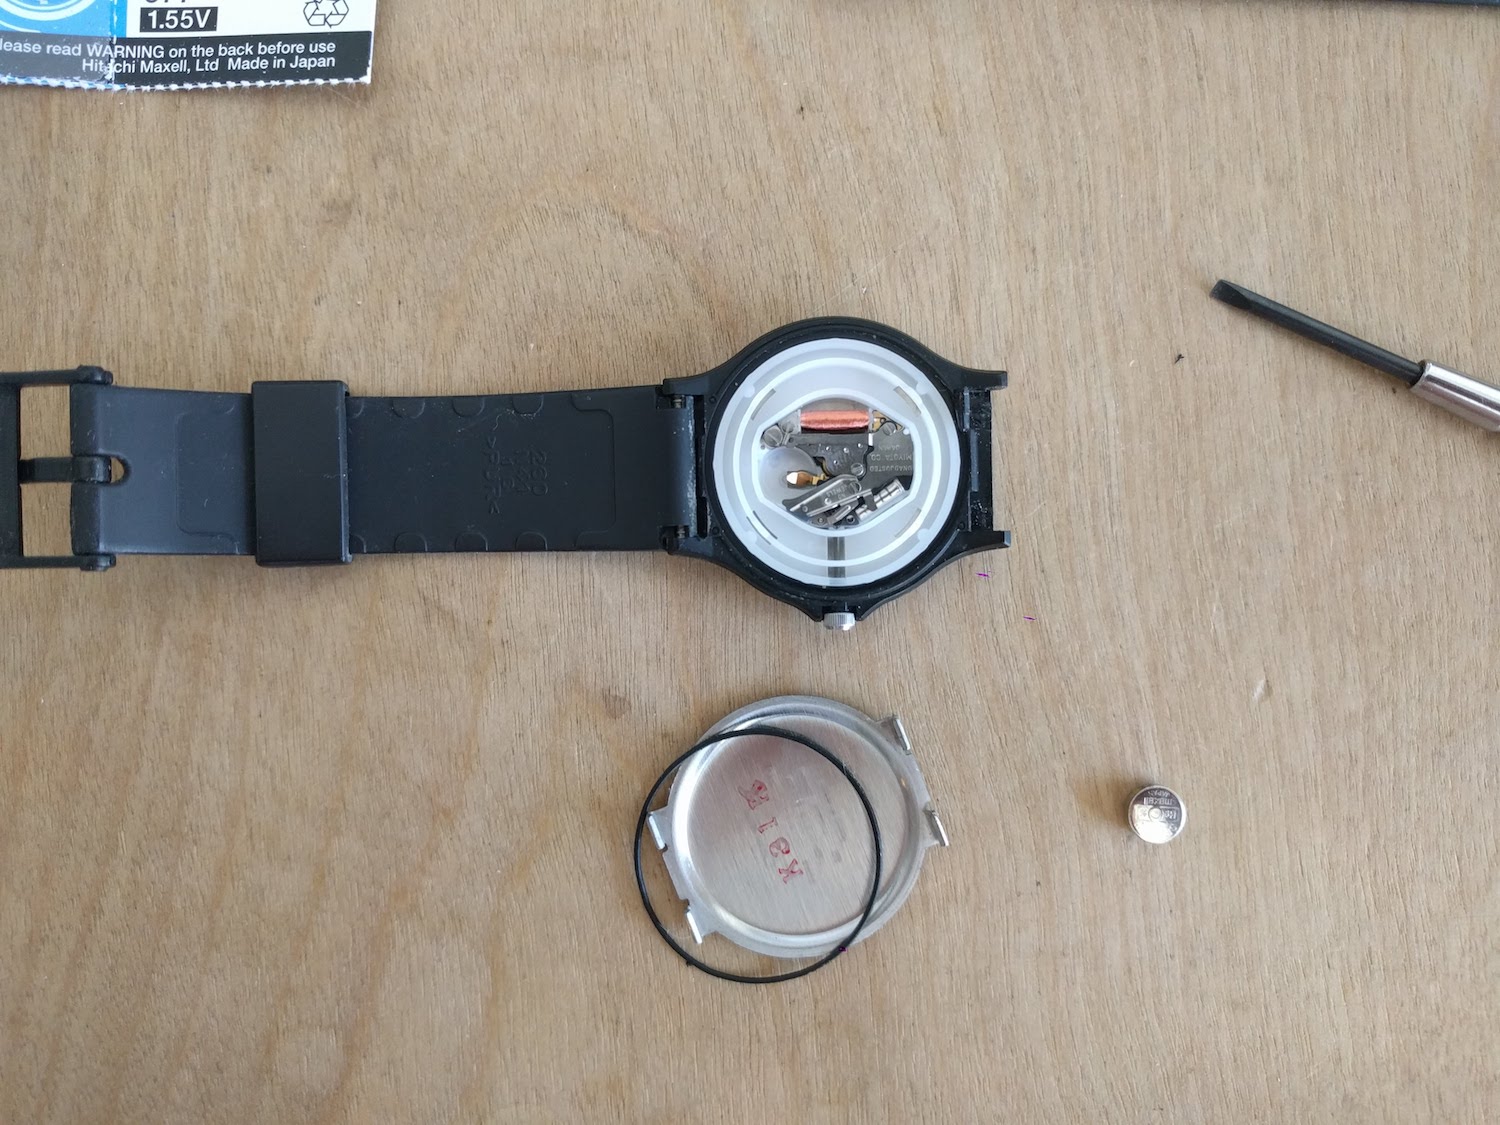
Full disassembled. Don’t confuse your old battery with the new one.
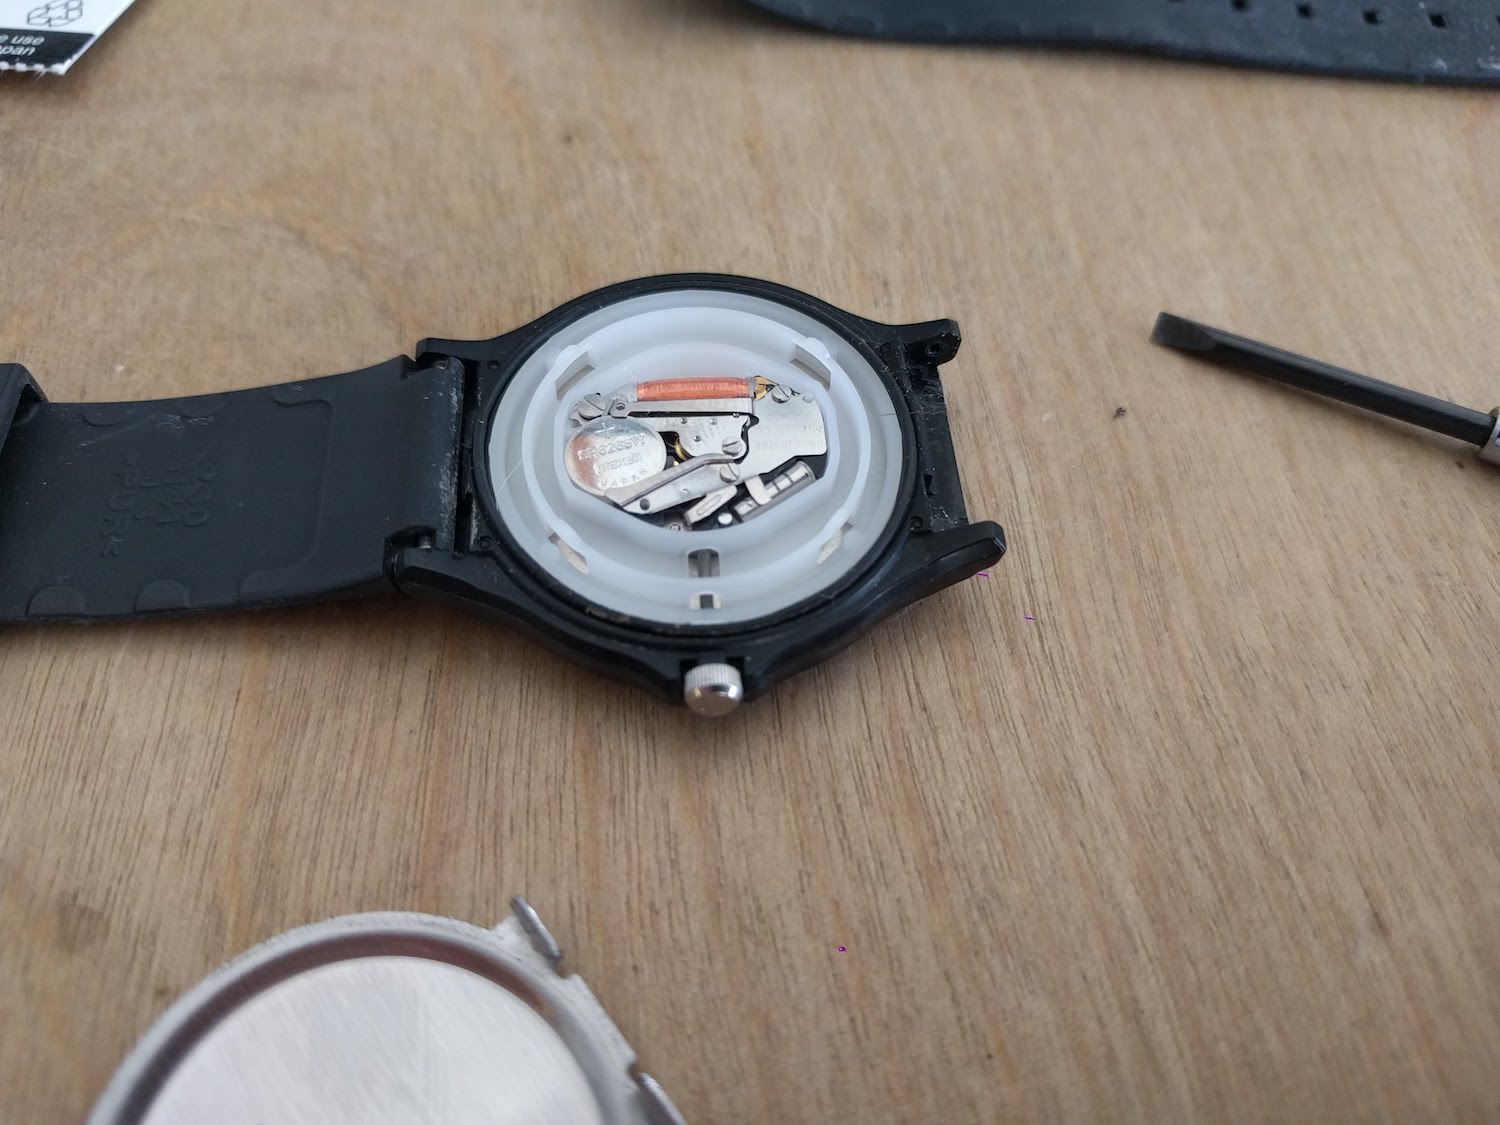
5. Insert new battery
Insert the new battery face up (+), tapered side (-) down. First insert at an angle, with the bottom of the button tucking under the bottom angled arm.
Use your finger to snap the top edge of the battery under the top straight arm, which is spring loaded. Ensure the battery is snug and doesn’t fall out.
6. Re-insert the gasket.
Replace the gasket in the same orientation you removed it. MOST CRITICAL that it fits in the dedicated groove of the watch body and doesn’t overhang inside or out. If this gasket is improperly placed you will get moisture in your watch later. I’ve noticed, and a few have commented, that this gasket is a tad oversized—my guess is it expands and increases in diametre slightly when the pressure is released (after years of being squished?)—so it can be difficult to get it back in the grooves. Careful it doesn’t stick out and get pinched.
7. Re-insert the back cover.
Inset the strap-side tabs first and carefully press down from left-to-right until the other tabs snap over the watch body tapers. MOST CRITICAL that you don’t dislodge the gasket from its groove.
Ensure the back cover is flush and parallel with the watch body. Visually inspect every side to make sure it’s flat, and that the gasket is not pinched or protruding.
8. Re-install the strap.
With the strap pin in the strap, insert one end of the pin into the watch body, then get the other end of the pin close to the watch body. With your small screwdriver, load the spring in the pin and carefully push into the watch body, ensuring it seats fully in the watch body hole. Give your strap a few tugs to ensure its seated and the same amount of pin and its grooves are visible as when you started (or compare to the other strap’s pin).
Leave a Reply