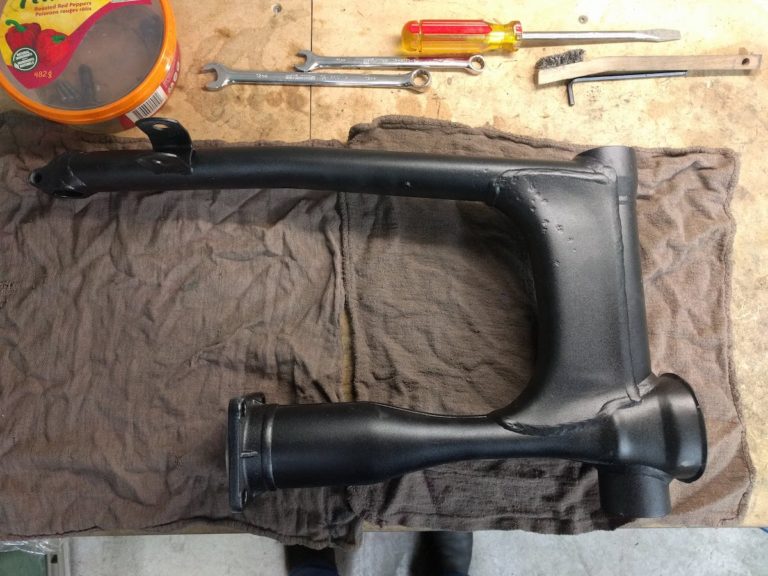
Since we’re still waiting on the engine I figured let’s start thinking about ride height tests and light mounting points and other parts you can’t really get a sense of on the stand. But that requires having tires on the bike, which requires wheels, which requires a swing arm to attach to.


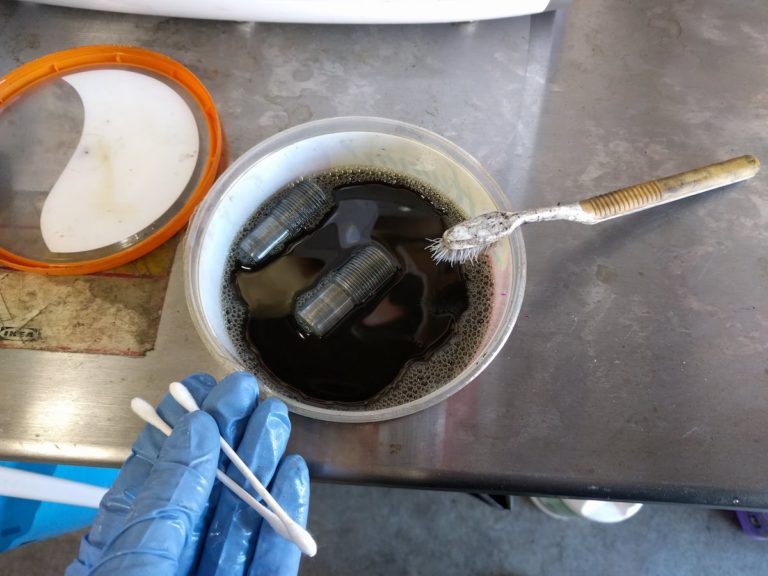
Had made the decision before paint not to replace the bearings. Prefer the only-buy-it-if-you-need-it approach at this point. Ditto for the swing arm seals: we’ll replace them, if we need to, after the first 1000km maintenance check later this summer. So everything was cleaned in-situ this time, which I discovered some old gasoline works best on. Since the swing arm bearing recesses are filled, I could leave some gas sitting in them to soak the old grease out of the bearings. Repacking worked alright as the spout of the LM47 grease tube fit snugly over the bearings and I could pack some pressure to get in there.


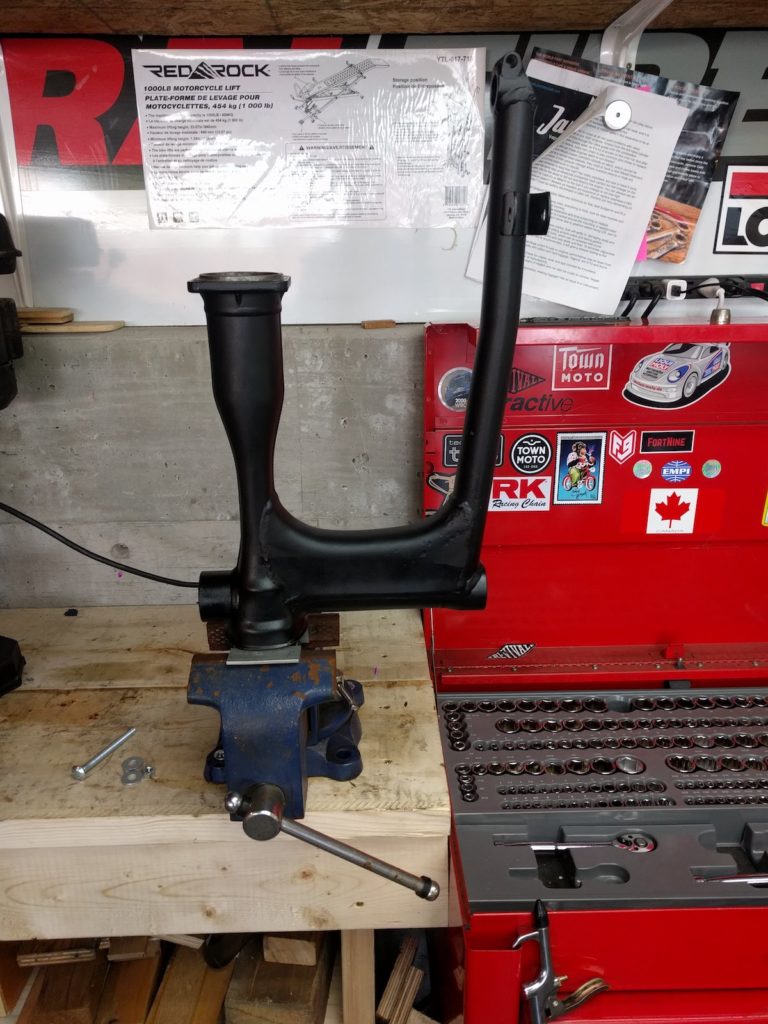

If you the bike to go you need a shaft in the swing arm. Putting this back together was much easier then getting it apart (which we had done to paint the swing arm). In this case leaving an old nut at 150lbs on one of the most essential interfaces on the bike felt too laissez faire, so I’d already ordered a new one with the last Wunderlich order. It’s pre-locktighted and just needs…whoa, 150lbs of torque. Which required a bigger vice, which required a trip to Home Depot to get bolts to secure the vice to hold the drive shaft (I tried it without securing it, standing on the vice on the floor…not recommended). Which a big enough lever: no problem.
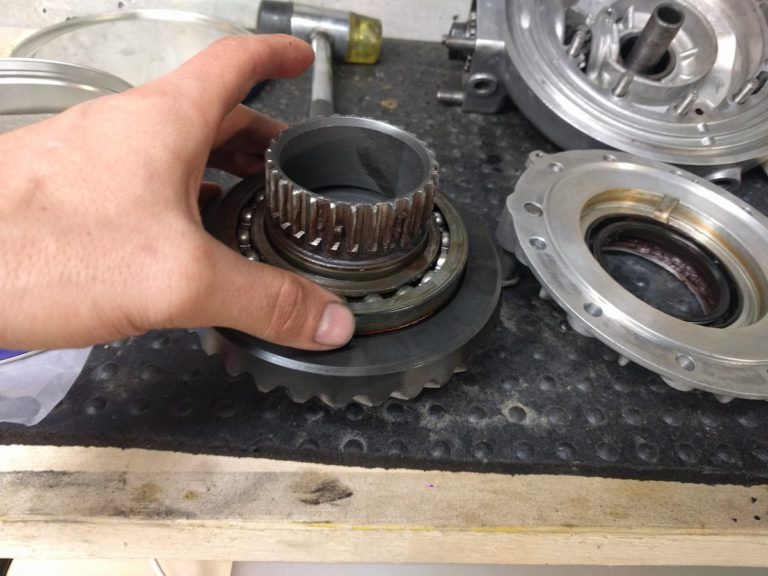
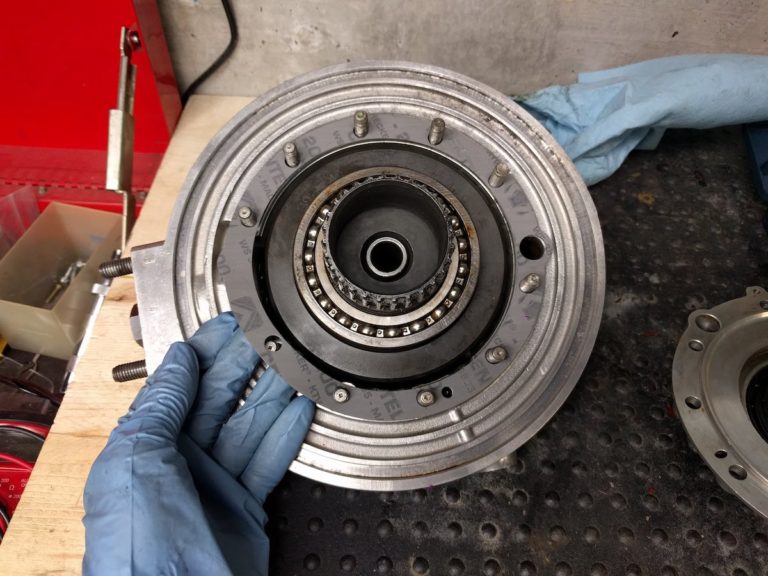

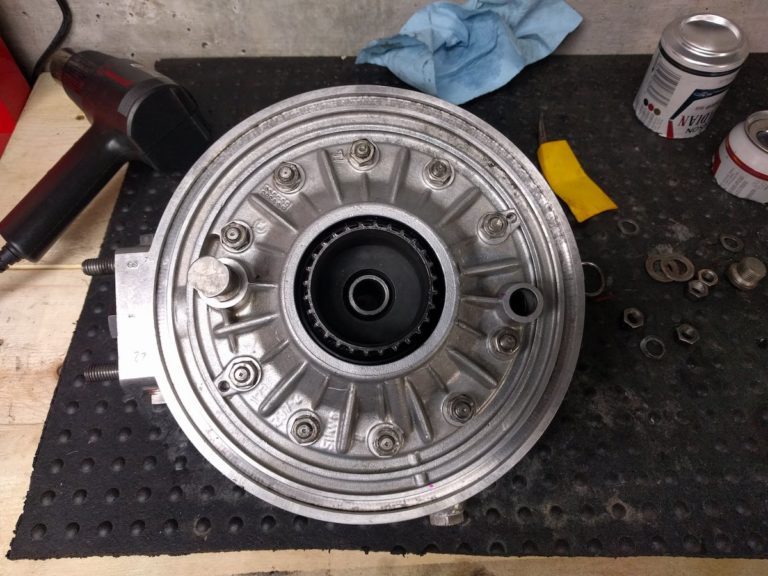




Can’t attach a wheel without a final drive. I recall my younger days (a month ago) when I spent hours, days, in fact, trying to clean the old (copper-based?) grease of the drive splines? Turns out the spline assembly easily taps out of the final drive with a mallet. Thanks Wunderlich / Boxer2Valve video. Now it’s truly clean. New gasket, and a neat trick from the same video tutorial using a beer can to protect the main spline seal while you heat and slide the assembly half back on.
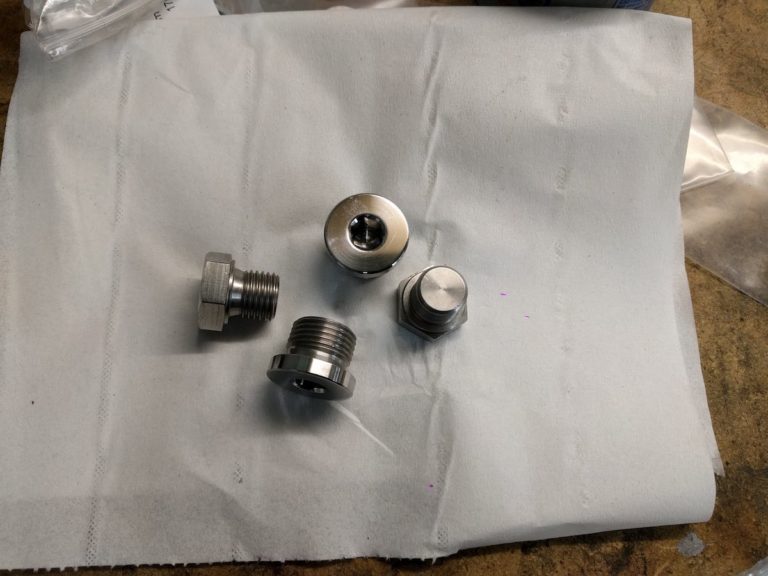
Since we’re in here might as well put the new brake shoes on, new crush washers on the drain plugs, then button the thing up to the swingarm (new gasket there, too).
Leave a Reply