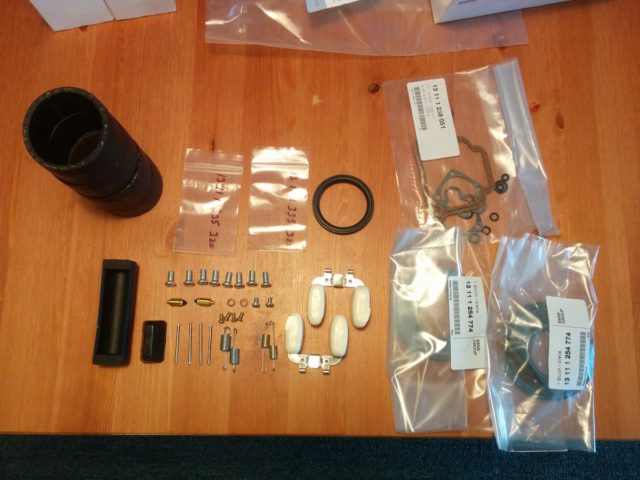
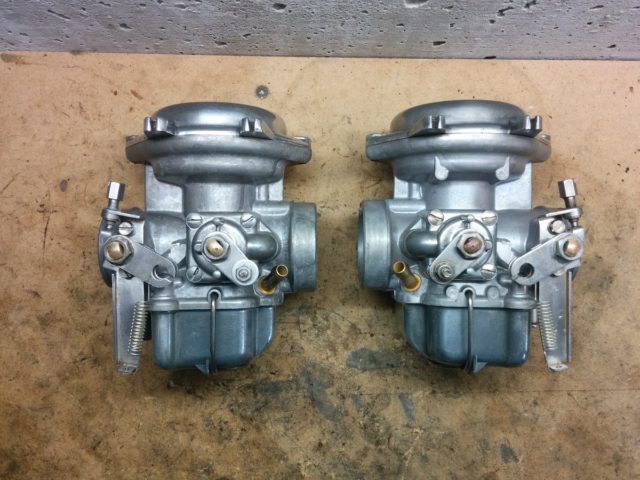
The deluxe expensive as all hell carb rebuild kit came in last week, following the carb tear-down from a month ago. So like a good racer my weekend was spent carb loading.
Reassembly is pretty straight forward, even if I hadn’t taken them apart, as most of the carb pegs only fit in their corresponding (dedicated, different-sized) holes. Helps I’ve overhauled three sets of carbs on other bikes a few times. The hardest part is not losing anything.
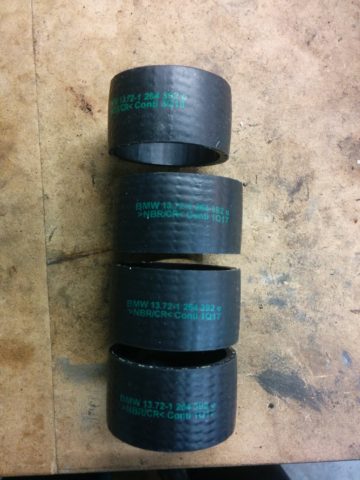

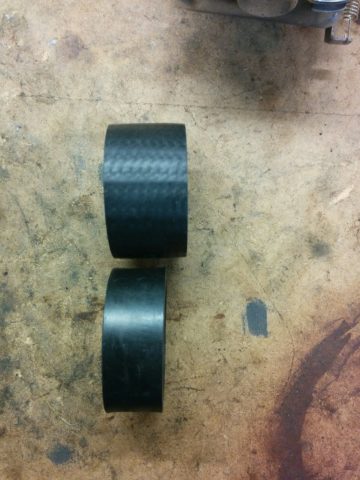
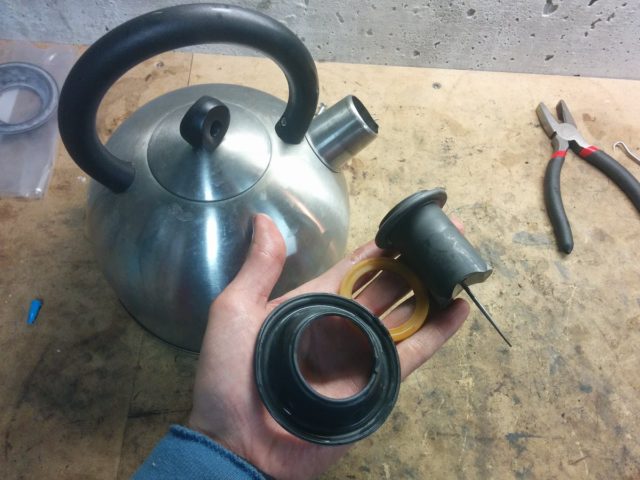
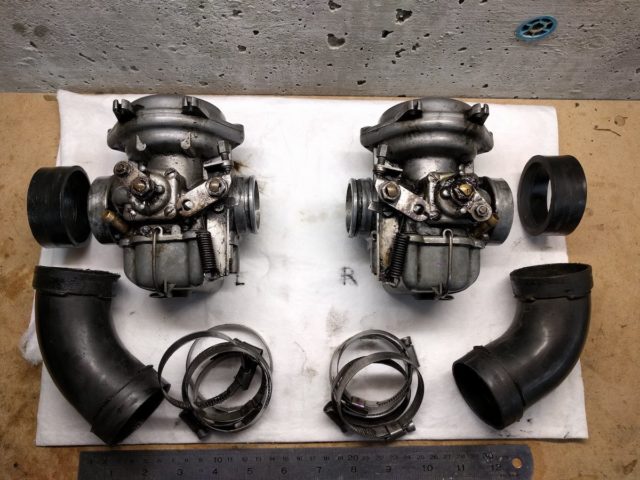
So this boot issue (official parts fiche term “13 72 1254654 Rubber grommet” and “13 72 1257395 Rubber grommet”):
The rebuild kit comes with four of them, as per Bob’s website, two “Air Tube to Air Box Rubber Sleeves” and two “Carb to Head Rubber Sleeves.” Thing is, one of the four new boots supplied is a slightly different size, all of ’em are wider, they don’t have the inner dual diametre, and, well, the two head-side ones don’t fit at all (too large a diametre for the smaller exit bore on the carb body). Fine, they’re wider, maybe that’s the new design that’s better. And OK the stopper lip isn’t really necessary and adds expense. The other two issues? I’ll call Bob’s and find out.
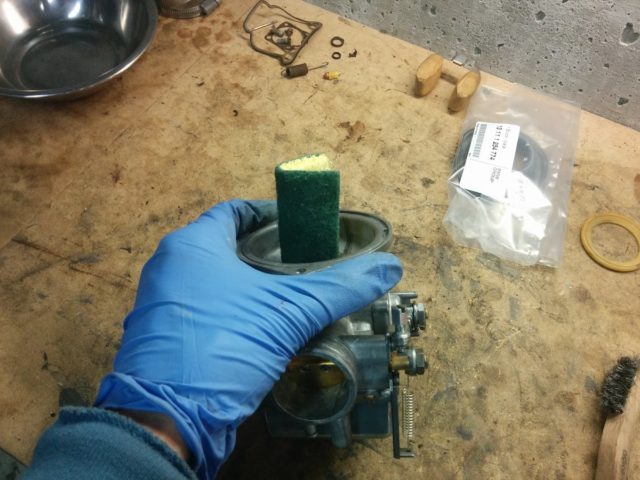

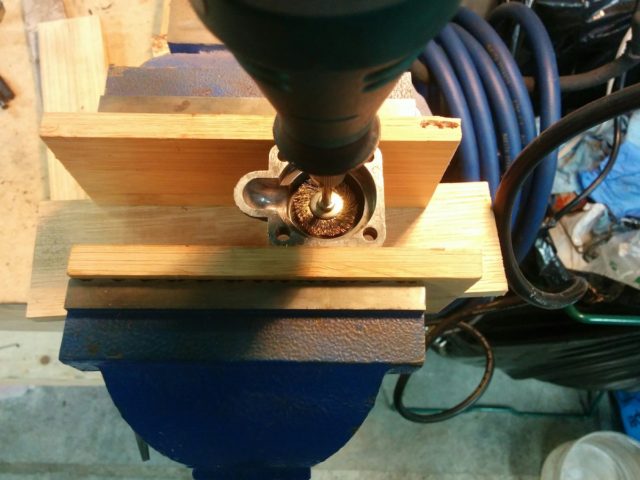
I’ve never put anything but air and gas inside a carb after cleaning it, but I feel with a CV carb I want it extra smooth, esp. as these Bings don’t have a spring on top. Very light polish, wipe off excess vigorously with a micro-fibre cloth. No grease or lube inside the choke housing, despite being old brass and steal rubbing on aluminum. One choke is very smooth, though and, ironically, the choke I clean more heavily feels a bit rougher on reassembly. Can’t seem to find info directly advocating a solution, though most seem to leave it unlubed, plus putting anything in there worries me as it’ll just get sucked into the pilot circuit, right? Satisfying fit of this little Dremel brass brush, though.
Replacing the diaphragms worries me the most. In fact I feel the originals are fine but a mechanic buddy says replace them just in case, which is the reason I got the deluxe rebuild kit, as it tipped the combo price vs. individually-priced scale. But that’s a plastic snap ring pressed right against the diaphragm and snugged down under a very pronounced lip at the top of the metal slide body. I don’t want to just pry as they seem like perfectly good diaphragms, and I don’t want to break the snap ring, either.
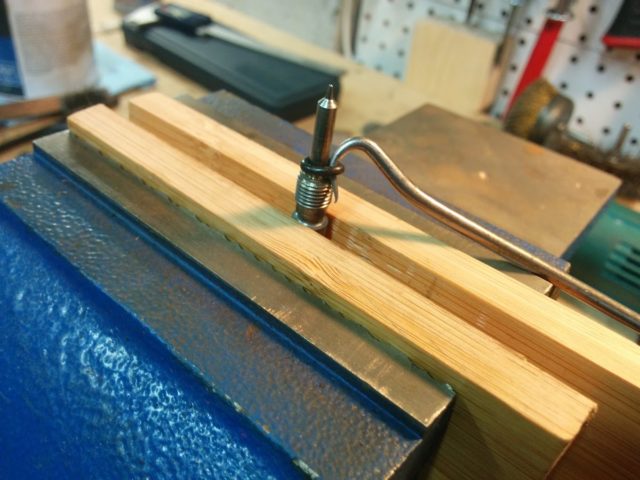
So like so many things with this BMW (and old German engineering?) apparently the proper way to service a lot of stuff is to heat the shit out of one thing slightly more than you heat other shit nearby (see my upcoming post about wheel bearings). Quick forum search and here’s one of the few Snobum articles I actually got usable layman’s info out of: boiling water on just the ring. The first ring I try the technique on comes off easily—satisfyingly, even. The second…well I almost pull a fingernail off (not exaggerating). So I switch to a plastic scraper tool to push it off (again, from below, not prying and without touching the diaphragm). No budge.
I think the problem is I soaked it in the Simple Green ultrasonic cleaner, at 55ºC, for ten minutes to warm it all up, then poured boiling water on the ring. But I think the slide must have expanded too. Even after I let it cool down for five minutes and try hot water again it doesn’t budge. Maybe the temperature difference isn’t great enough? So I wait an hour to really let it cool its boots and tackle it again, and it works.
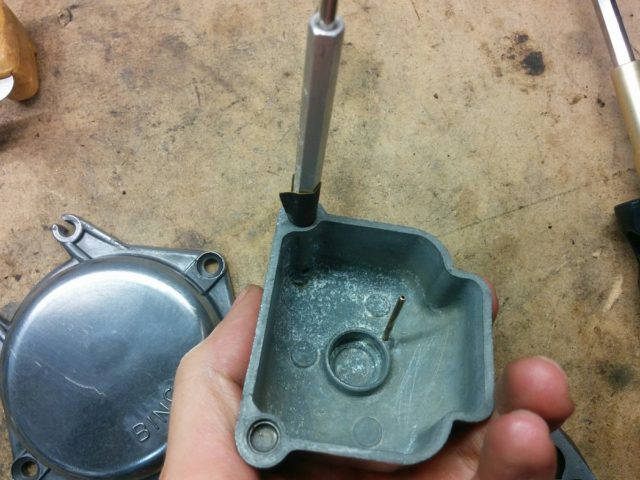
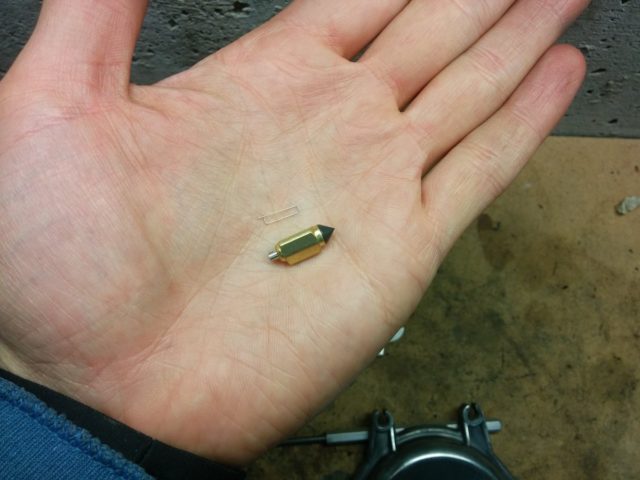
Brook Reams, that venerable source of amateur airhead rebuilds (well, at the least he’s got by far the best photo documentation) has a good tip for putting on new o-rings: wrap your pilot jet / air screw / emulsion-tube-whatever’s threads with masking tape to help slide the bugger on. I think sometimes the tape’s not really needed, although some threads feel sharper cut than others (brass?) so they do feel like they’re putting undue stress on the o-ring. The sort of tapered cone shape ramp over the start of the threads helps for finger rolling more (my preferred method). Some still require a dental treatment, though.
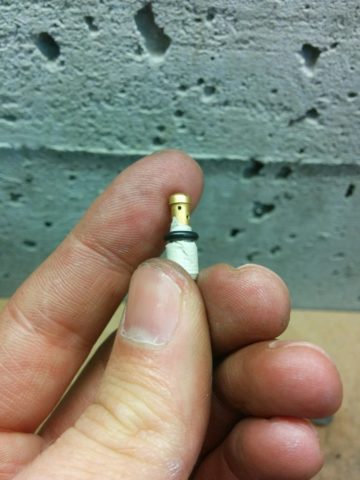
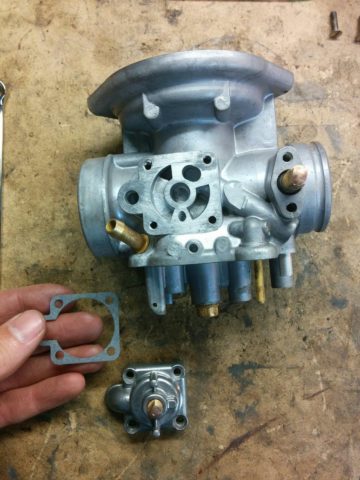
Of note in this carb kit is Bob’s doesn’t specify what gasket o-ring goes where—actually the kit doesn’t even list them, just shows them in the picture. The website doesn’t list that specific sub-kit anywhere, either (that I could find). Not to mention the kit itself on opening has…no labels, nor list, let alone instructions. Looking at the little o-rings, however, and most are pretty easy to match with their corresponding part. Plus I realize the kit spans a few bike model years / models of carbs. Maybe my carbs are not even stock? Giving Bob’s the benefit, etc.
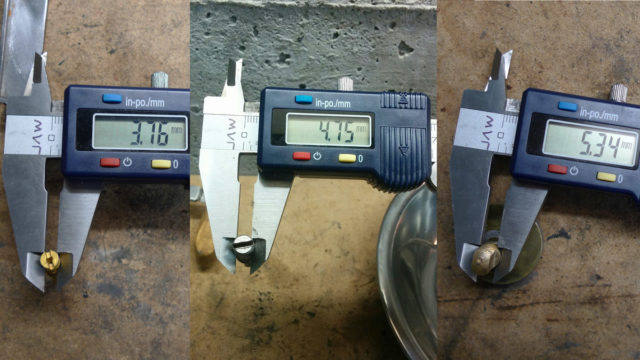
I ask because once the larger o-rings found their homes I’m left with three parts, each with different diametres, each begging me for new o-rings. I’ve got enough o-rings, but there are only two sizes left, not three. In the end I guess the two smallest o-rings, despite being the same size, go on both the 3.75mm and 4.75mm grooves (the latter being a bit scarier to stretch over), and the middle-sized o-ring goes on the 5.34mm groove of the choke stem. I’m not sure where to put the other one.

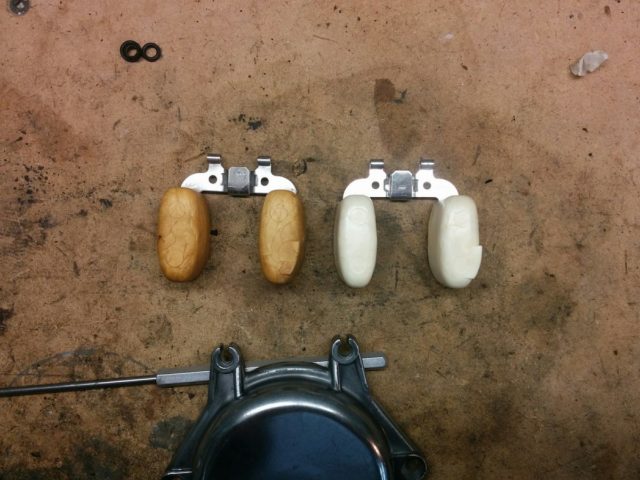
For all my reservations about recommending this kit, sounds like old floats can get heavier with age as they soak gasoline. And I’ve had a LOT of problems and stranded rides in float hell on my UJMs, so this was a no brainer. Wish I’d weighed them now, though, just to really compare.
Oh wait I can complain about the kit more. I didn’t notice when I ordered, I guess because I assumed, that a $225US carb rebuild kit labelled “deluxe” would come with new jets. Nope. I missed that one, esp. as I already knew the flats on one of the carb’s main jet and emulsion tube were mangled (by previous owner?) beyond even vice grips and swearing and now I can’t replace the o-ring in that one area. Sigh, more money, more ordering.
For fun (and my own understanding…took me an hour to write the description for this video):
Leave a Reply