Started the re-build this week. The custom subframe and battery holder from Crowe Metal Co. are in so I can start to get a sense of how it will all come together. Still waiting on the engine rebuild from Shail’s in Langley, BC, Canada—I don’t want to do much more until I can work off its placement, but I can get everything ready.

First is a plan of attack. Been watching Boxer2Valve / Wunderlich America’s new, thorough and down-to-earth YouTube series on the refurb of a literal barn-find Airhead. It’s a good approach they have: just replace what they know and what they find to be wanting, leave the restoration part until after they get it running.
I like the main wrench’s style in the series. He’s careful to point out a particular process is just the way he likes to do something—not gospel—but he’ll explain why he does it that way. He’ll often show you the $300 special-purpose tool they sell to take your widget off once a lifetime but also the $30 homemade version you can make that works just as well. The videos are recorded in mostly real time, too—less cooking-show-cut-to-plating-and-it’s-perfect and more, “oh, we better tackle this thing now.”
If I had to quickly think of the order of operations for this rebuild I’d work in the following order:
- Sub frame on
- Engine in
- Fork and front wheel on
- Final drive on swing arm
- Final drive and swing arm in, rear wheel and brake, attach driveshaft to gearbox
- Carbs on
- Bench test full wiring
- Controls and handlebars, cabling, lighting
- Wiring harness (with intermittent tank- and seat-on tests)
- Brake bleeding
- Fenders and fairings
I realize now the main challenge has been visualizing and building and ordering replacement parts mostly in my head (and a giant spreadsheet), trying to get everything in place (in boxes) and then building all at once. Better would have been to build a bit, order, build a bit. Even better: ride it (it was running, sort of, when we bought it), fix a bit, ride, fix a bit…but for a couple reasons we didn’t: 1. We have some money to spend 2. We want this done in four months 3. Want to save on shipping 4. We’re doing a restomod, not just a restoration, so we’re still figuring what we want and what works 5. It’s my first full rebuild.
Here’s a simplified rundown of what has been ordered and arrived so far.


Electrical
- All new, simplified harness, with:
- m.unit Blue and m.button (for data collection, built-in solid state fuses (remove relays), simplified wiring, customizable controls)
- GXL wiring (solvent resistant, flexible but longer wearing than TXL) simplified to three colours, two gauges: red (power), green (switch signals), black (ground) and in 20AWG and 16AWG (and some 12AWG for direct battery connections)
- Deutsch connectors, fully waterproof, compact, standardized throughout bike, less faults, corrosion
- Dual wall (adhesive) heat shrink for weatherproofing all terminals
- Split loom (adds modularity for removing / adding components, troubleshooting)
- Voltage regulator (oem style, but slightly higher voltage, more compact)
- 12-cell LiFePo4 Antigravity-brand battery (compact, lightweight)
- All new tin-coated and brass terminals for existing hardware connections
- Grote LED headlight bulb and reflector, H4 plug-and-play
- Hella 500 Fog lamp
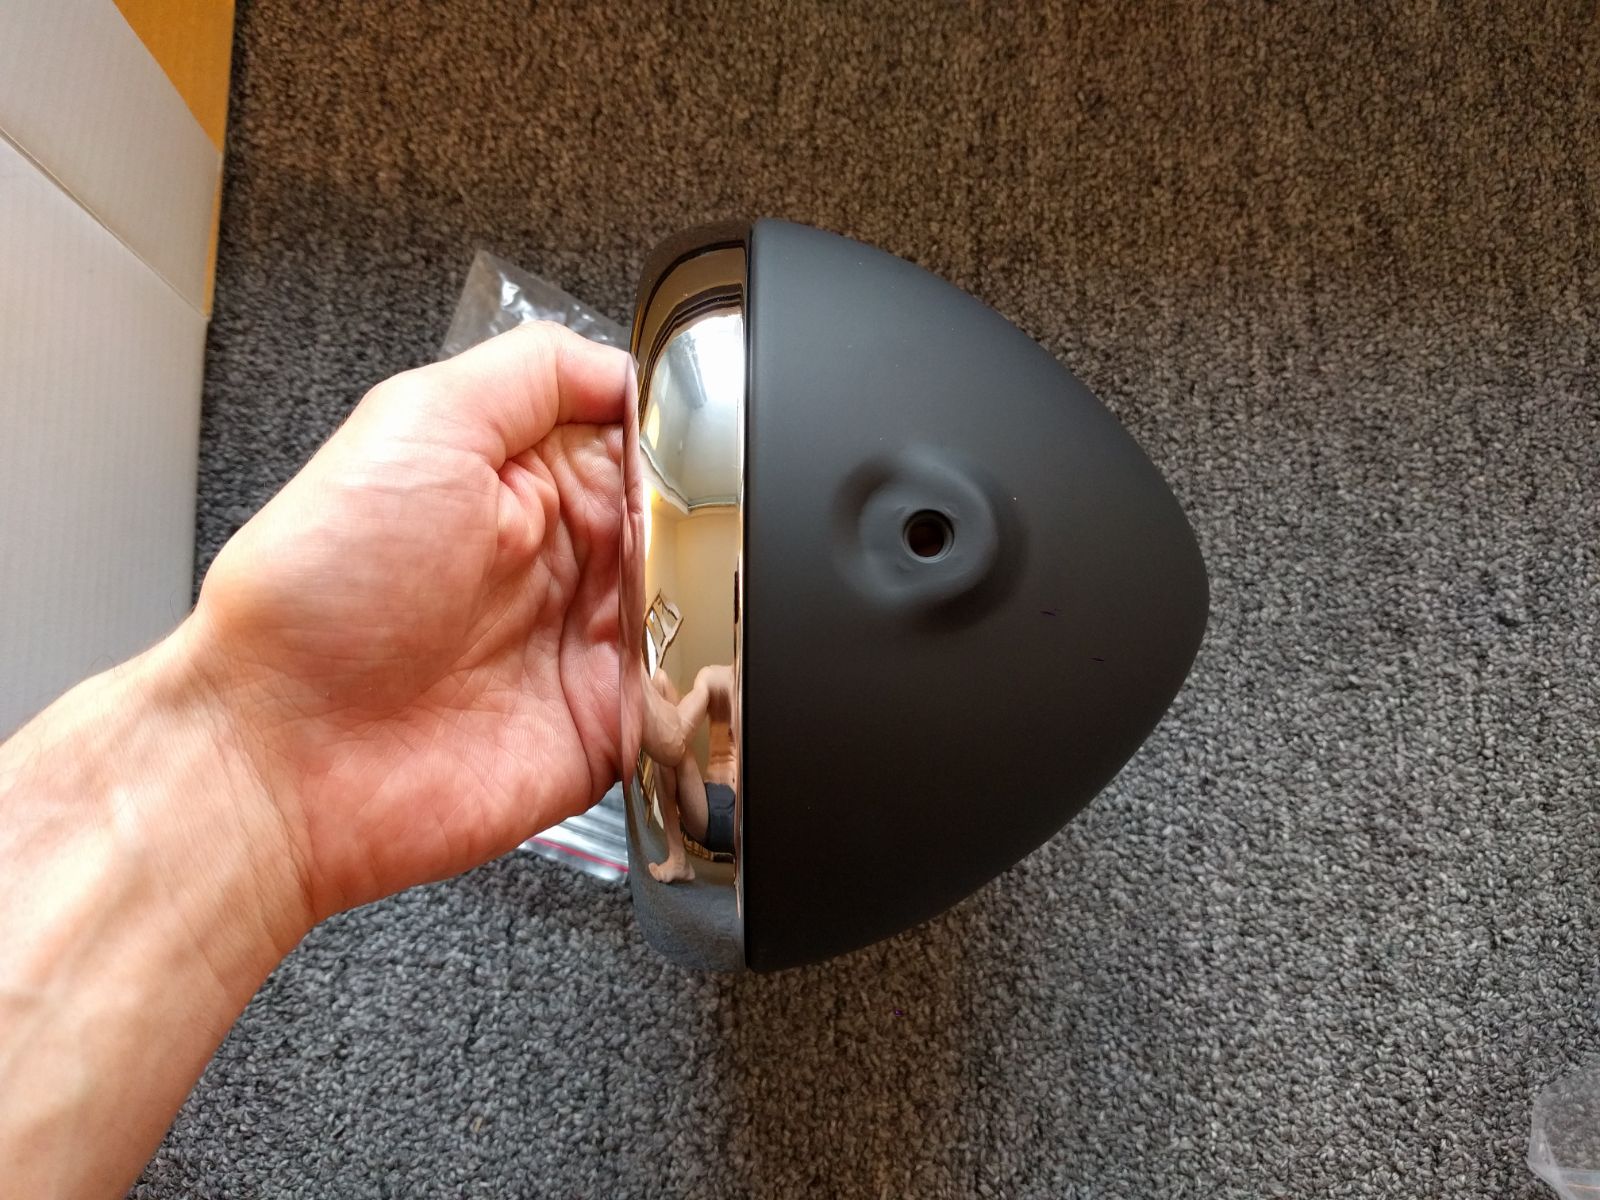
- 7″ vintage style headlight bucket
- Spark plugs and wires
- Ignition coil (Dynatec 3ohm dual tower)
- Posh-brand blinkers and tail light


Controls & touch points
- Motogadget m.switches, 3-button (one on each side of the handlebar): momentary, most compatible with m.unit, minimal design
- Vintage style dual-pull throttle,
- Vintage-style cable-pull clutch and brake levers
- Scrambler-style handlebars, to be drilled (for the m.switches and minimal aesthetic)
- Custom seat upholstery (ostrich leather?) and foam on custom seat pan (by Crowe)
- LED charging lamp indicator w/ custom bracket
- Fog light toggle switch w/ custom bracket
- Motogadget motoscope tiny with custom bracket
- Footpeg and shift lever rubber
- Tank emblems
- Bar end mirrors
- DIY length throttle and clutch cable kits
Engine
- New valve seats (from leaded–>unleaded fuel)
- All new seals
- Deluxe carb kit
- Filters (air and oil)
- Cleaned and partially vapour blasted

Wheels
- Powder coated black (including spokes)
- New bearing in rear
- New rim strips and inner tubes
- New rubber (Continental?)


Frame, Brakes, Suspension
- Still looking for a DR650 front fork
- Custom front rotor, crowns, front fender, axle, steering adapater
- Rear shocks (Ikon)
- Powder coated black frame
- Stainless and polished hardware throughout
- New brake pads front and rear
- Front master cylinder overhaul (may need the new piston kit), new stainless brake hose
Leave a Reply