My six year old said she wanted to be a witch for Halloween and I had a month to make a my own costume.
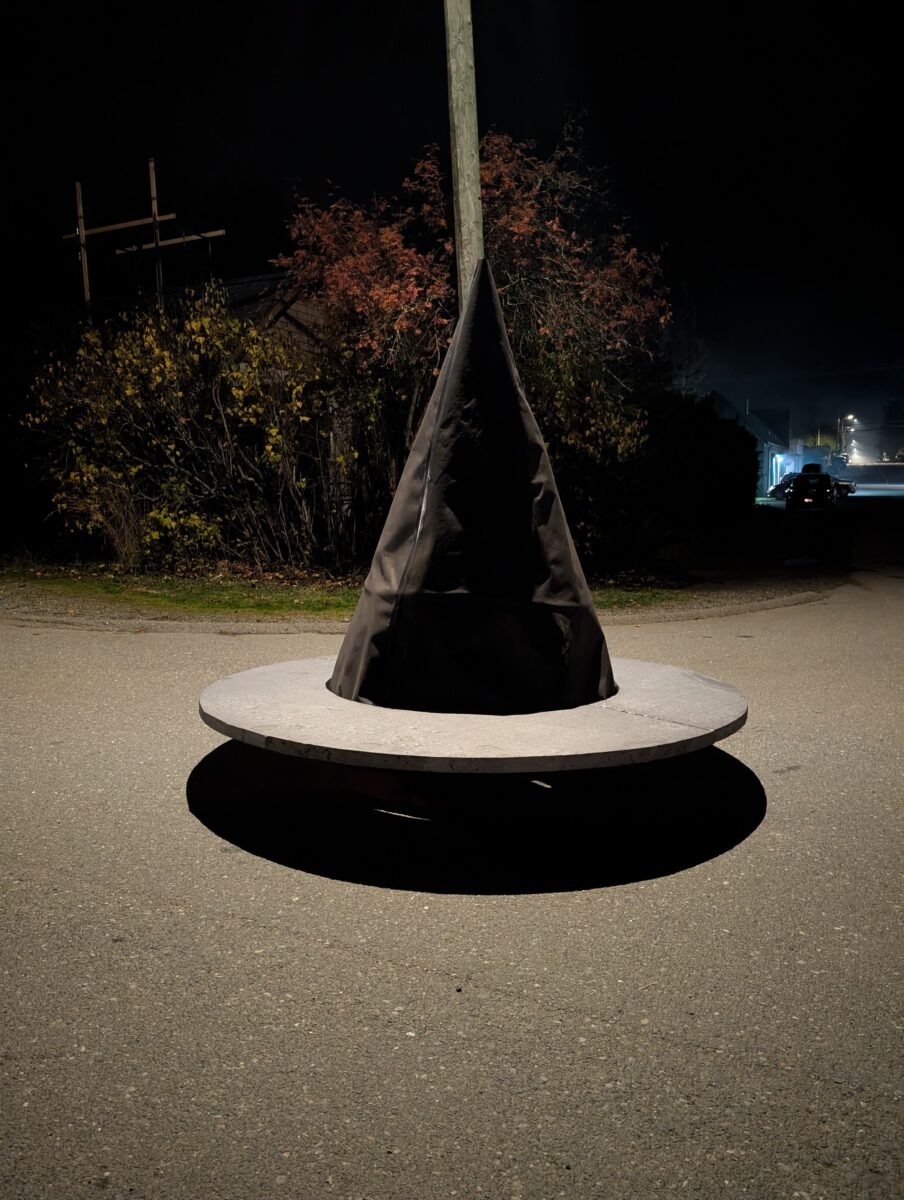
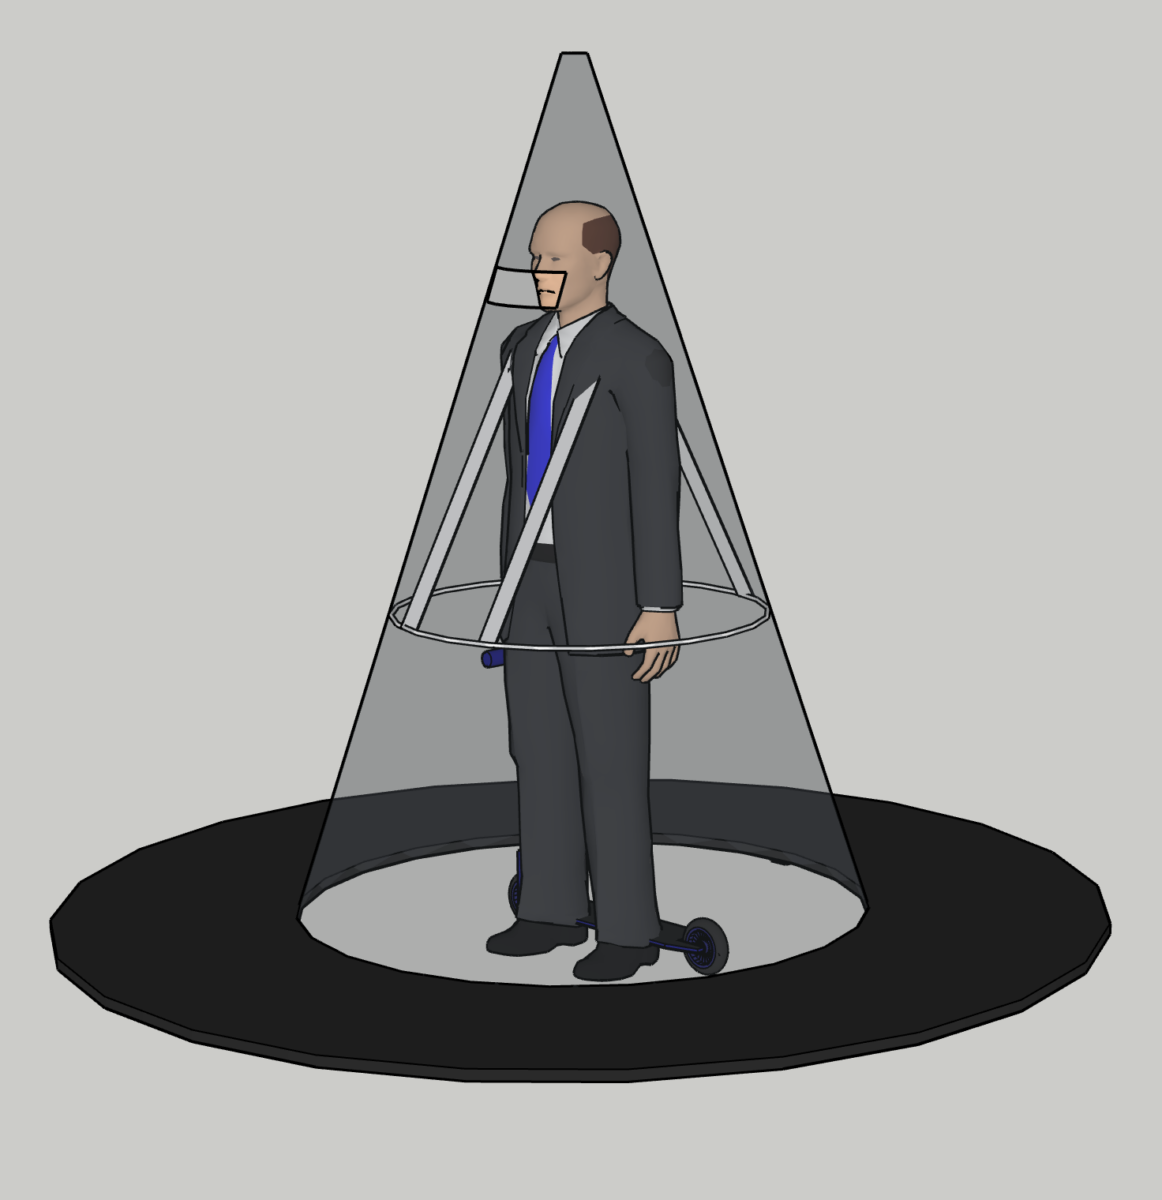
I wanted something even larger than last year’s coffin, and on wheels again. A giant broom was considered but something taller won out. A few nights in my head and it ballooned to 14 feet in size, but thinking about materials and doing some mockups in SketchUp—and measuring lane widths and powerline heights—brought me to a more realistic scale.
I had a bunch of tar paper left over from a recent shed build, significantly cheaper than buying and taping 20 poster boards. I purchased the foam sheets and was able to return the PEX tubing to the hardware store after Halloween. Everything else was already on hand from previous projects (ex. the buckles have been in a bin since art school 20 years ago). Prices in Canadian dollars.
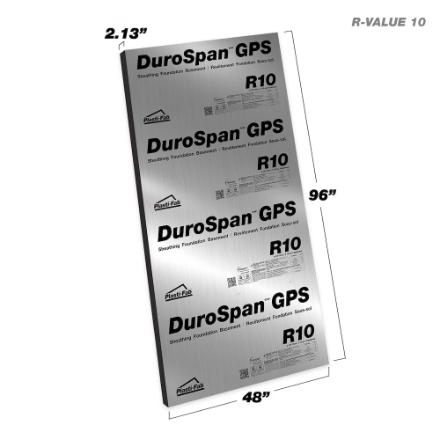 | $134 | 2x Polystyrene 2″ 4×8 panel insulation |
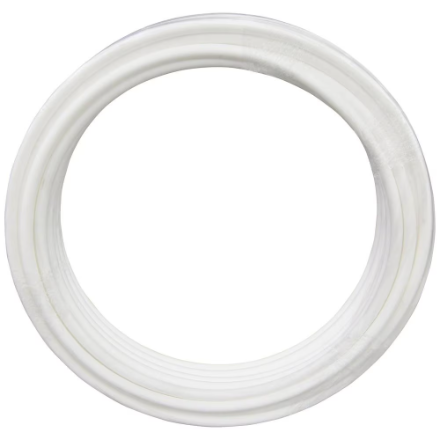 | $30 | 3x PEX 3/4″ plastic plumbing pipe, 10-foot lengths |
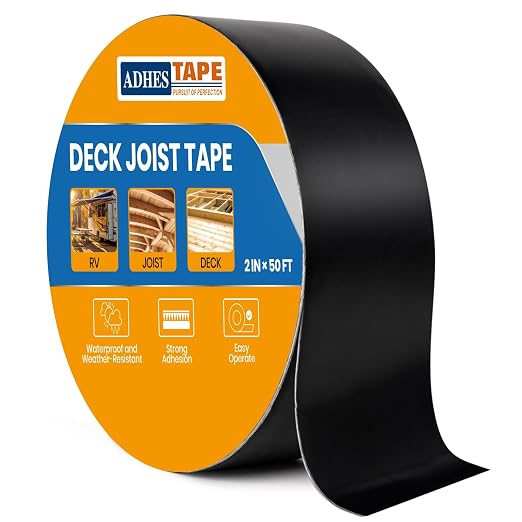 | $18 | 1x Butyl deck joist tape |
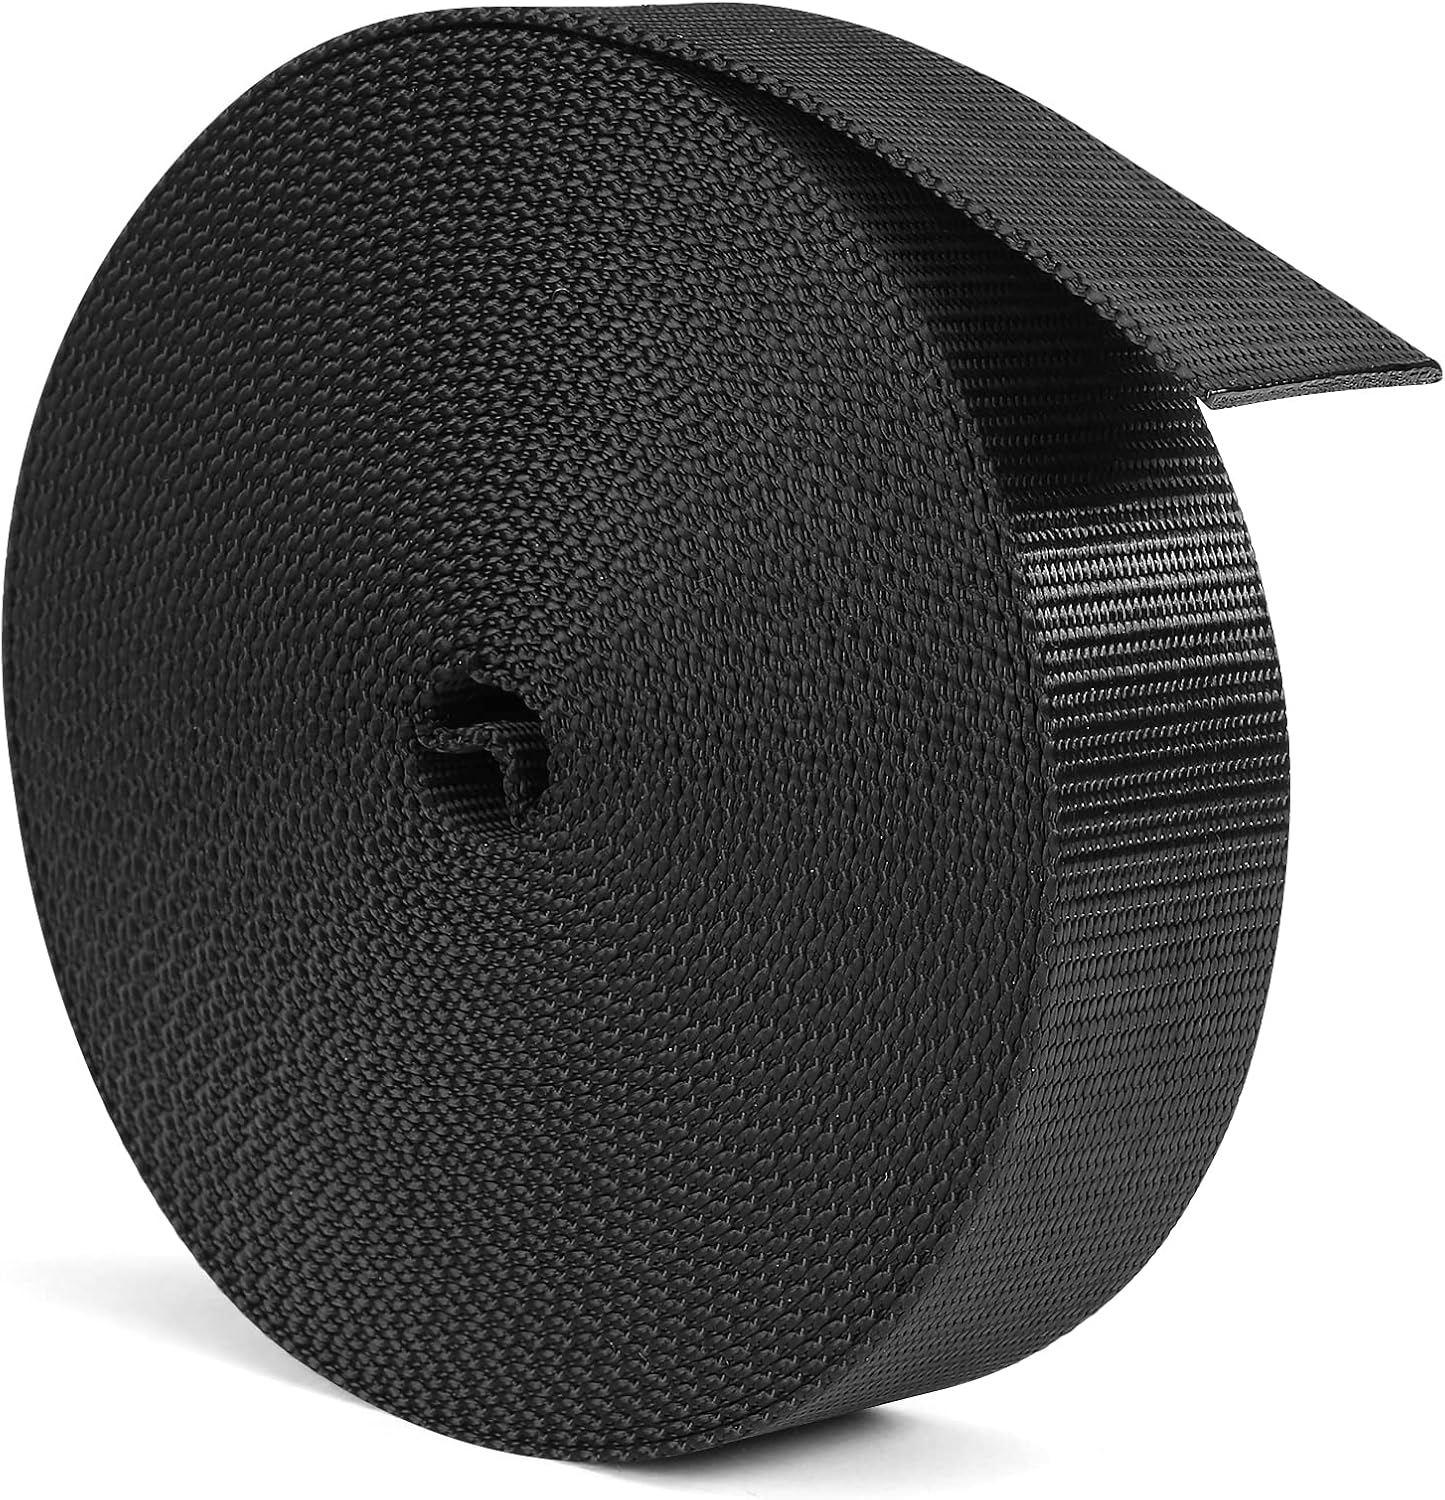 | $16 | 1x Webbing, approx. 1″ wide x 10 metres (20–30 feet). Polyester preferred (doesn’t stretch when wet) but nylon OK. |
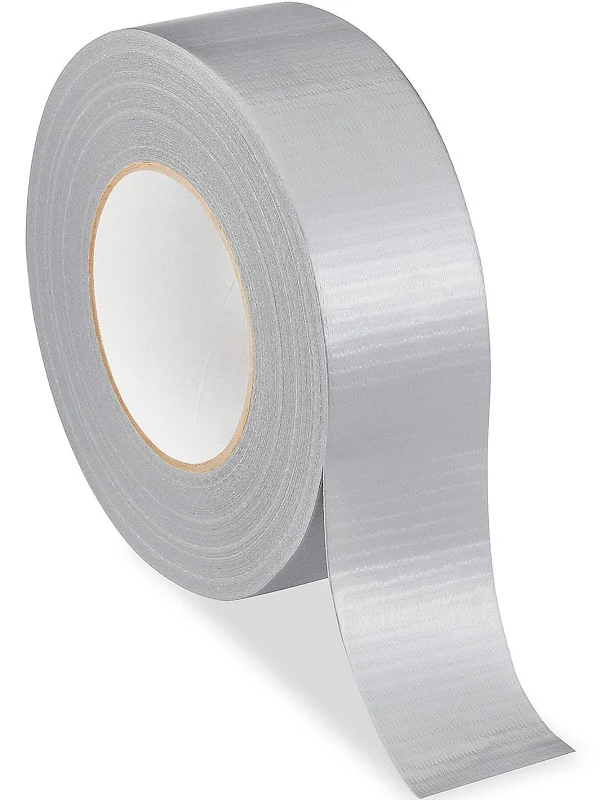 | $5 | 1x Duct tape, (for quick test positions) |
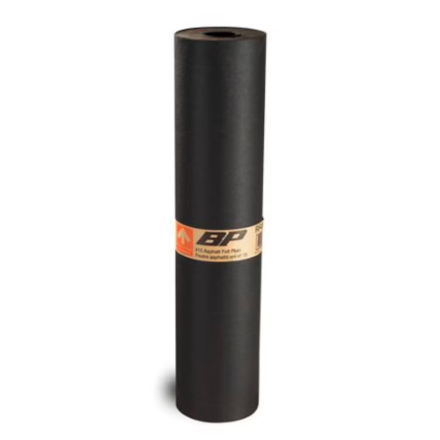 | $40 | 1x Roll of felt tar roofing paper, the heavier weight (ex. 60 minute) the better. You can often find end-of-rolls on Marketplace from people’s building projects, needed approx. 10 metres |
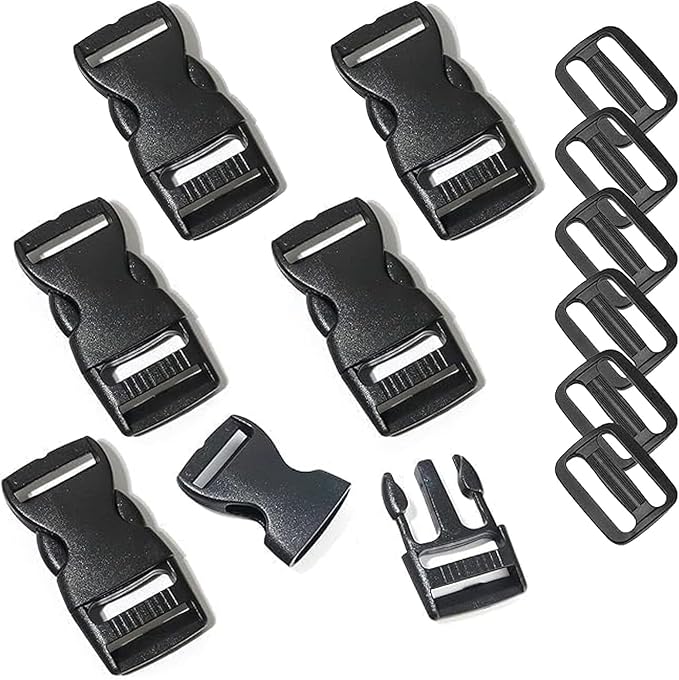 | $10 | 1x Buckles and slides. Side release buckles optional (made testing easier), but slides essential to adjust strap lengths |
| Total | $253 | Max cost + tax. After returning the PEX tubing and using left over supplies total cost to me was $152+tax. |
Some math with Google AI (and double checking its results in SketchUp) helped me build out the cone template.
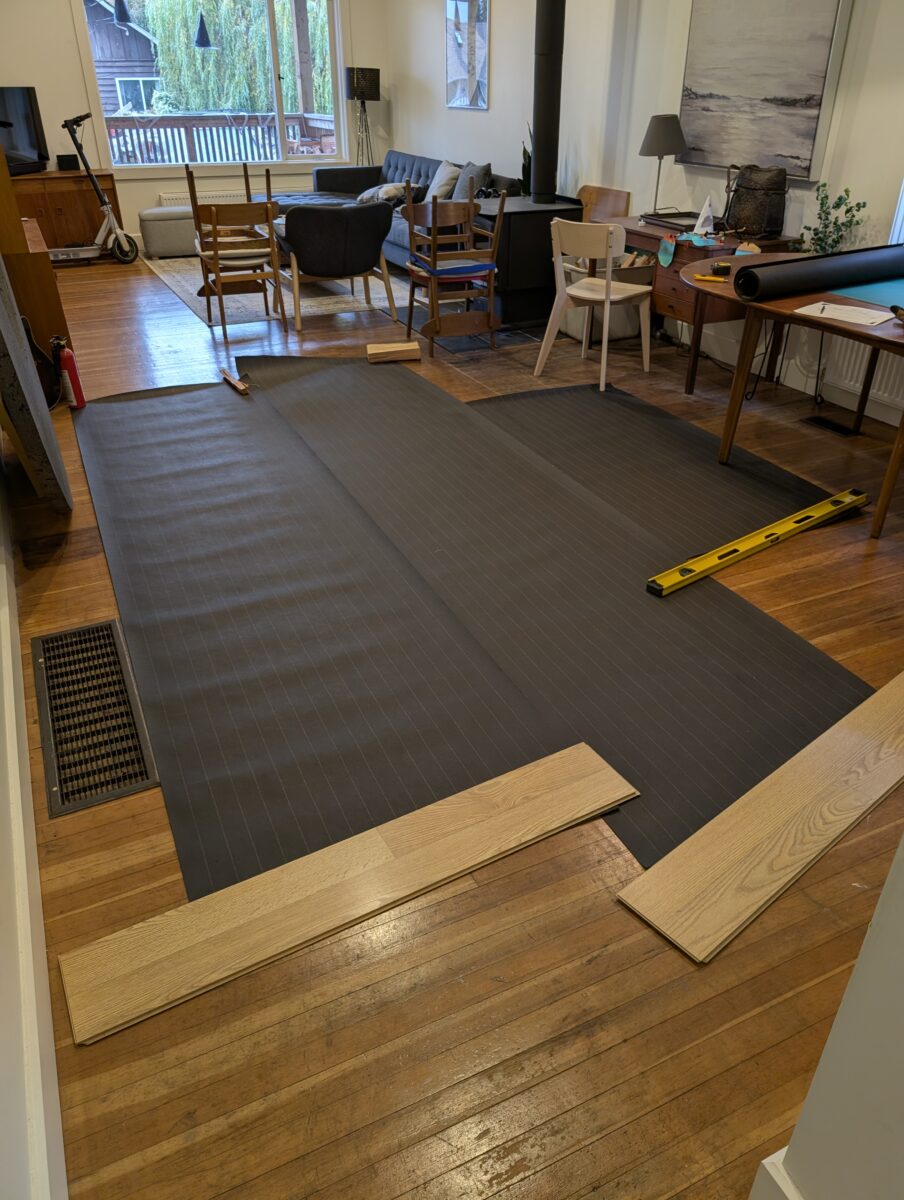
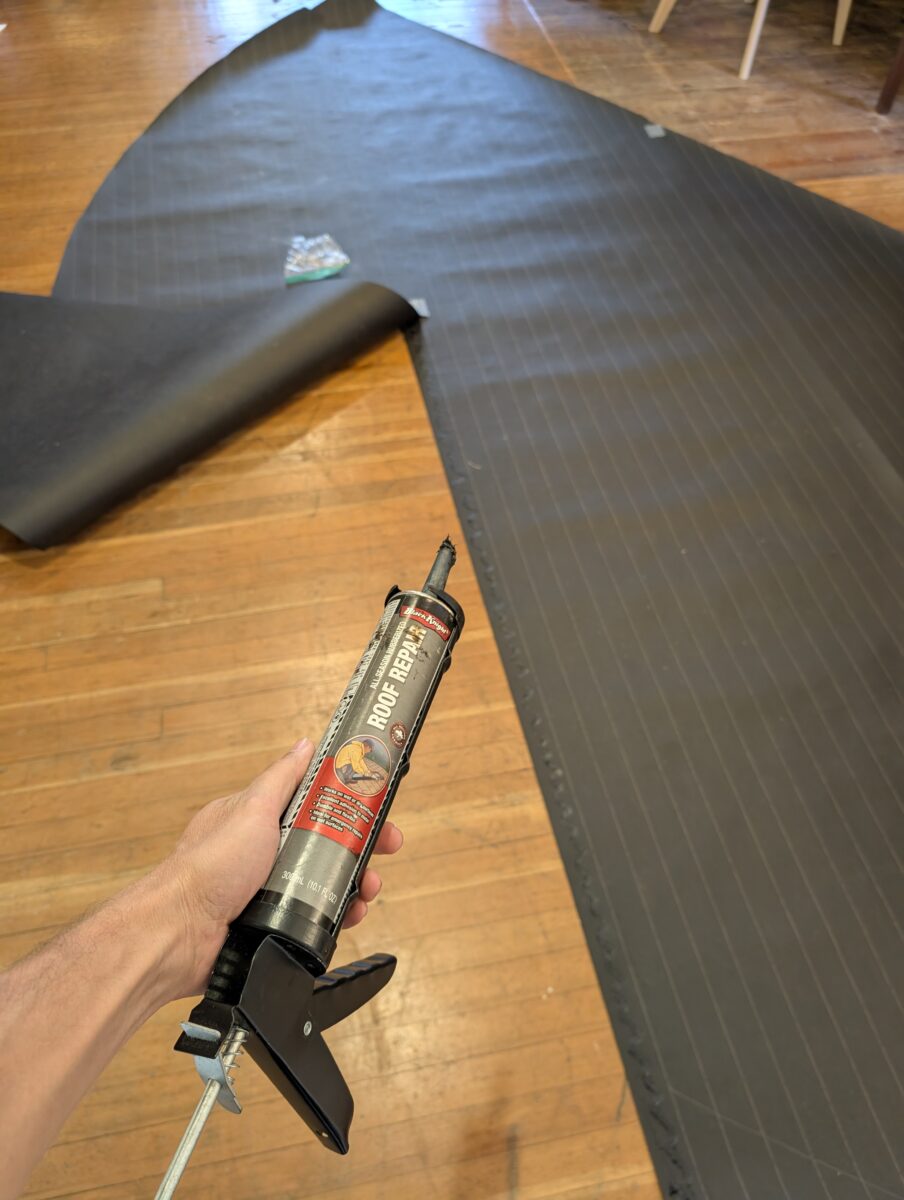
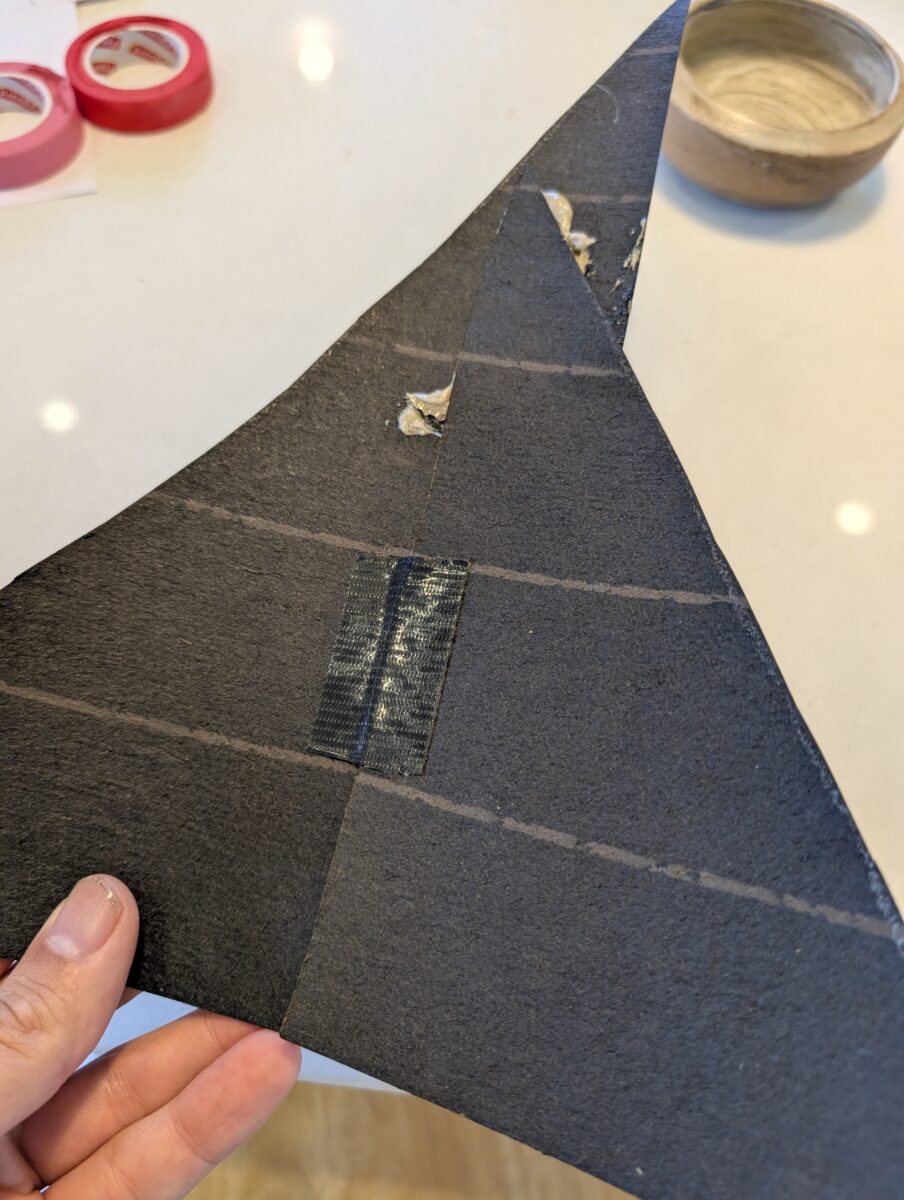
Attaching tar paper to itself to make a 3D shape proved the biggest hurdle. A bunch of tests ruled out regular tapes. Gaffers tape was OK, and roofers asphalt caulk was a close 2nd, but deck tape was the best (not sure if the stuff I bought is butyl- or acrylic-based).
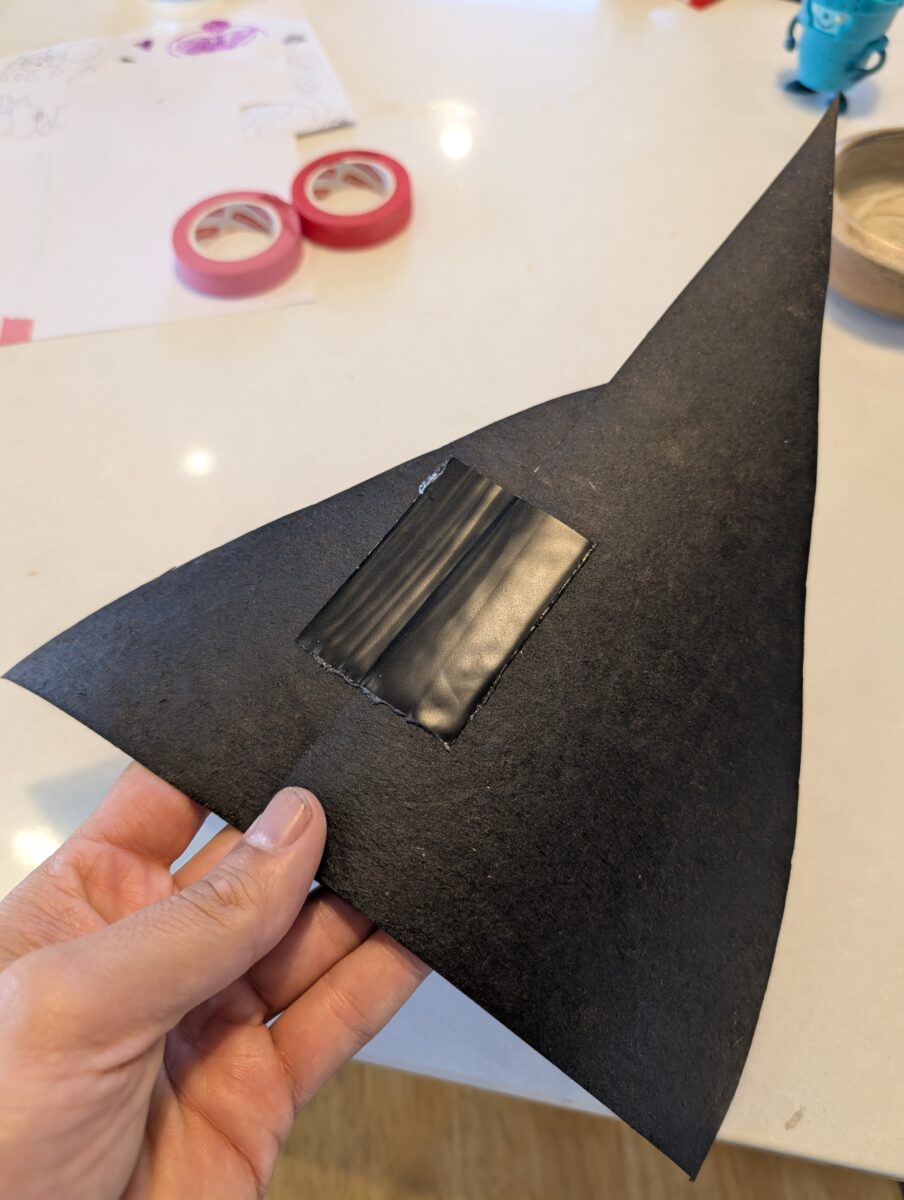
The brim of the hat needed to be stiff but lightweight. Pink foam insulation (extruded polystyrene (XPS)) in 1″ thickness was an obvious choice, which I used a lot in art school, but while browsing Home Depot I figured the 2″ polystyrene (like the stuff appliances comes protected in) would suffice at half the price.
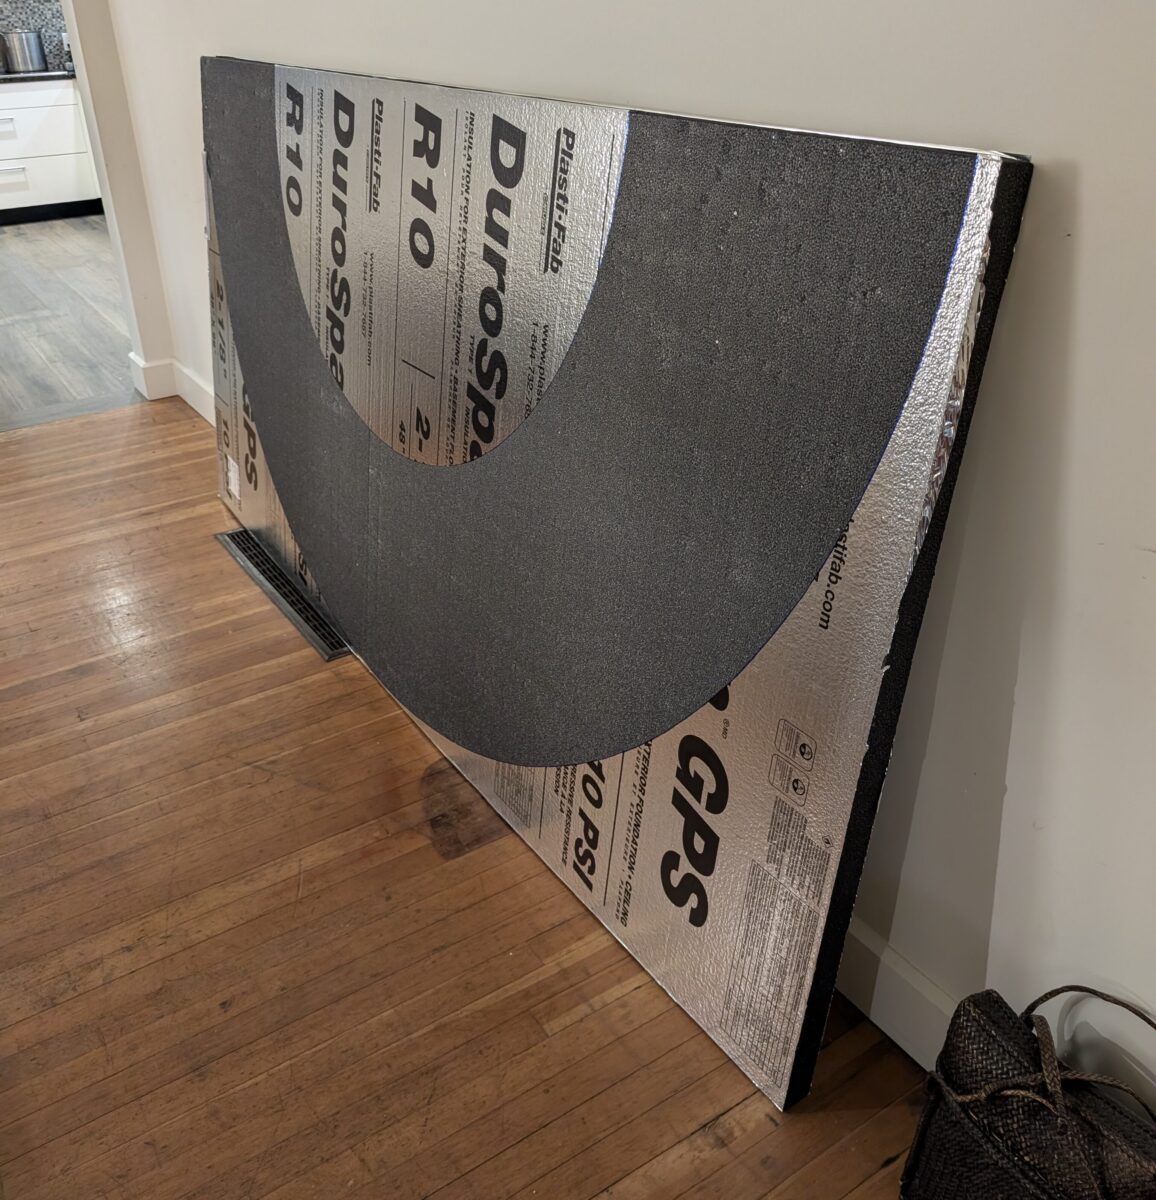
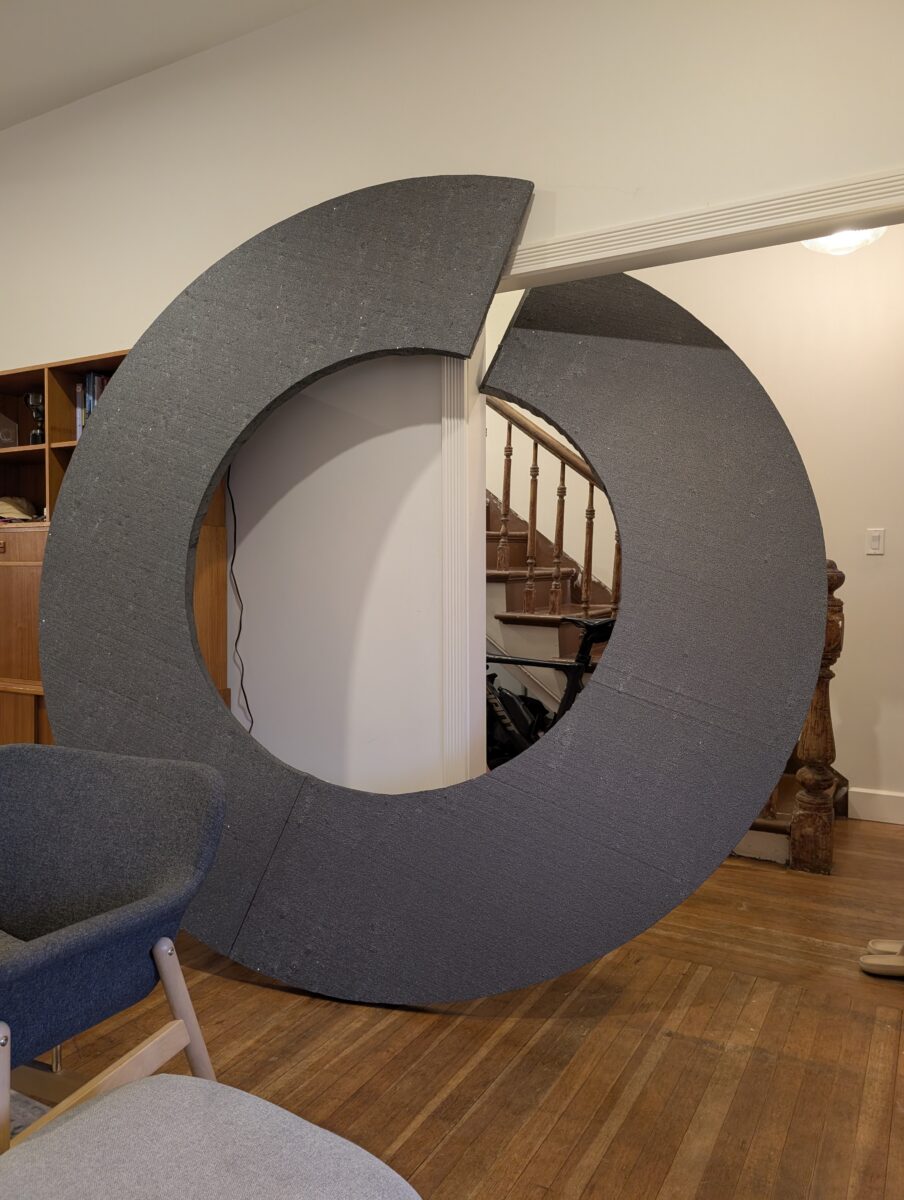
A sharpie and string scribed out the 4-foot radius on two sheets. Attaching the two halves was the next challenge, some Googling said clear Gorilla glue (hybrid glue?) would work better than my go-to Super 77. Some overnight tests seemed to confirm the strength and no sign of excessive melting. At the same time I opted for a hot knife cutter over a wire style. In hindsight not convinced that was the best choice over say, a big xacto—I still got some tear out, and the melt removes a good few mm of material. But it only took 20 minutes.
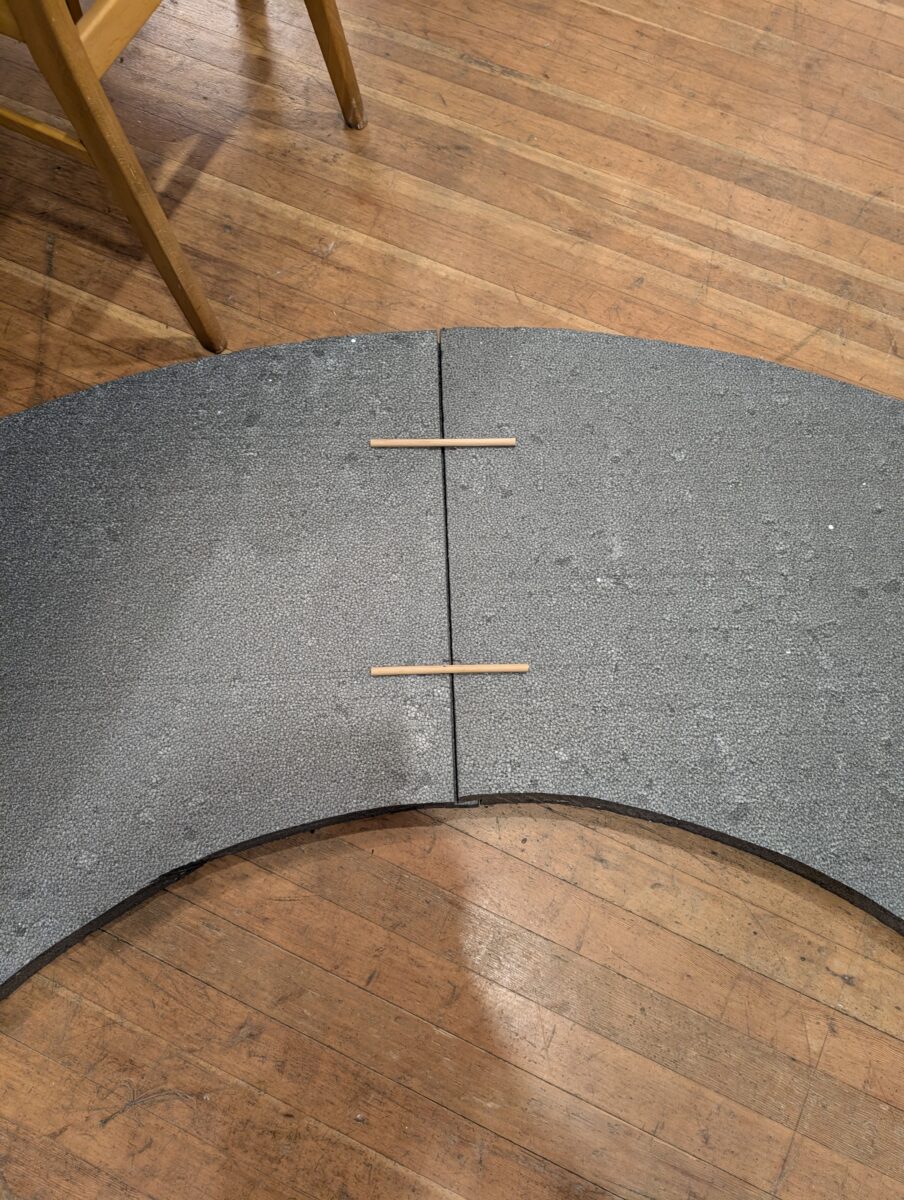
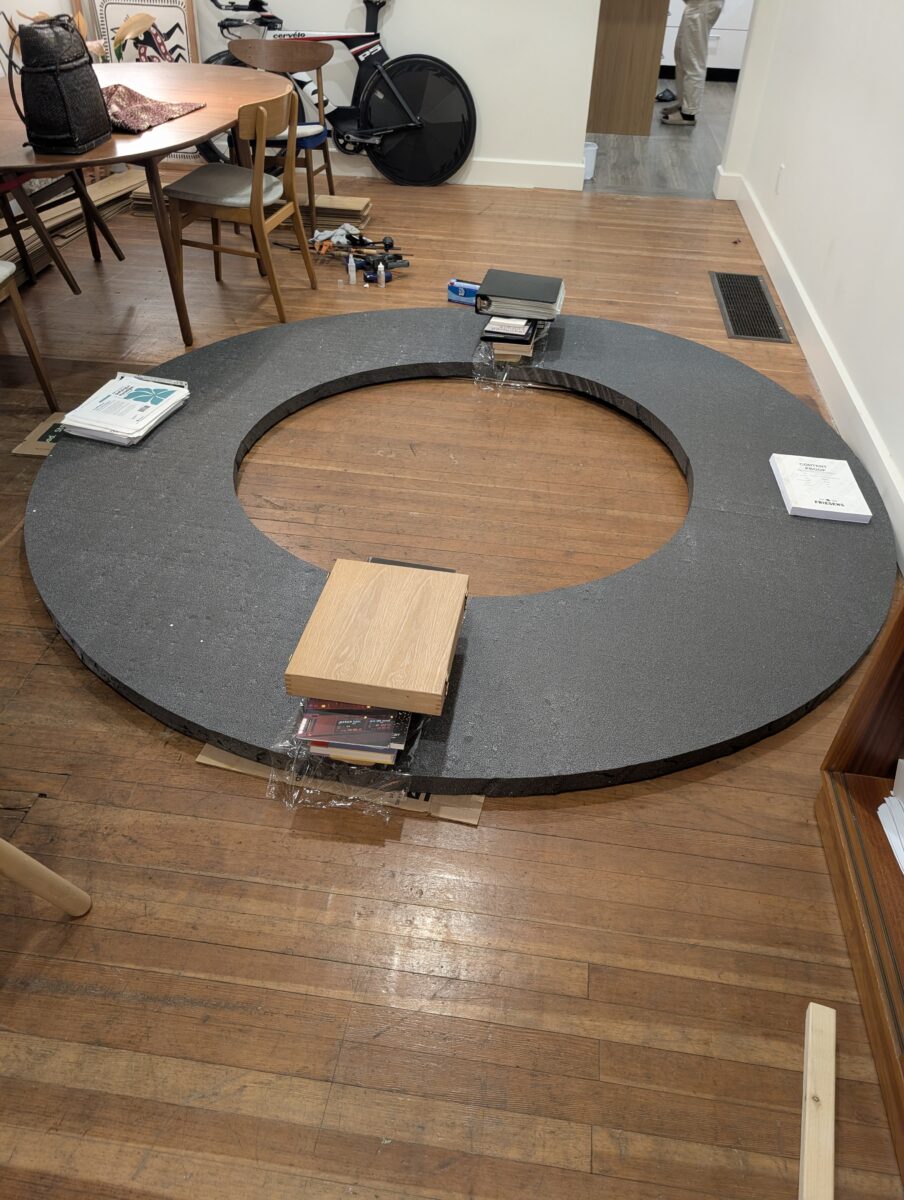
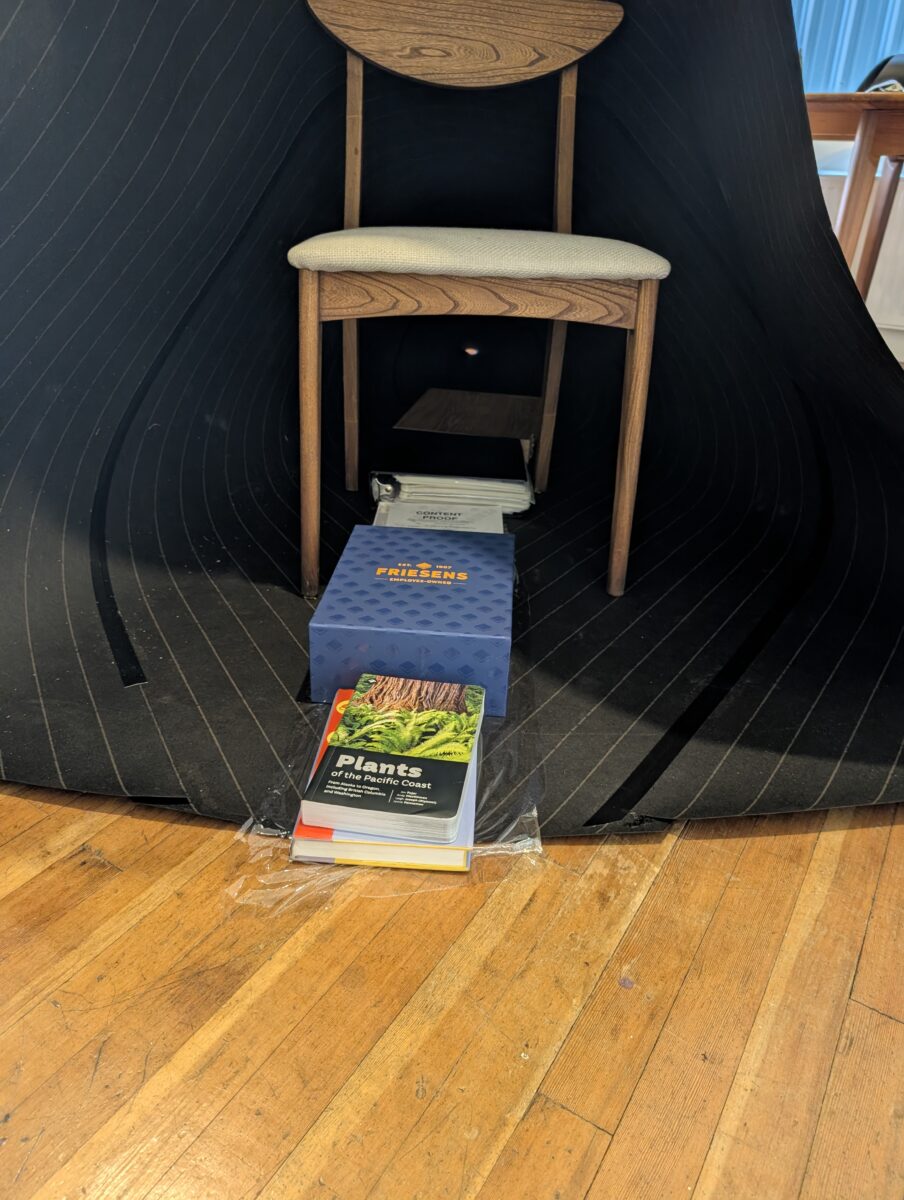
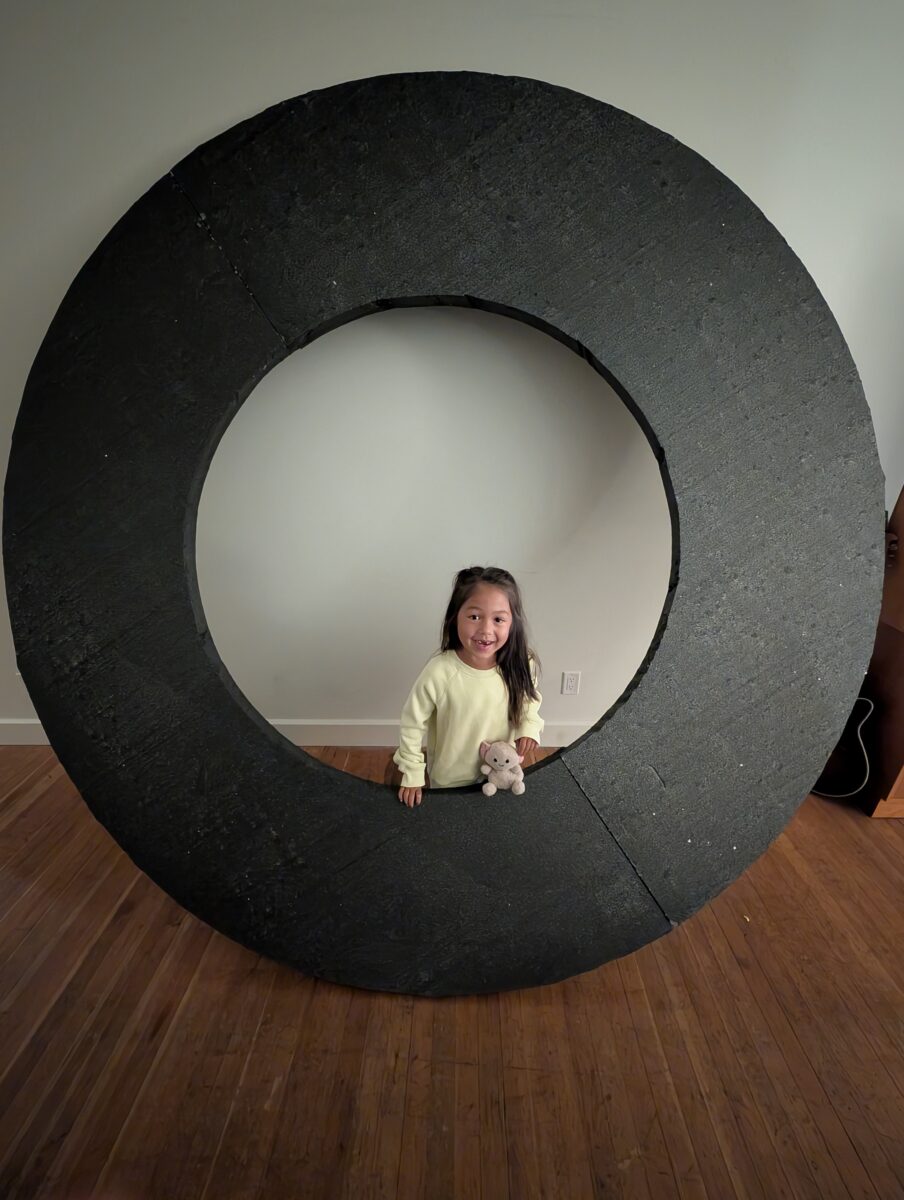
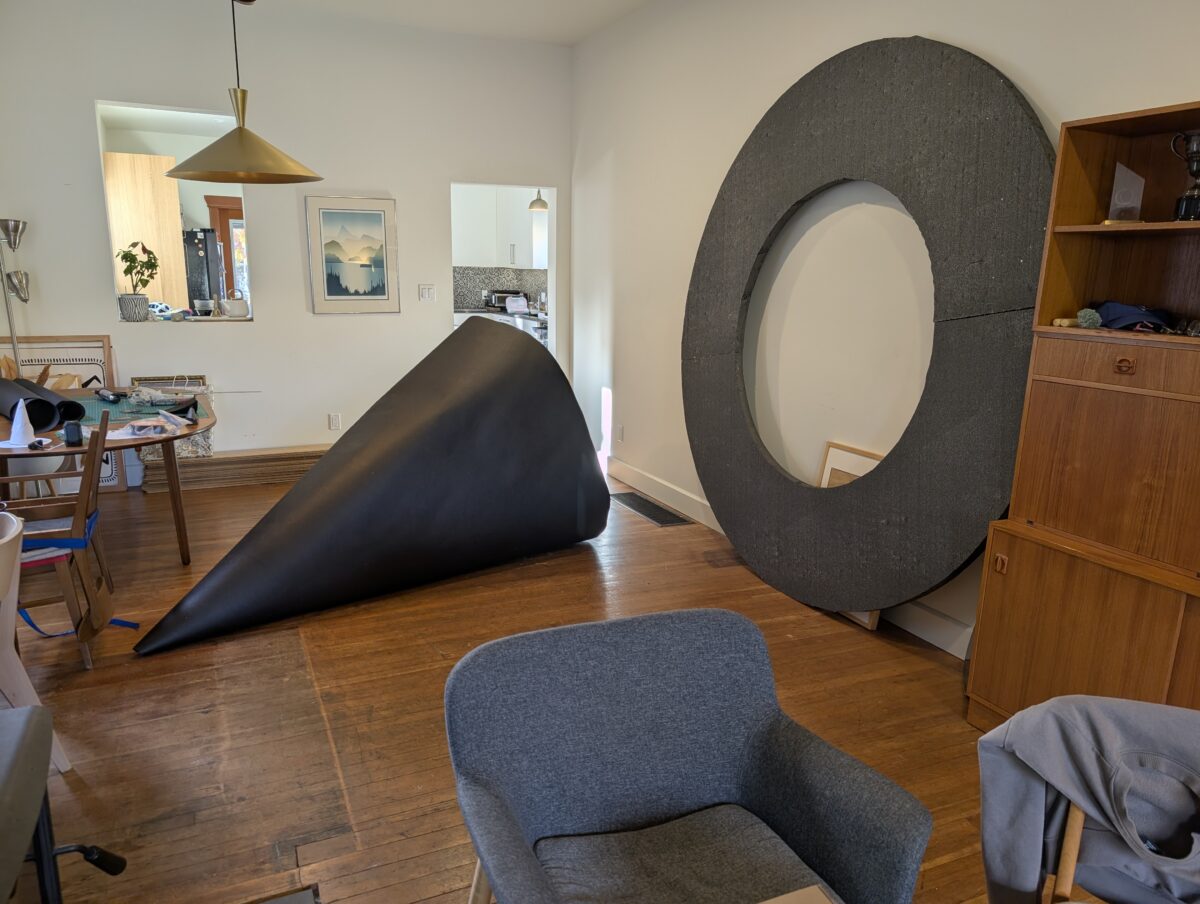
One thing abotu assembling two 4×8 sheets in your living room is after they’re glued together you didn’t think about how you’re gonna get them outside. A little laugh and a cry and I managed to get it outside with ony taking one seam apart.
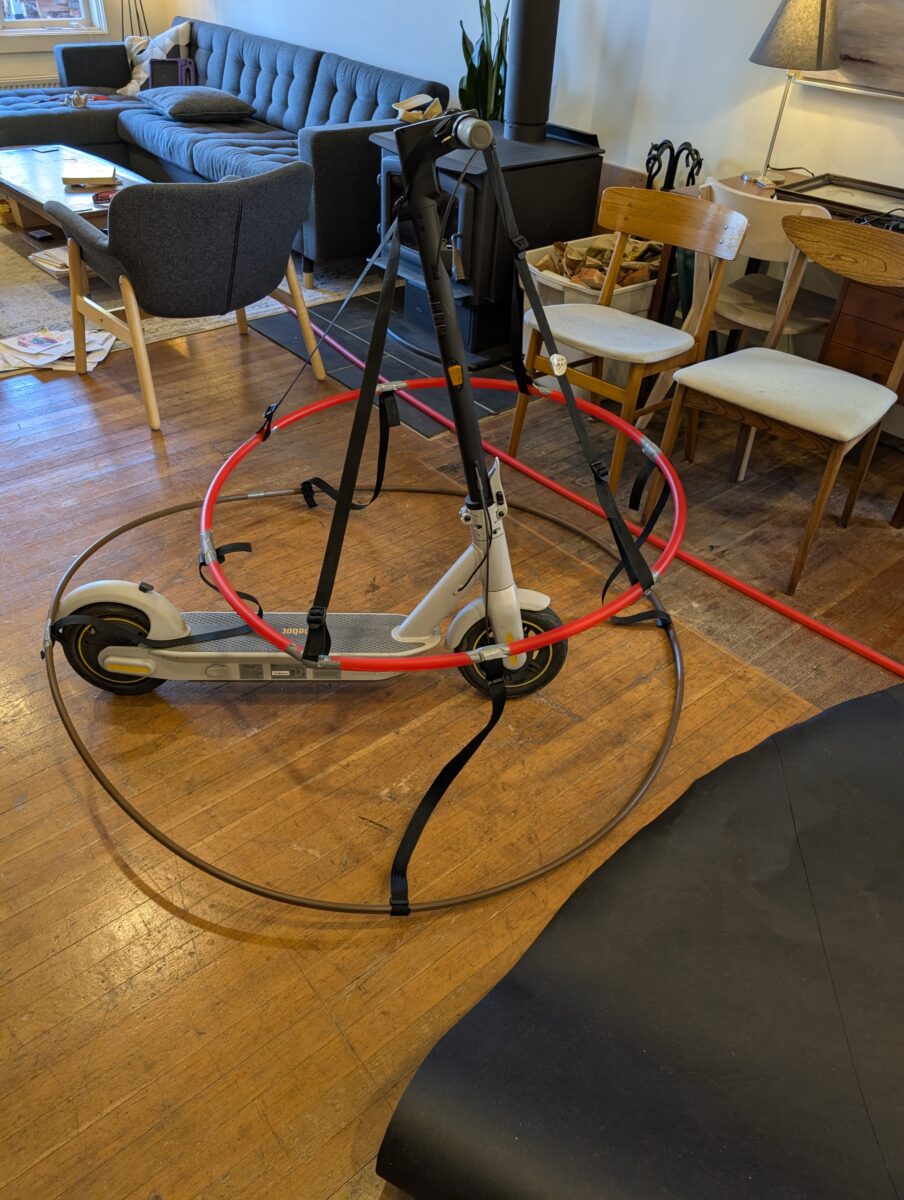
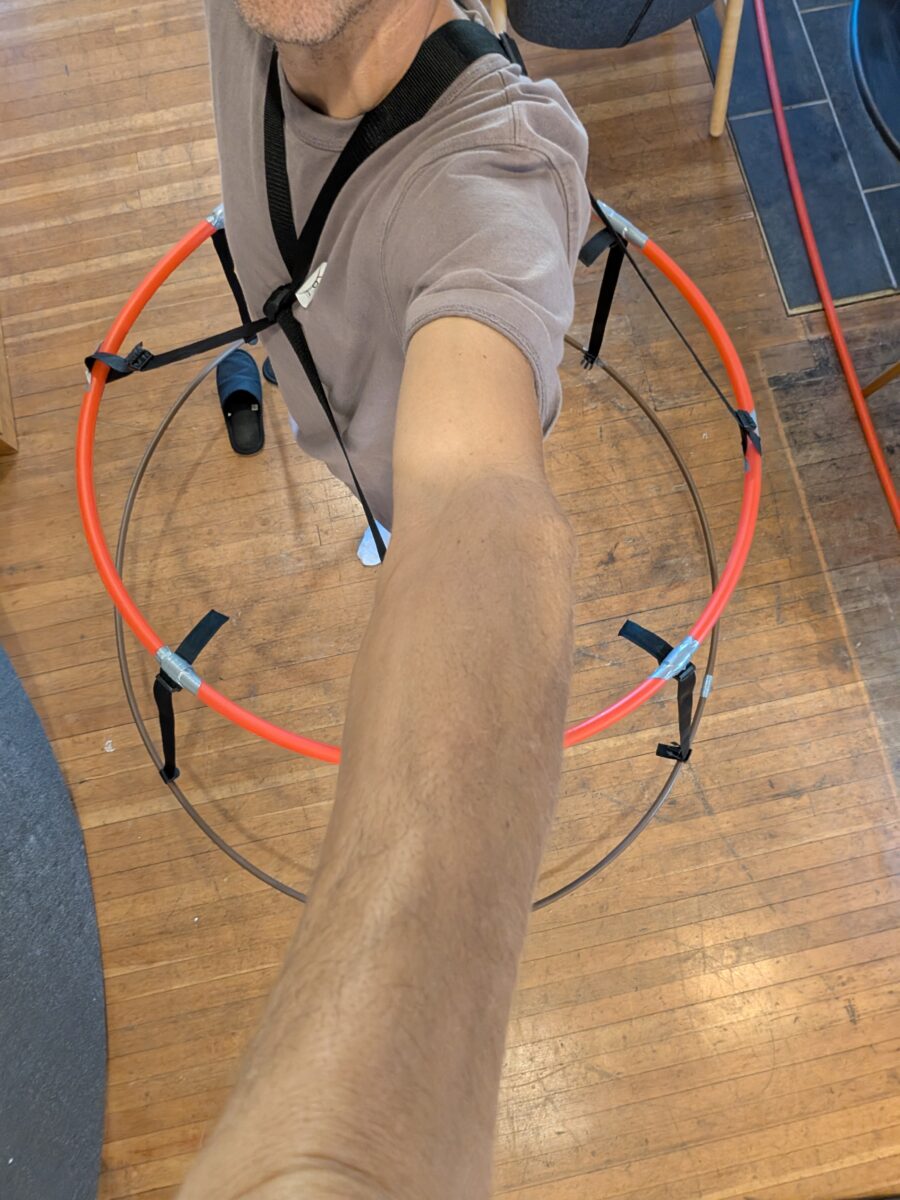
Tar paper isn’t super stiff, plus I wanted the hat to float above the ground a bit. An internal frame would be needed and, if all went well, I could either walk or zoom around on a borrowed e-scooter. 3/4″ PEX tubing was the stiffness needed. A thinner drip hose was tried but wasn’t enough to keep the brim’s interference fit from collapsing the tar paper. A similar PVC or other plastic piping may have also worked. After hours of struggling with tests under the fragile cone I used this portable weight lifting rack helped suspend it while I made adjustments to the straps.
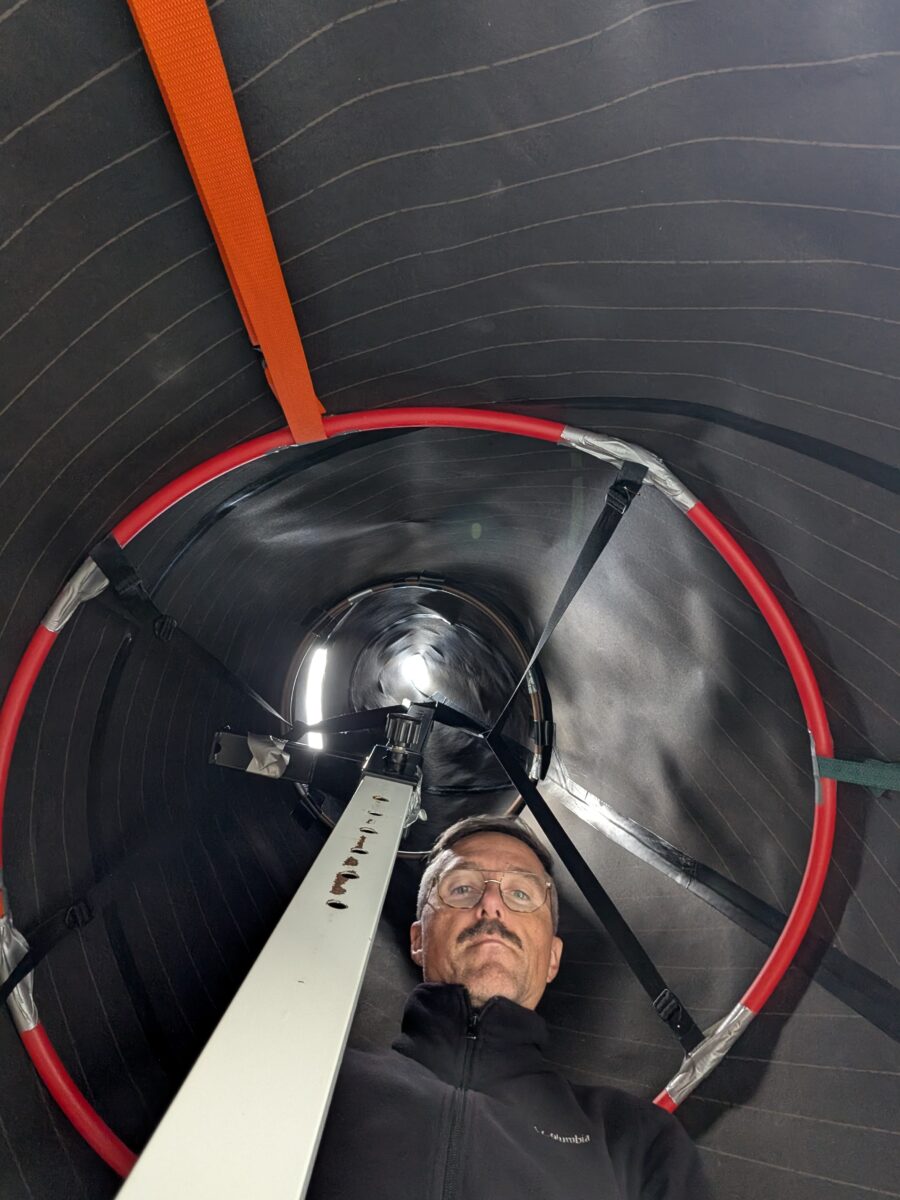
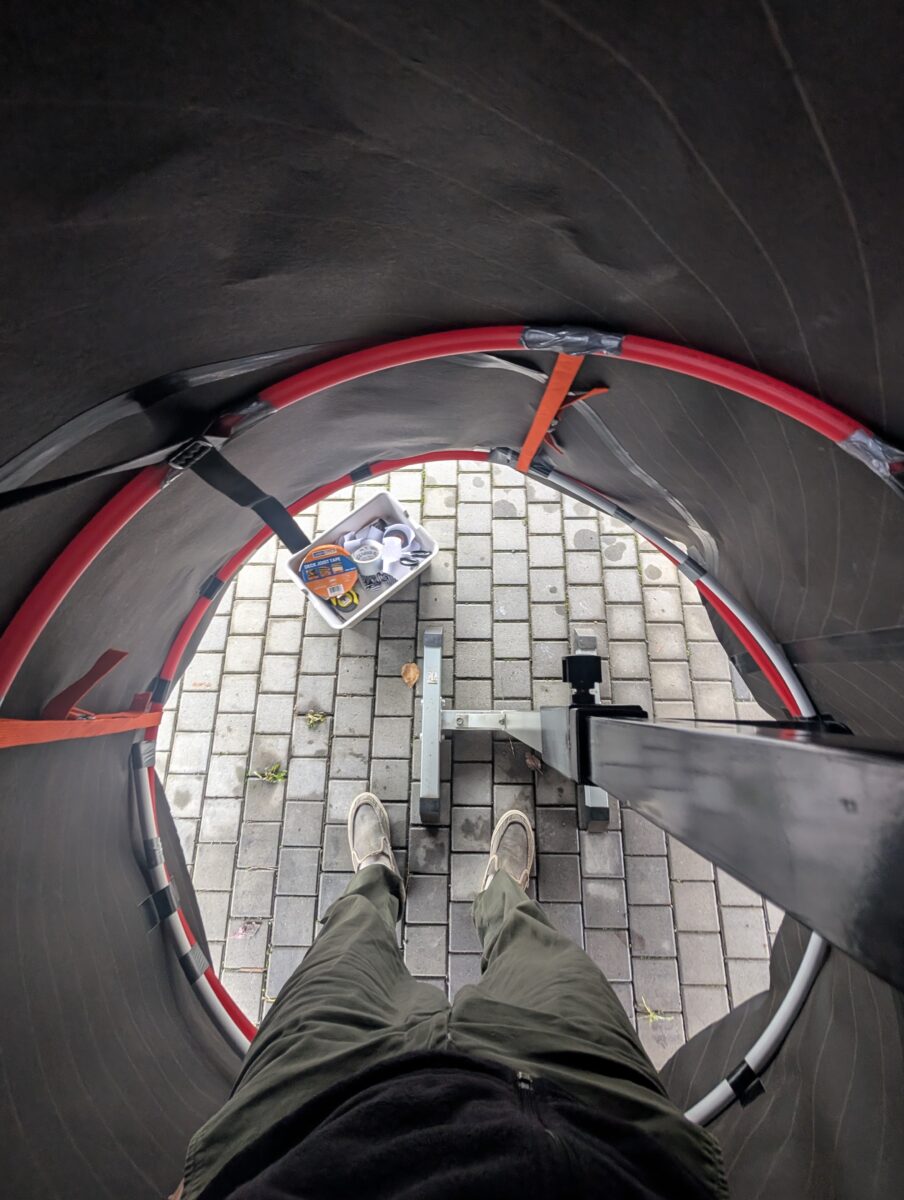
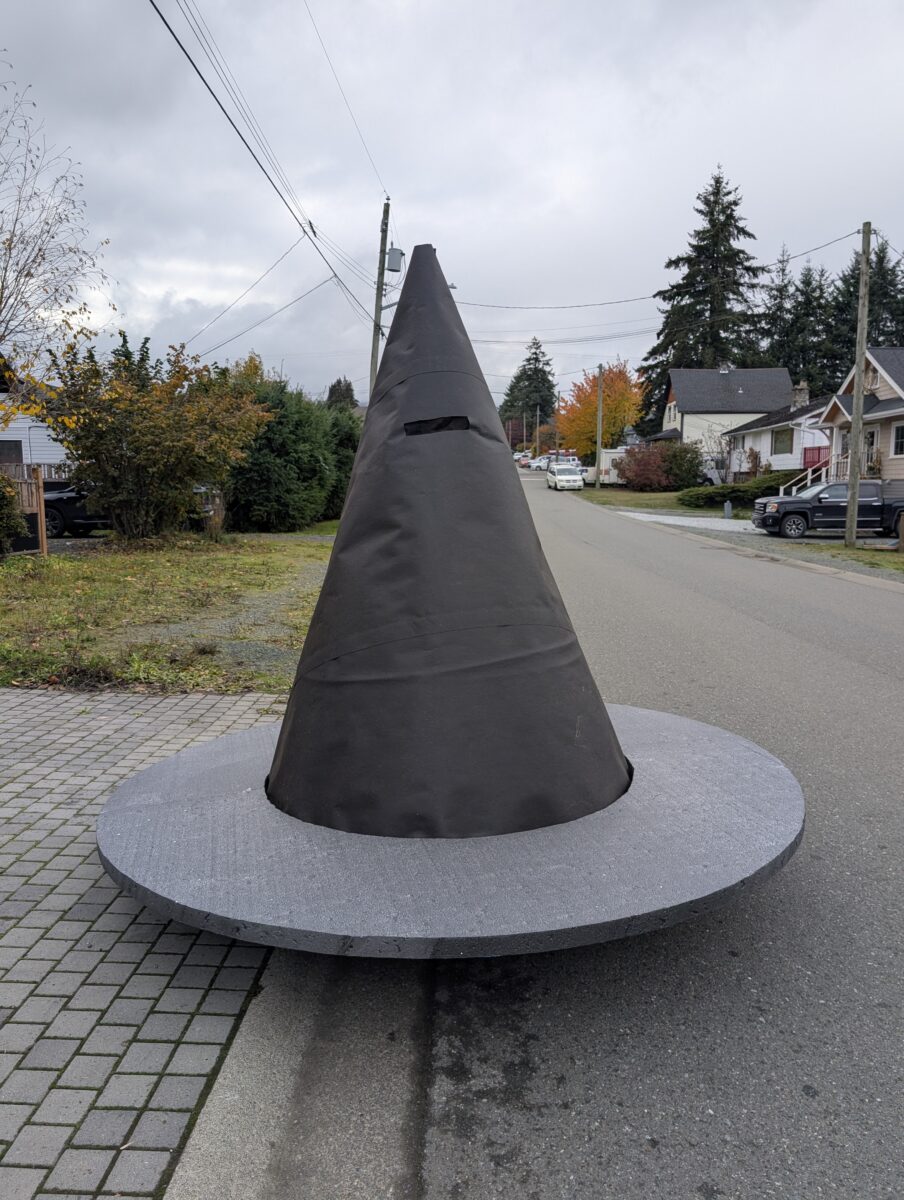
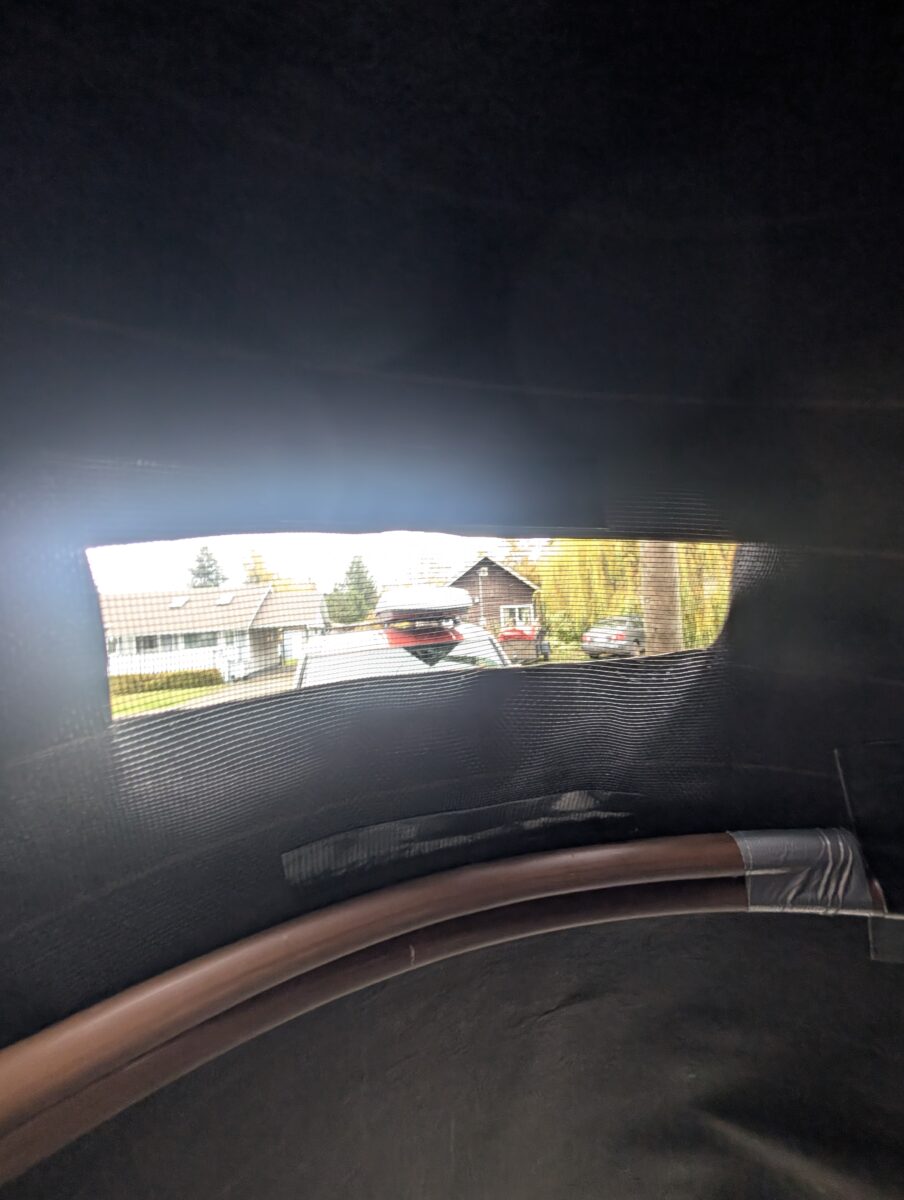
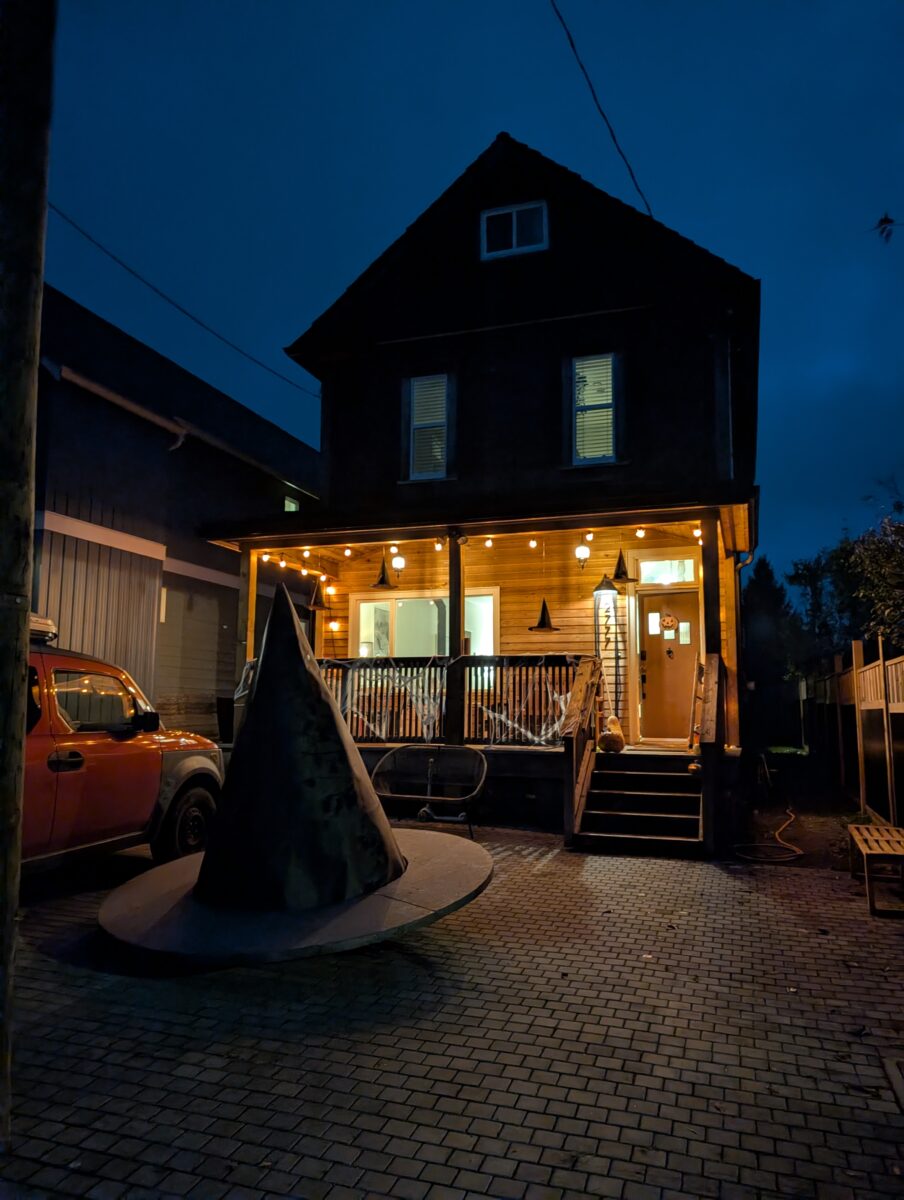
A dozen tests laster (including a failed walk to school on Friday morning dropoff) and it was ready a few hours before the downtown Halloween parade.
Leave a Reply